Are you cooking for the family for the first time? Or maybe you just don’t cook all that much, but you’re in charge of the holiday meal? A popular entree choice for your special occasion is a beef tenderloin, and guess what? It’s a pretty forgiving and flavorful cut of meat. Plus, it’s worth trying out since our grass-fed, pasture raised tenderloins are $5 off per pound this week (just $9.99/lb!).
 Meat & Seafood Manager Jon Reed, here to the rescue.
Here are some tips from our Meat & Seafood Manager, Jon Reed, to make sure you don’t mess up this beautiful cut of beef.
1. Buy it already trimmed and tied
If you buy from us, that’s already taken care of. If you buy elsewhere, you may have to remove the chain and silver skin yourself. You’ll also have to double over the thin end of the tenderloin to ensure it’s an equal thickness throughout – this helps with even cooking. Again, if you buy the tenderloin from your Co-op, Jon has already done this for you, and – BONUS – you don’t have to worry about paying a premium price per pound at another store for something you’ll have to trim up and partially discard.
2. Bring it to room temperature
To ensure you’re not “shocking” the meat by moving it too quickly from cold to hot (and therefore making it tough), leave it out at room temperature for at least an hour before cooking. As long as it’s covered, its juices are contained and it’s not out for more than two hours, this is totally safe to do. Your dinner guests will thank you!
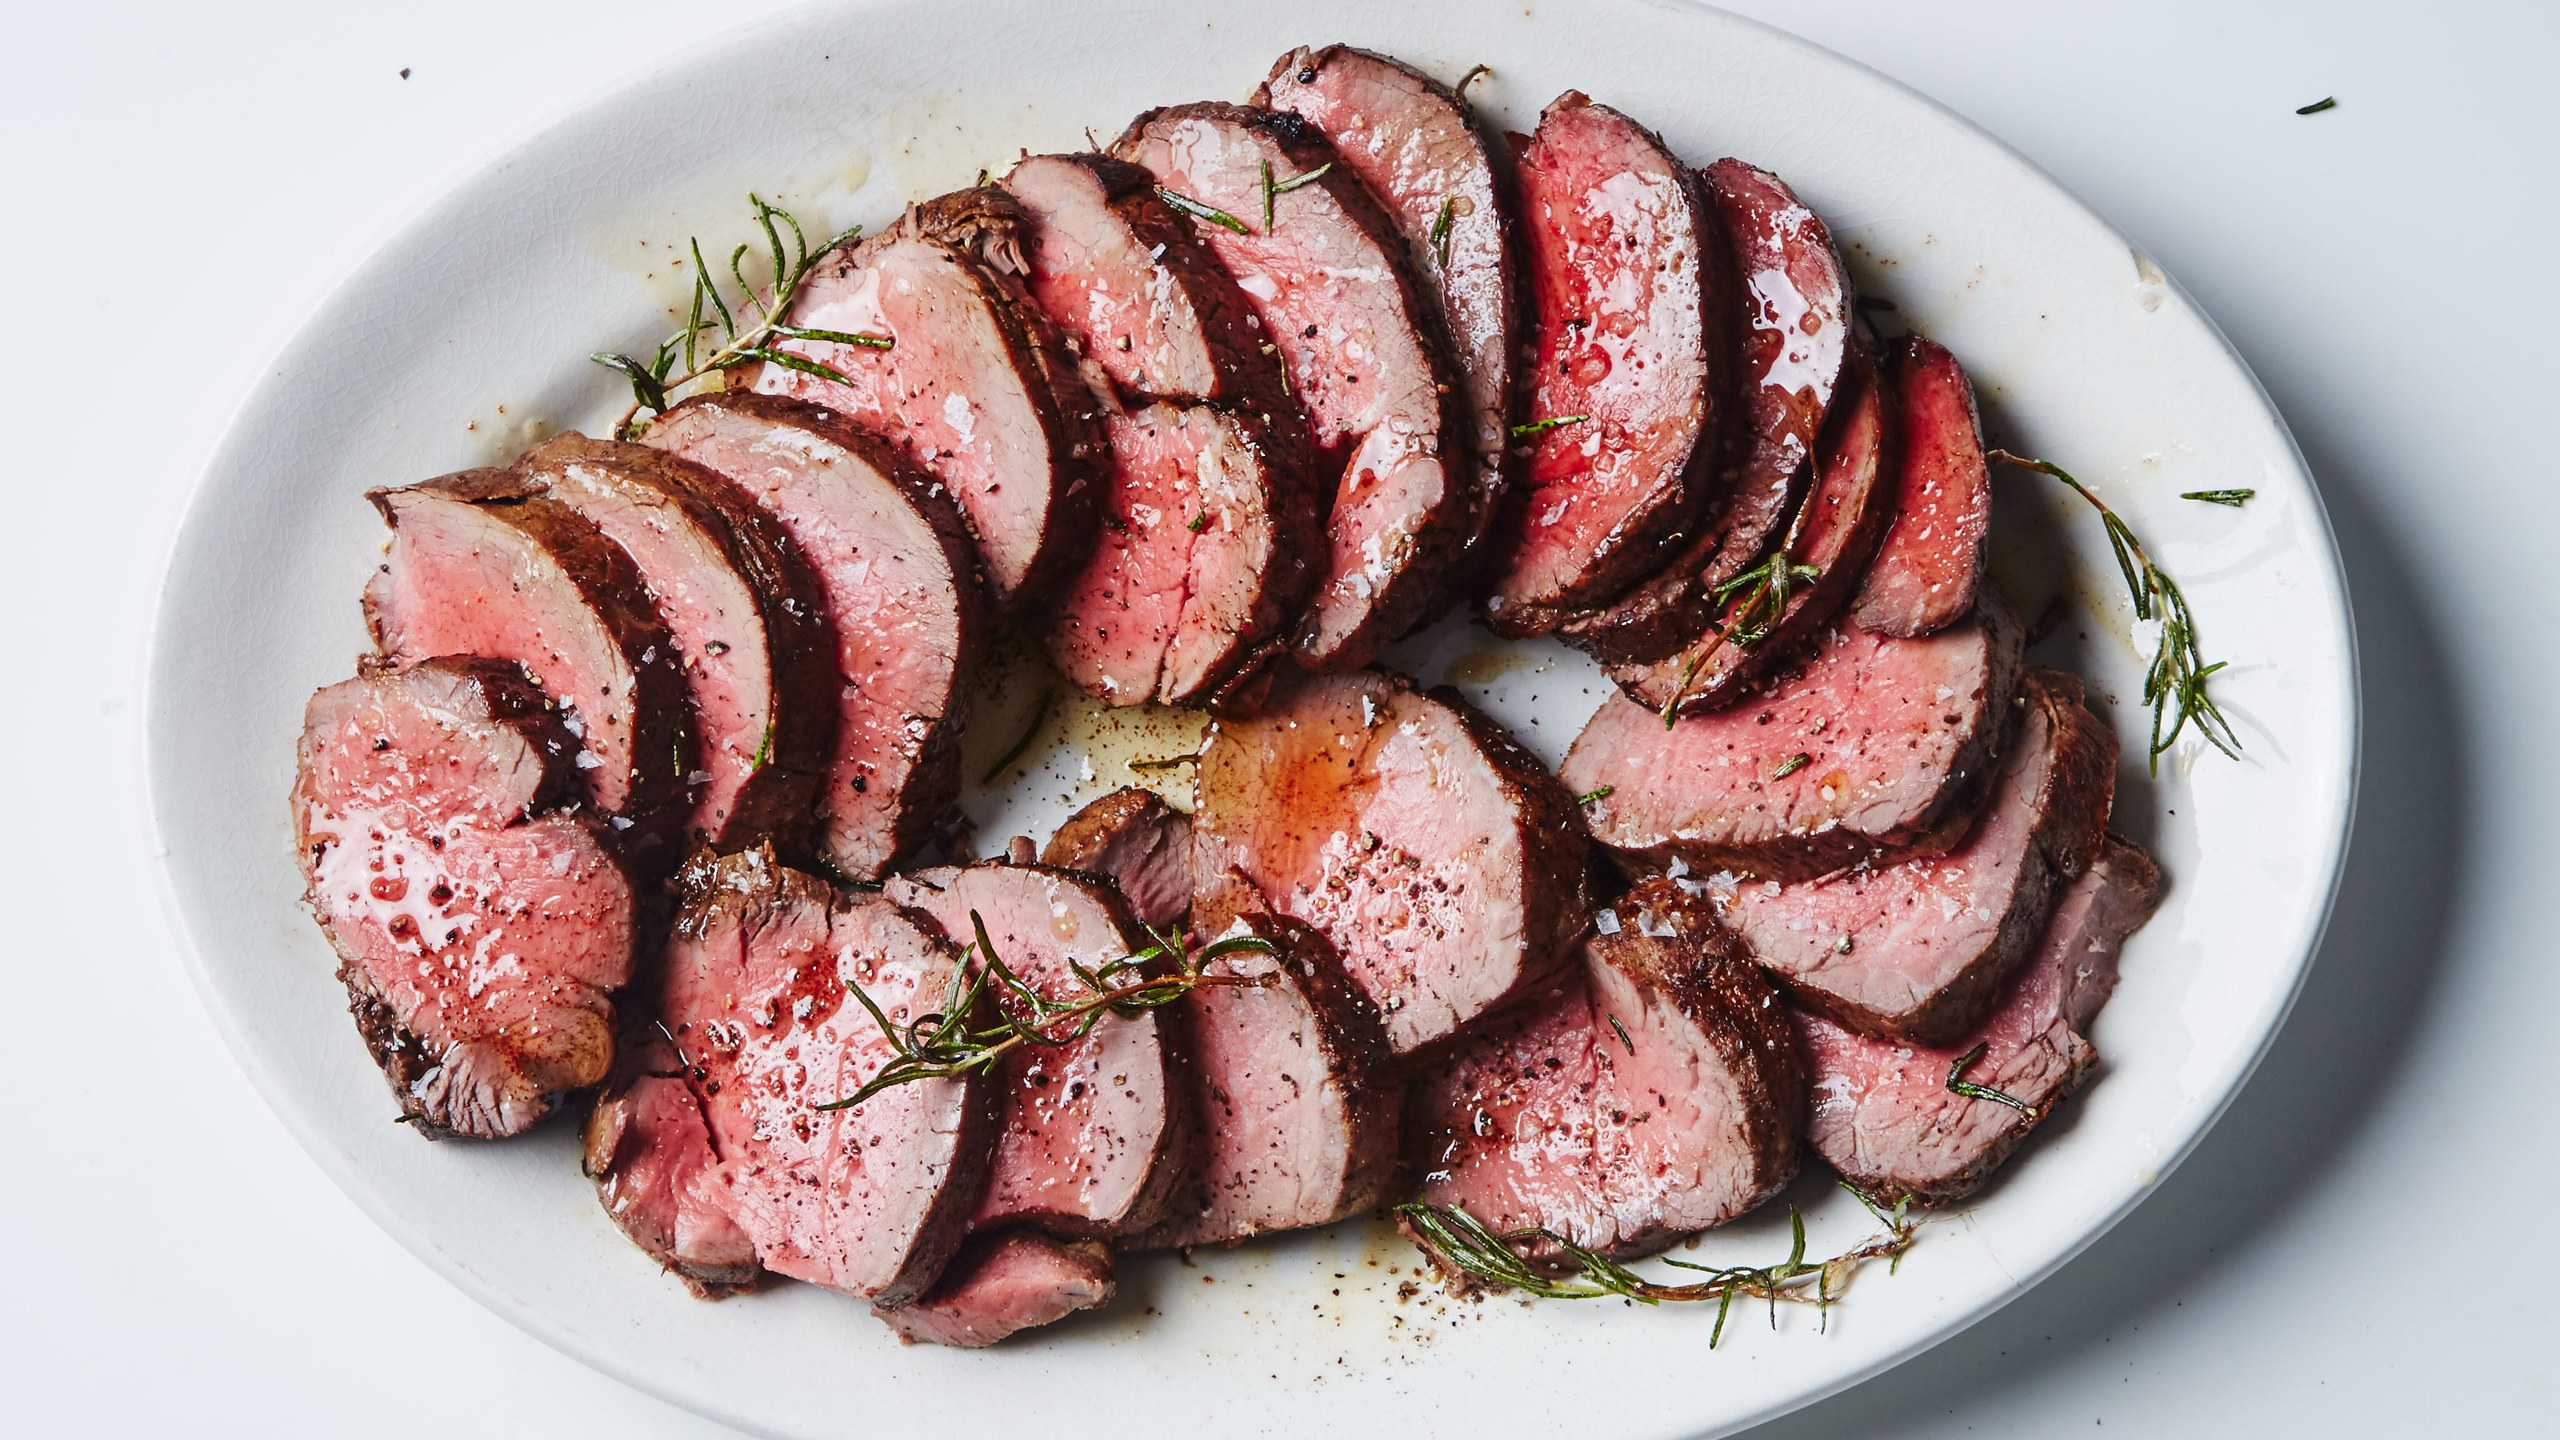
 Here’s a different cut of beef showing this type of preparation. Photo credit: www.rachaelrayshow.com.
3. Season it well
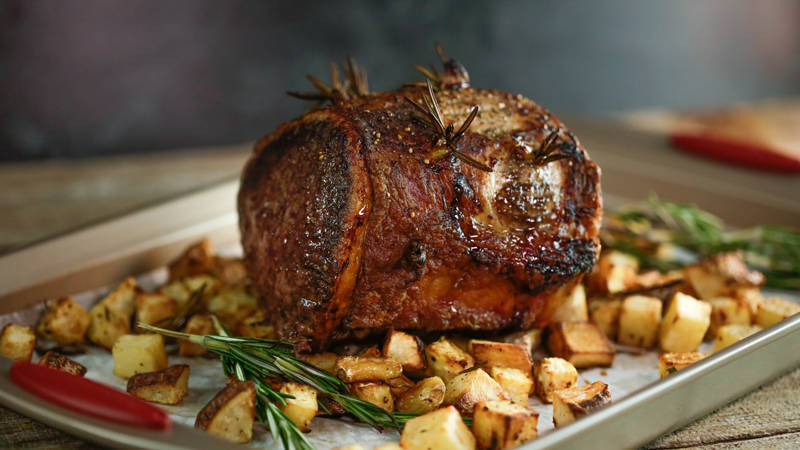
Jon recommends rubbing your roast with olive oil and plenty of salt and pepper. You can also step up the flavor by adding some rosemary and garlic. Jon’s method includes making a few, small (1-inch or less) incisions around the roast with a knife and then using that same knife to pry open those “flavor chambers” to stick in a sliver of garlic and a short rosemary sprig to really infuse their flavors and also make for an impressive presentation.
4. Sear in a cast iron skillet OR on the grill
Before roasting your roast, it’s imperative that you sear it on all sides to lock in the juices. You want to do this on a high heat so you are only cooking the exterior of the roast, and doing so quickly (it shouldn’t take more than 10 minutes to hit all the sides). If you’ve done this before, you may understand why Jon recommends doing this in a well-ventilated kitchen (hood fan on HIGH setting) or, better yet, crack open your gas grill and do it outside. Searing can be a smoky business, but getting a nice crust will do wonders for the quality of the finished product.
5. Cook it low and slow
Once you’ve seared the tenderloin, that’s the last time it should encounter high heat. If you used the cast iron skillet to sear, just stick that whole baby right in a preheated oven set to 325°F. Feel free to turn the roast every 15 minutes or so, just to ensure even cooking. Cook until the thickest part of the roast registers at least 120°F on an instant-read thermometer – this will be rare. Leave it in there longer if you like less red and more pink on your beef. Here’s an easy reference for cooking times and temps depending on the size of your roast and your preferred doneness: tenderloin cooking guide.
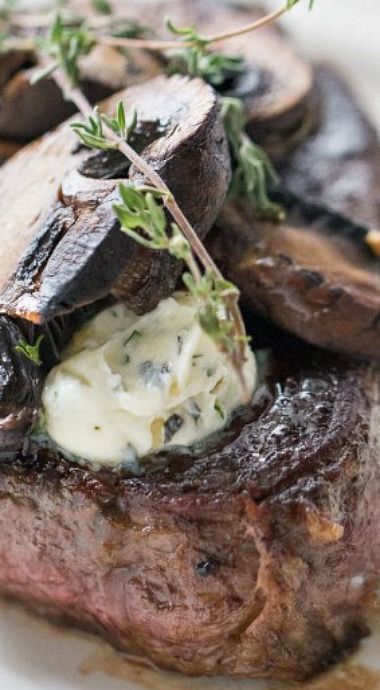 Just look at that buttery beef, y’all. Photo credit: Pinterest
You can cook a roast from anywhere from 250-400°F (just adjust your cooking time accordingly), so choose the temperature that will fit into your cooking timeline the best. See, it’s such a versatile cut!
6. Give it a rest
This beef is going to smell absolutely divine as it’s roasting, but don’t give in to temptation and cut a slice off as soon as it’s done cooking. It must rest at least 15-20 minutes! This is so important when it comes to keeping those juices well-distributed throughout the meat and not seeping out onto your cutting board. You can cover your roast with foil and let it rest a little longer if you’re waiting on your other dishes to finish cooking.
7. Finish it with more flavor
Add a touch of elegance to your finished tenderloin by topping it with a disk of compound butter. Feel free to mimic the flavors you used in the roast – garlic and rosemary – and cream them together with a stick of softened butter in a food processor. Form it into a log shape and stick it in the fridge (or freezer, if you’re short on time) to let it firm up. You can then slice off the disks once you take your roast to the table. The cold butter will slowly melt over the meat and make it look amazing (and you’ll look like a 3-star Michelin chef).