I am not a nut milk enthusiast by nature. In fact, milk (cow’s milk, that is) was my favorite drink from age 0-28 or so. As I got older and, like many adults, my body had less ability to effectively digest cow’s milk, I started cutting back. A few years ago when I switched to a more plant-based diet, and also started drinking coffee more regularly, I was struggling to find a plant-based creamer that wasn’t a) loaded with sugar and lots of extra ingredients and stabilizers, and b) was creamy enough to cut through the bitterness of coffee.
I tried creamer after creamer, milk after milk, and kept coming up short. The only thing that even came close to the creaminess of dairy was coconut milk, but unfortunately I have a sensitivity to coconut that makes my mouth and throat itchy when I consume it. OF COURSE I DO. I was at the end of my plant-based milk experimentation rope when a friend and coworker mentioned that she had a bunch of cashews she had to get rid of (her doctor told her she had to cut them out of her diet right after she’d stocked up on 25 lbs of them). An avid nut milk DIY-er, she offered to bring in a pound of them for me so I could try out homemade cashew milk and see if I liked it. If I did, I could buy some of the cashews off her. If I didn’t, no biggie.
OK, I’ll try it
I’m always down for trying something at least once. My fiance consumes loads of cashew/almond milk cartons for smoothies, so I figured at the very least my experiment would leave him with some cashew milk to use for those, with a lot fewer ingredients and additives. Best case scenario, I’d find a plant-based milk that actually matched the creaminess of cow’s milk.
First, I had to find a recipe to use as a reference. I used this one from Vanilla and Bean that seemed pretty straightforward. I got to work, going through the steps.
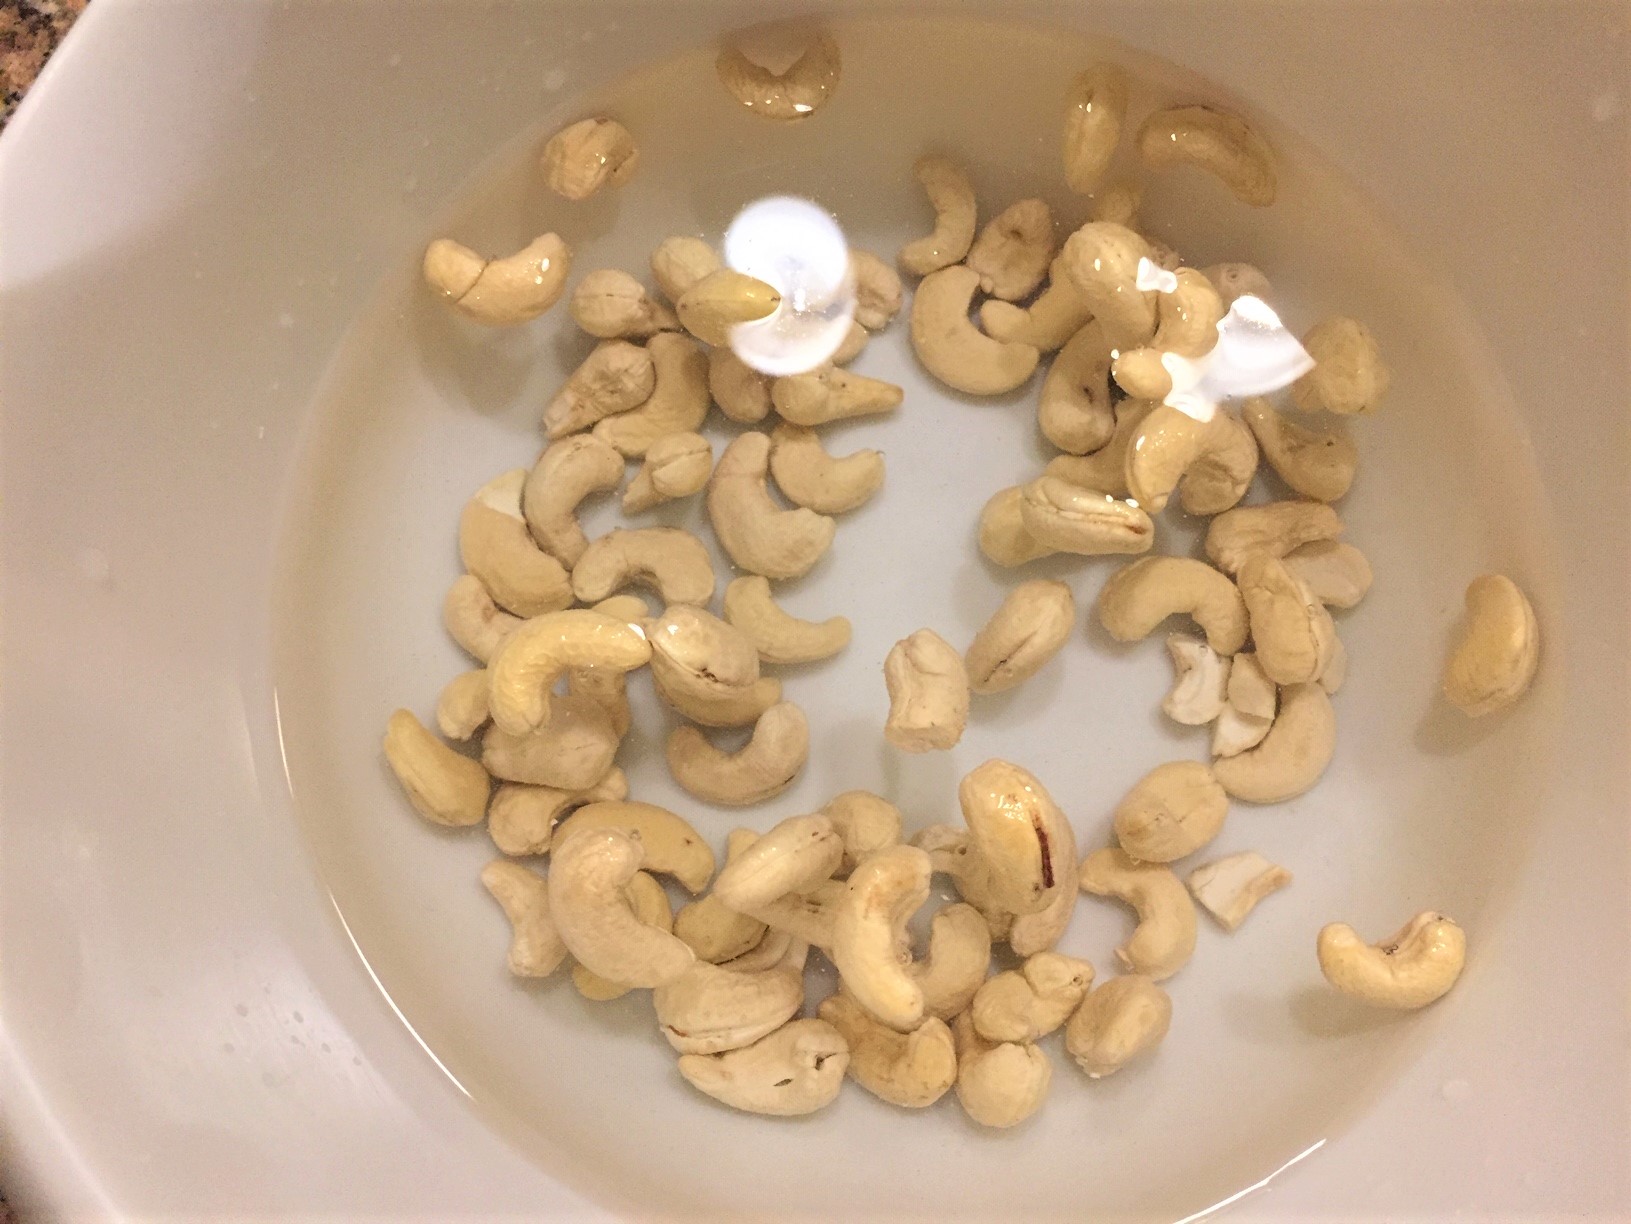 Step 1: Take a cup of cashews, cover with water, soak overnight.
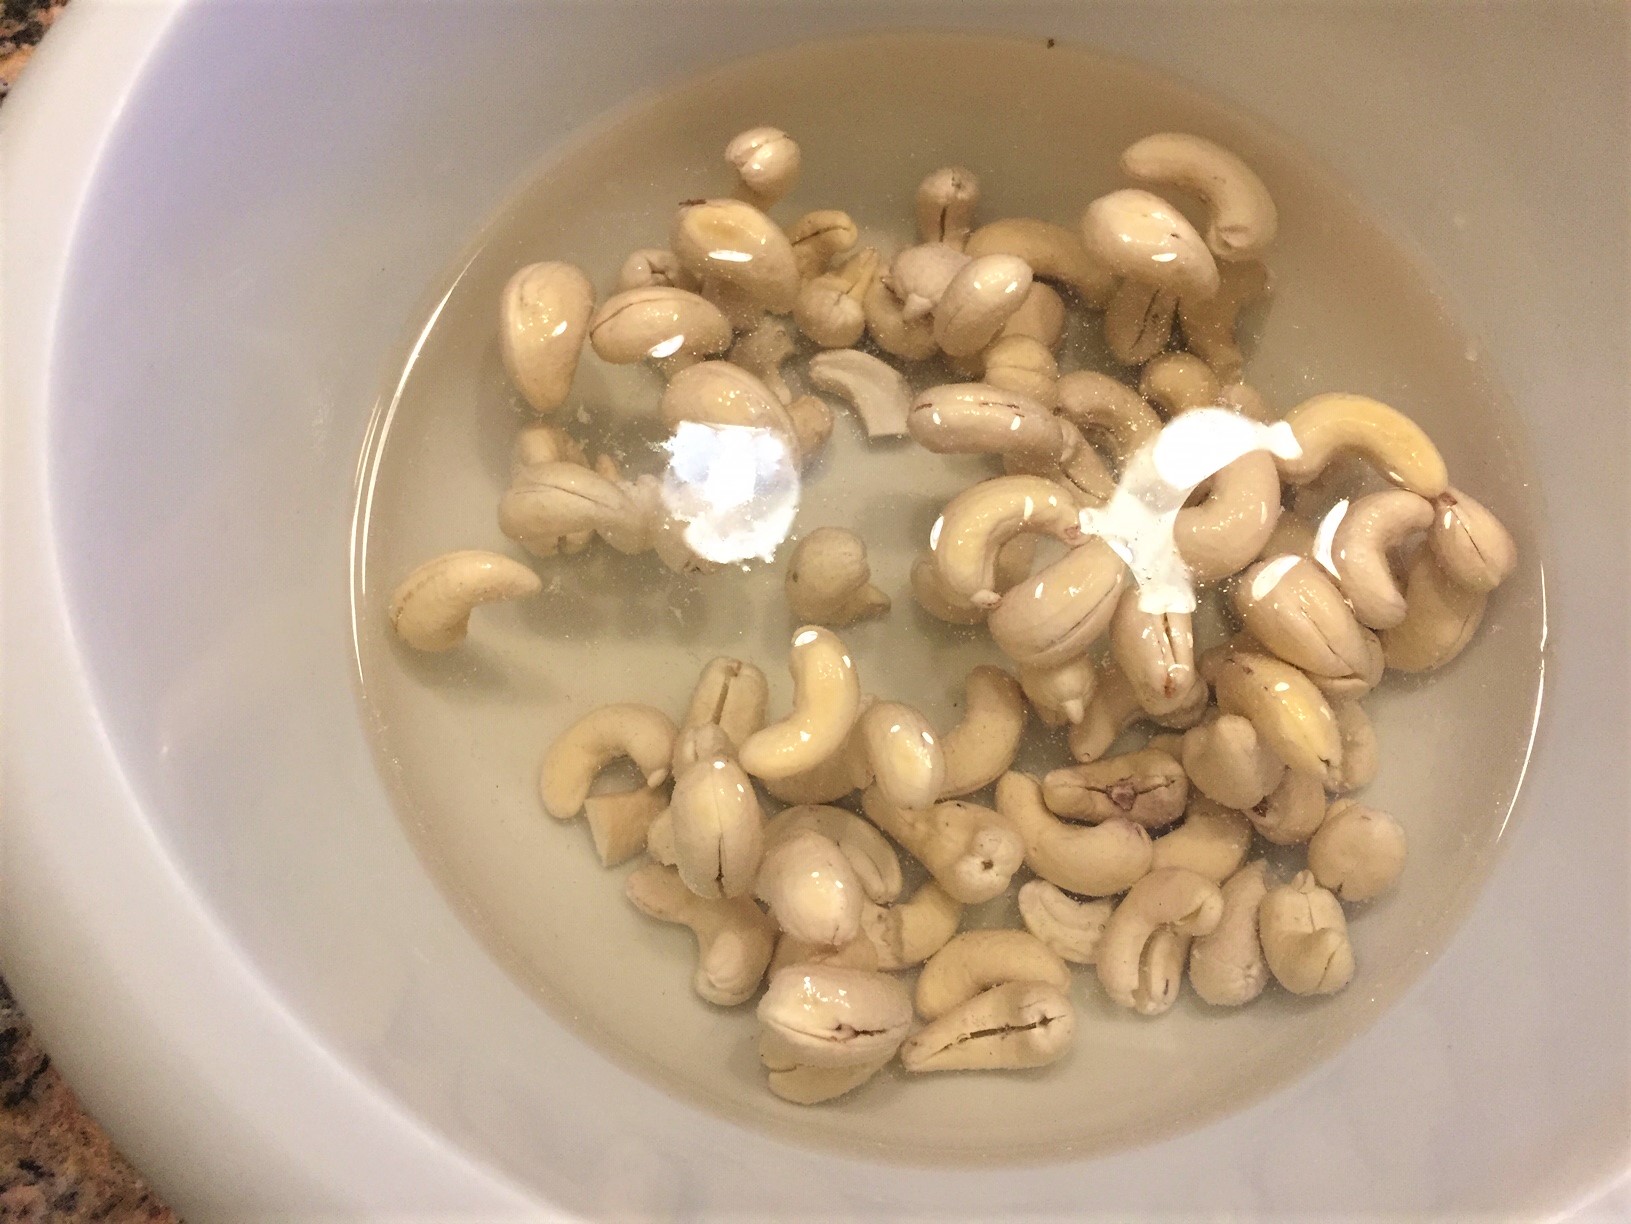 Step 1 complete: Here’s how the cashews look in the morning, a bit more plump.
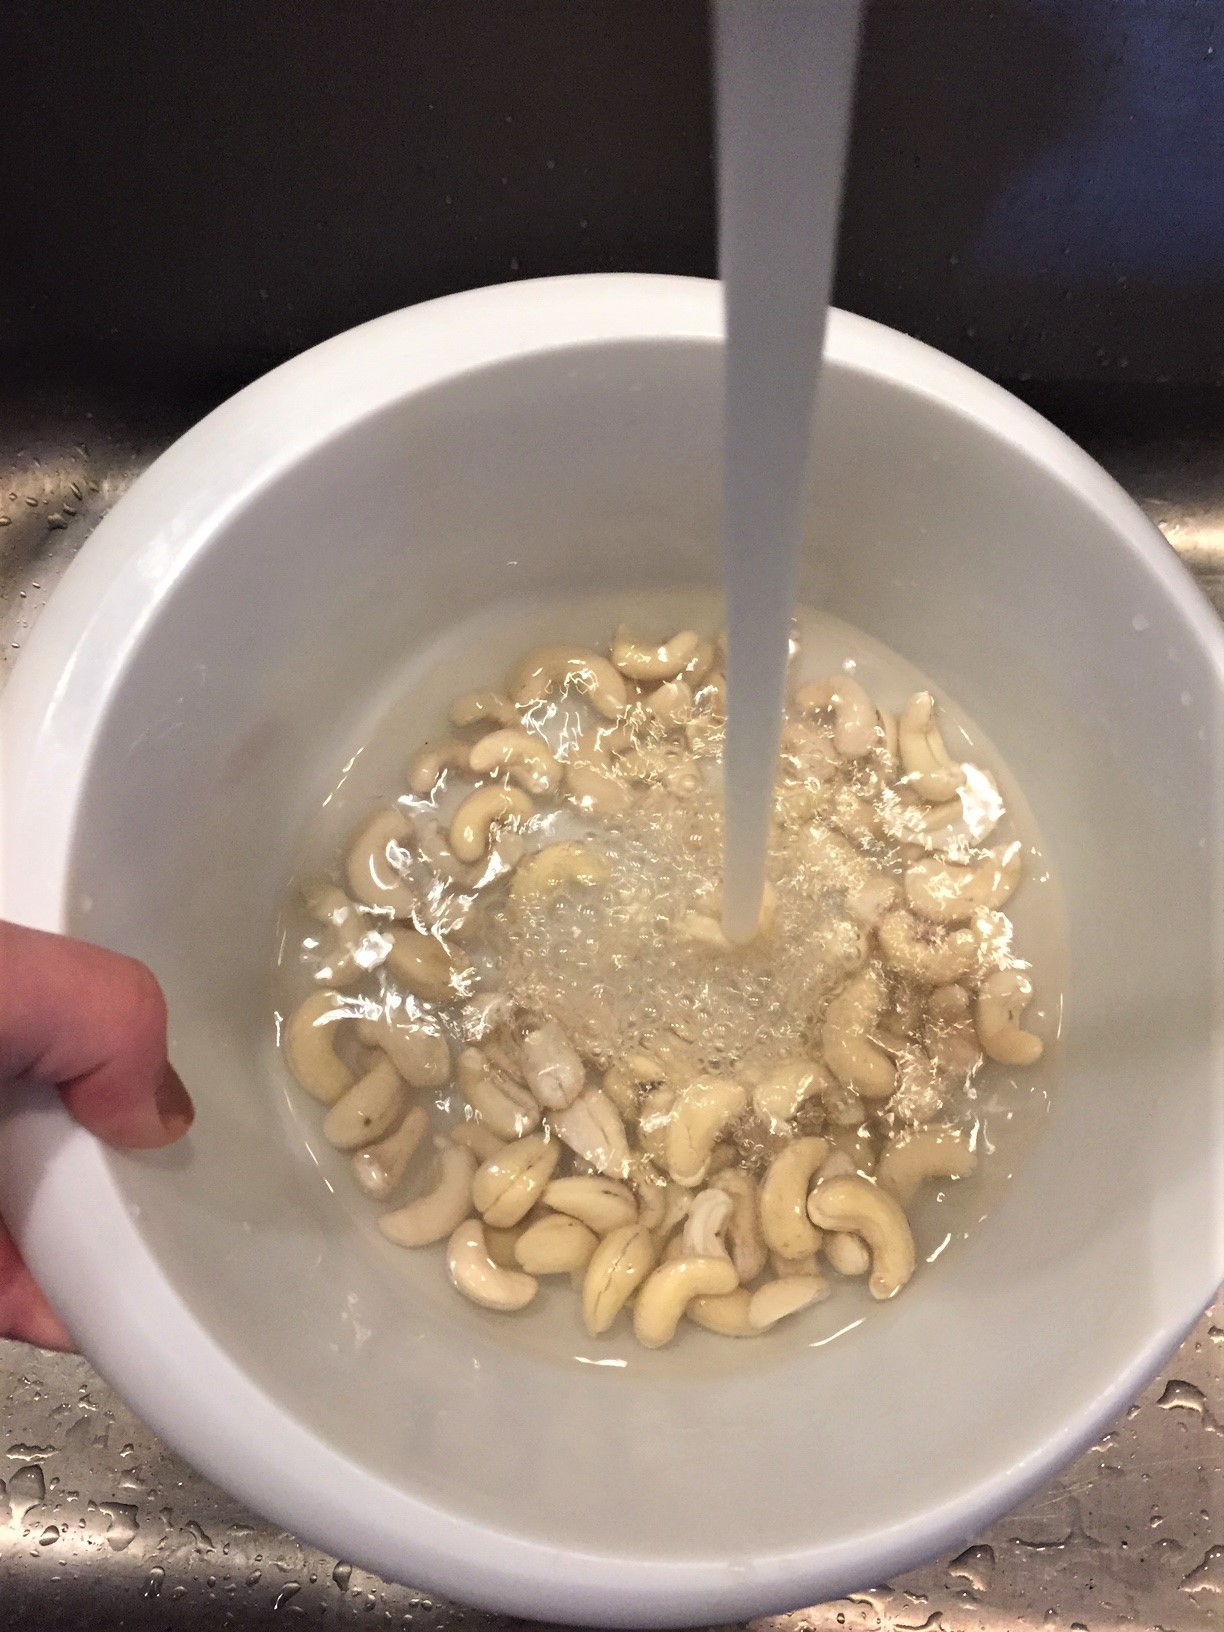 Step 2: Give the cashews a good rinse.
 Step 3: Throw them in a high-powered blender with water and optional dates, cinnamon, salt and vanilla.
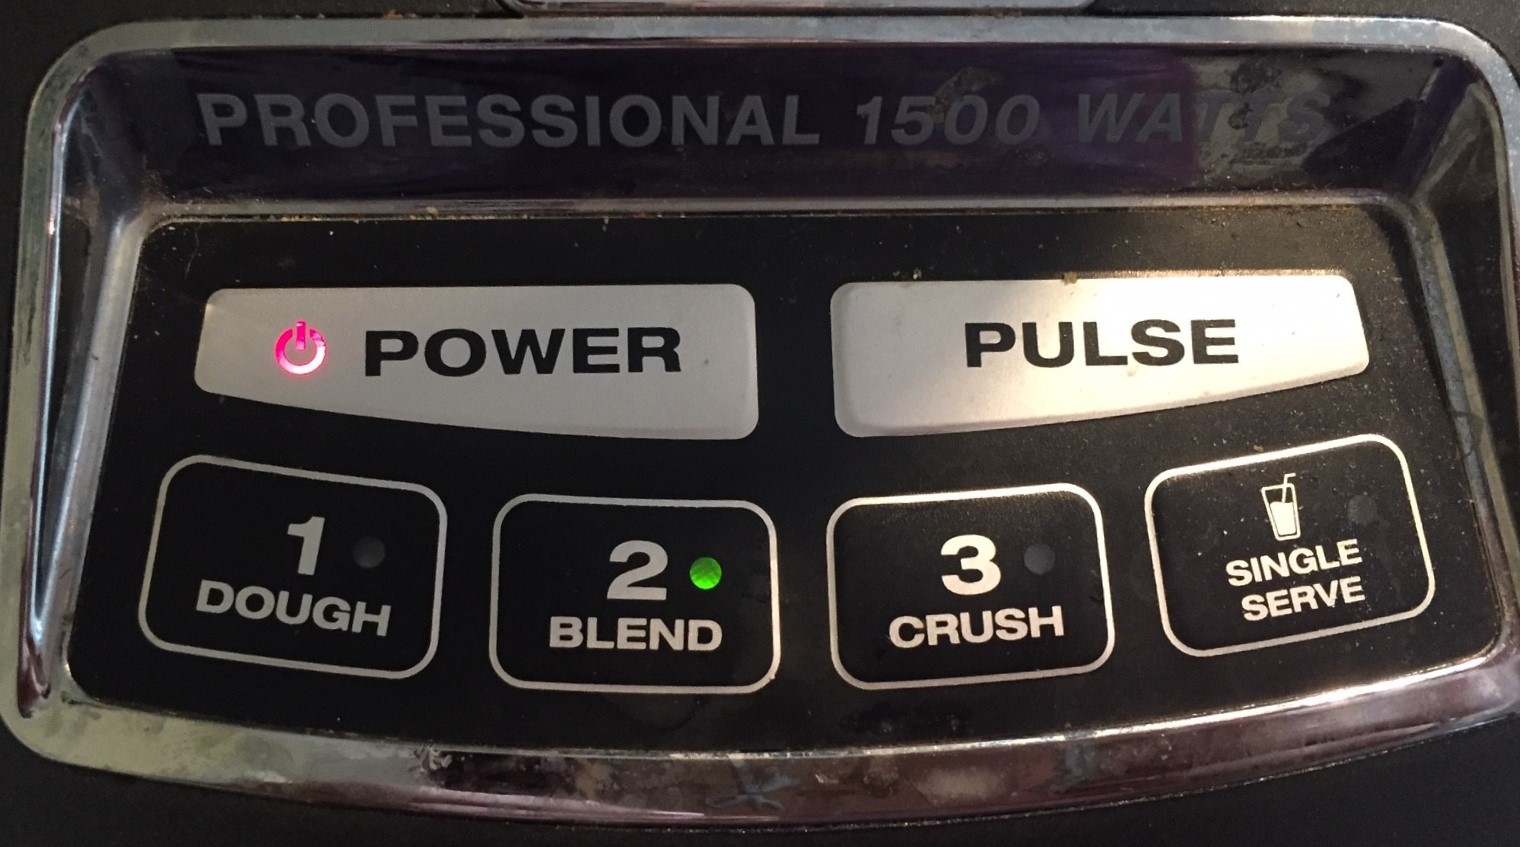 Step 4: Give them a whirl! Start on the lowest setting and work your way up. I did a good 20 seconds plus on each to make sure I was getting maximum creaminess.
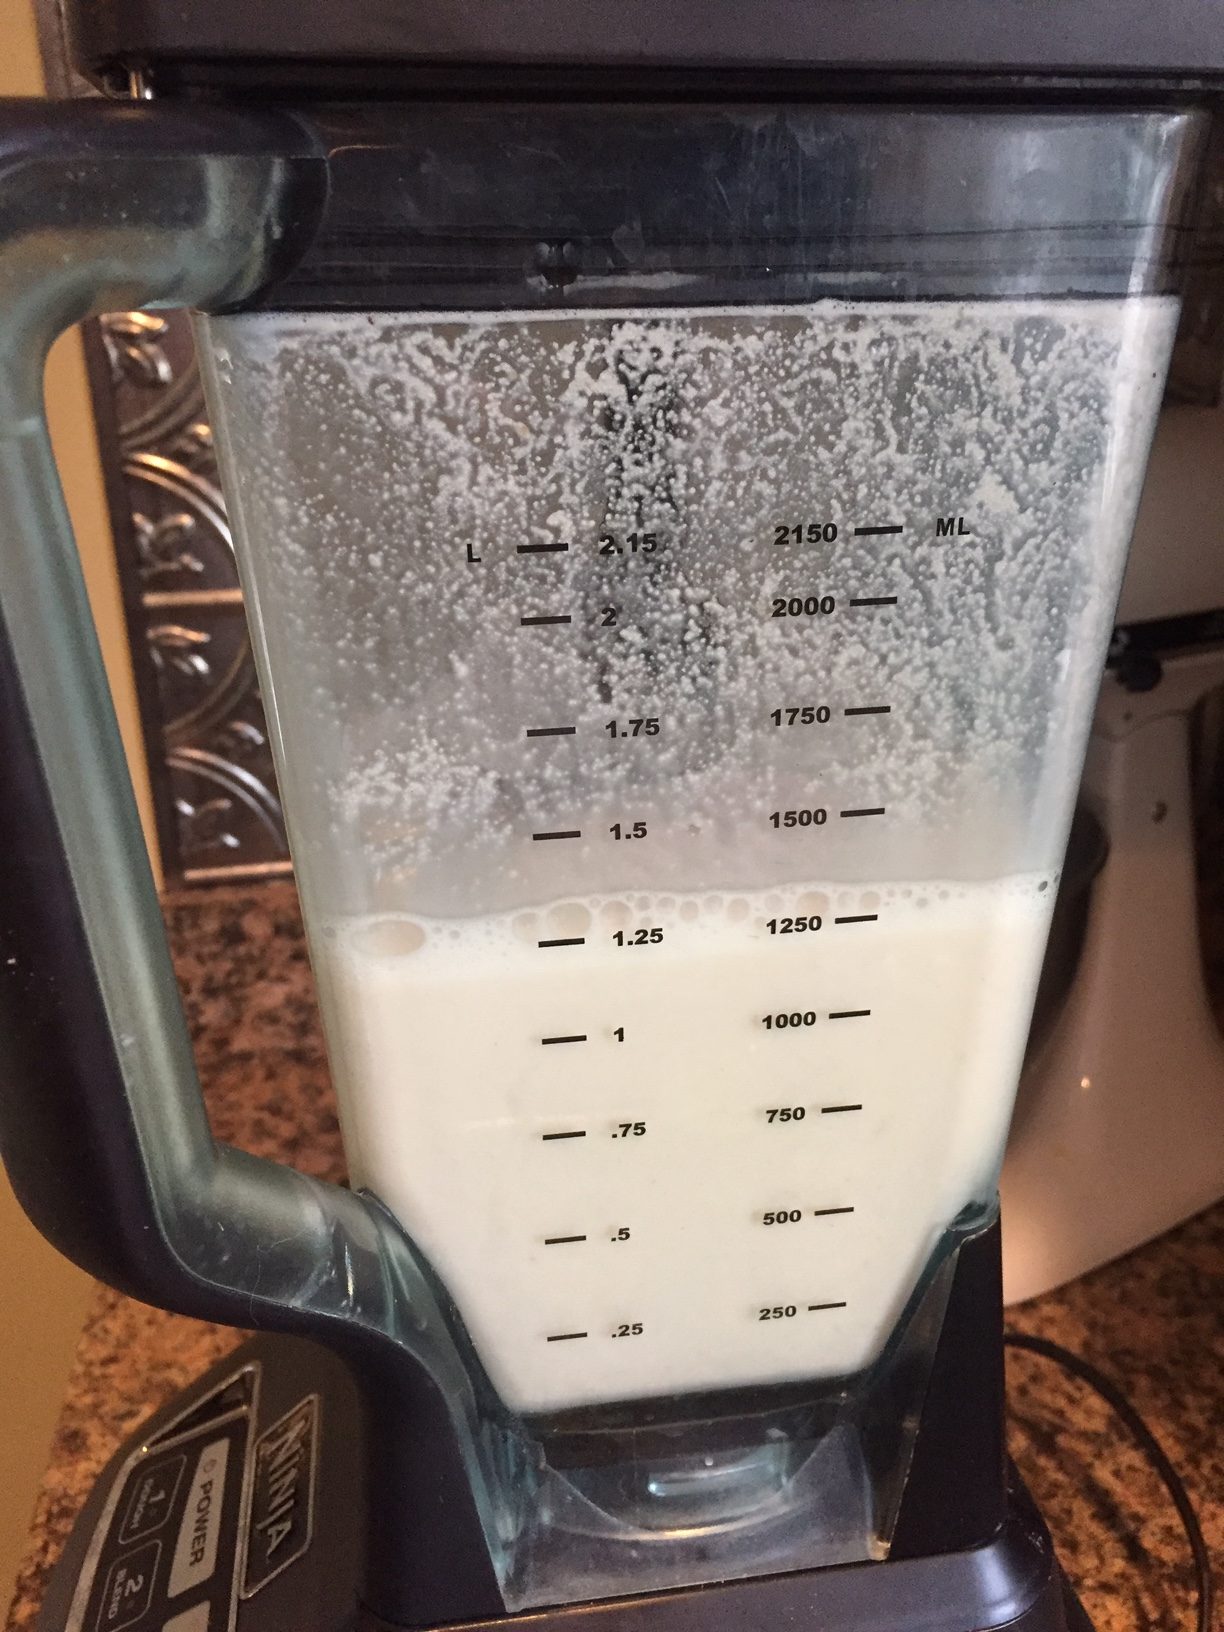 Step 4 complete: Here’s what it looks like, still some visible bits in there, though I assure you I let it blend for what seemed like forever.
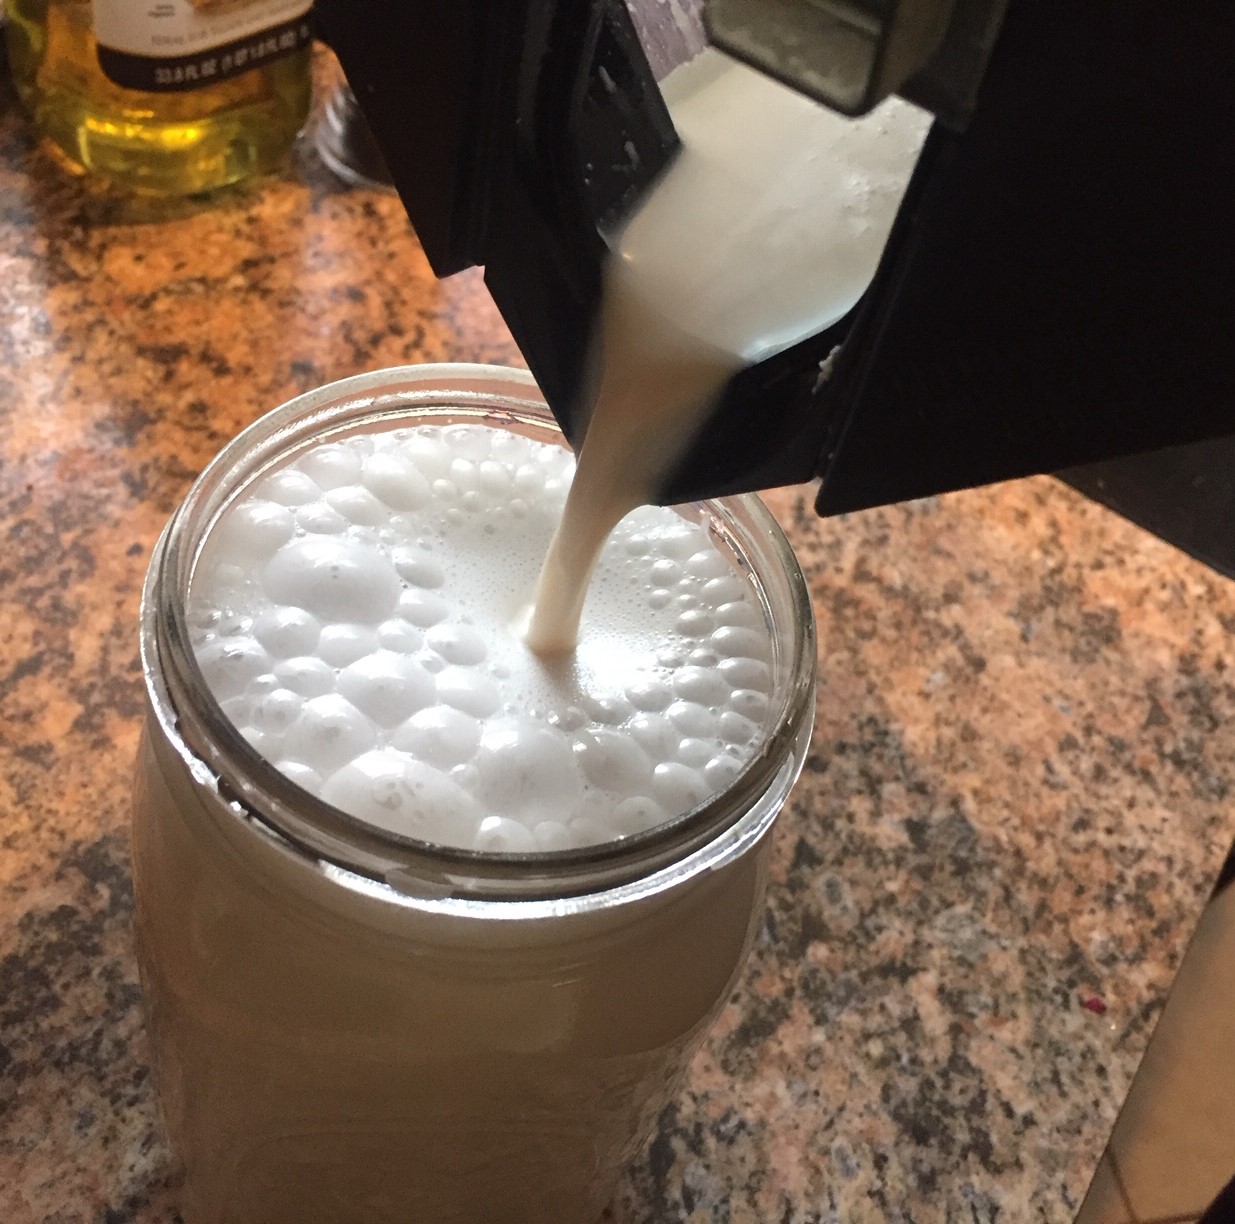 Step 5: All done! Store your cashew milk in the fridge up to three days.
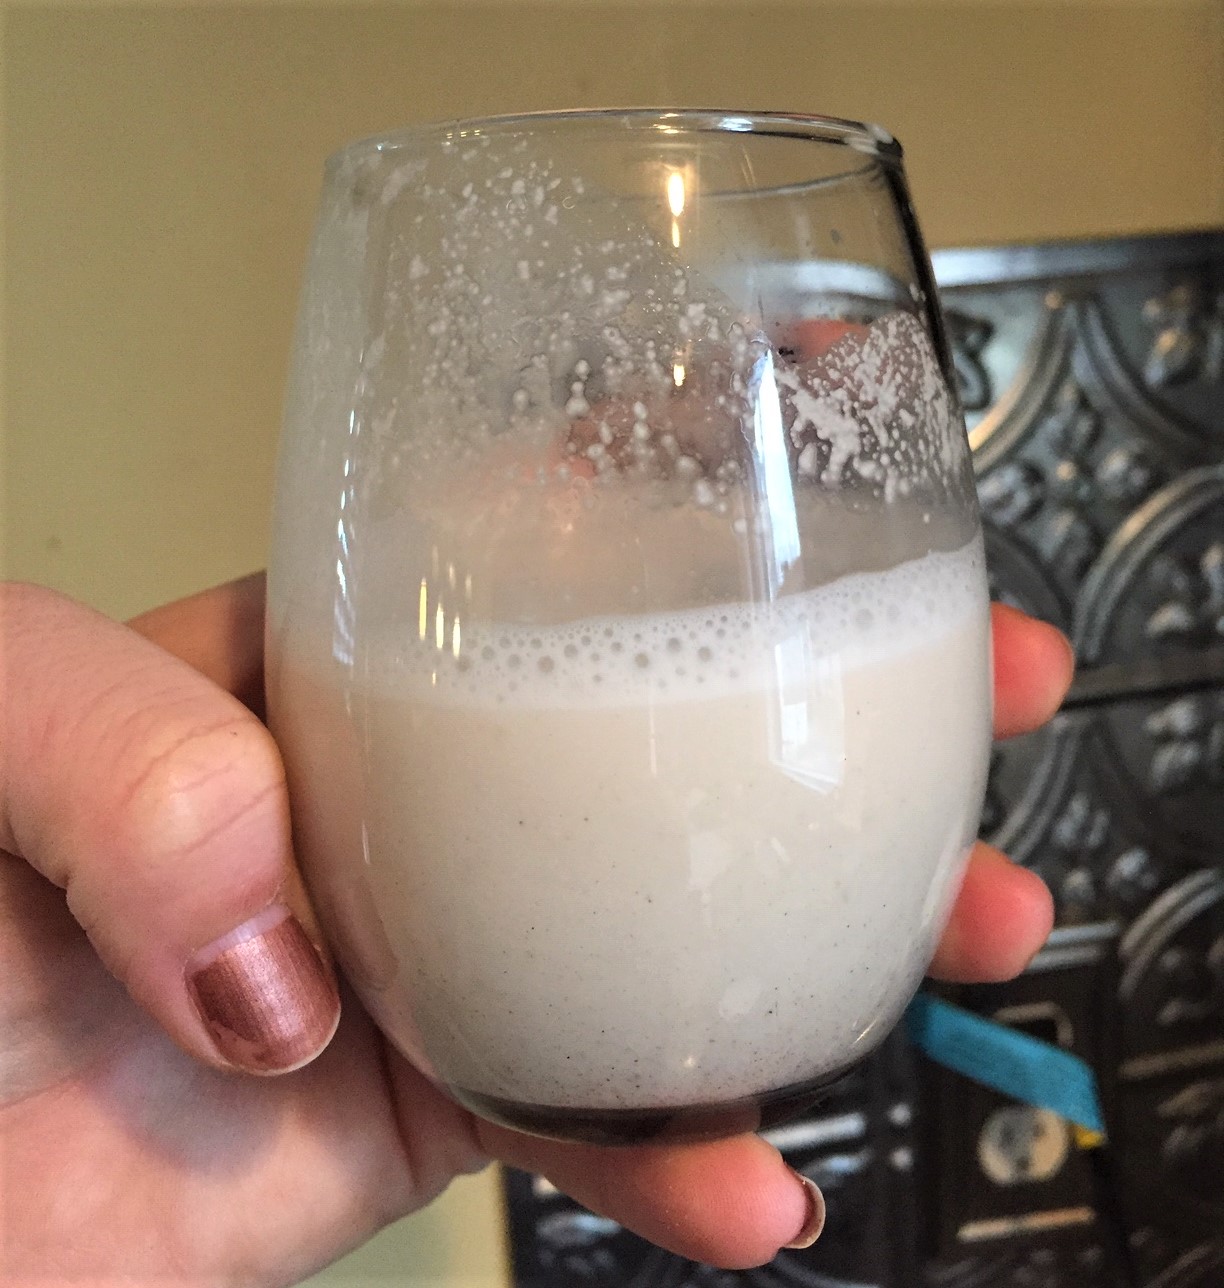 Testing the product. Good flavor. Like the hint of cinnamon. Still has a bit of pulpy texture.
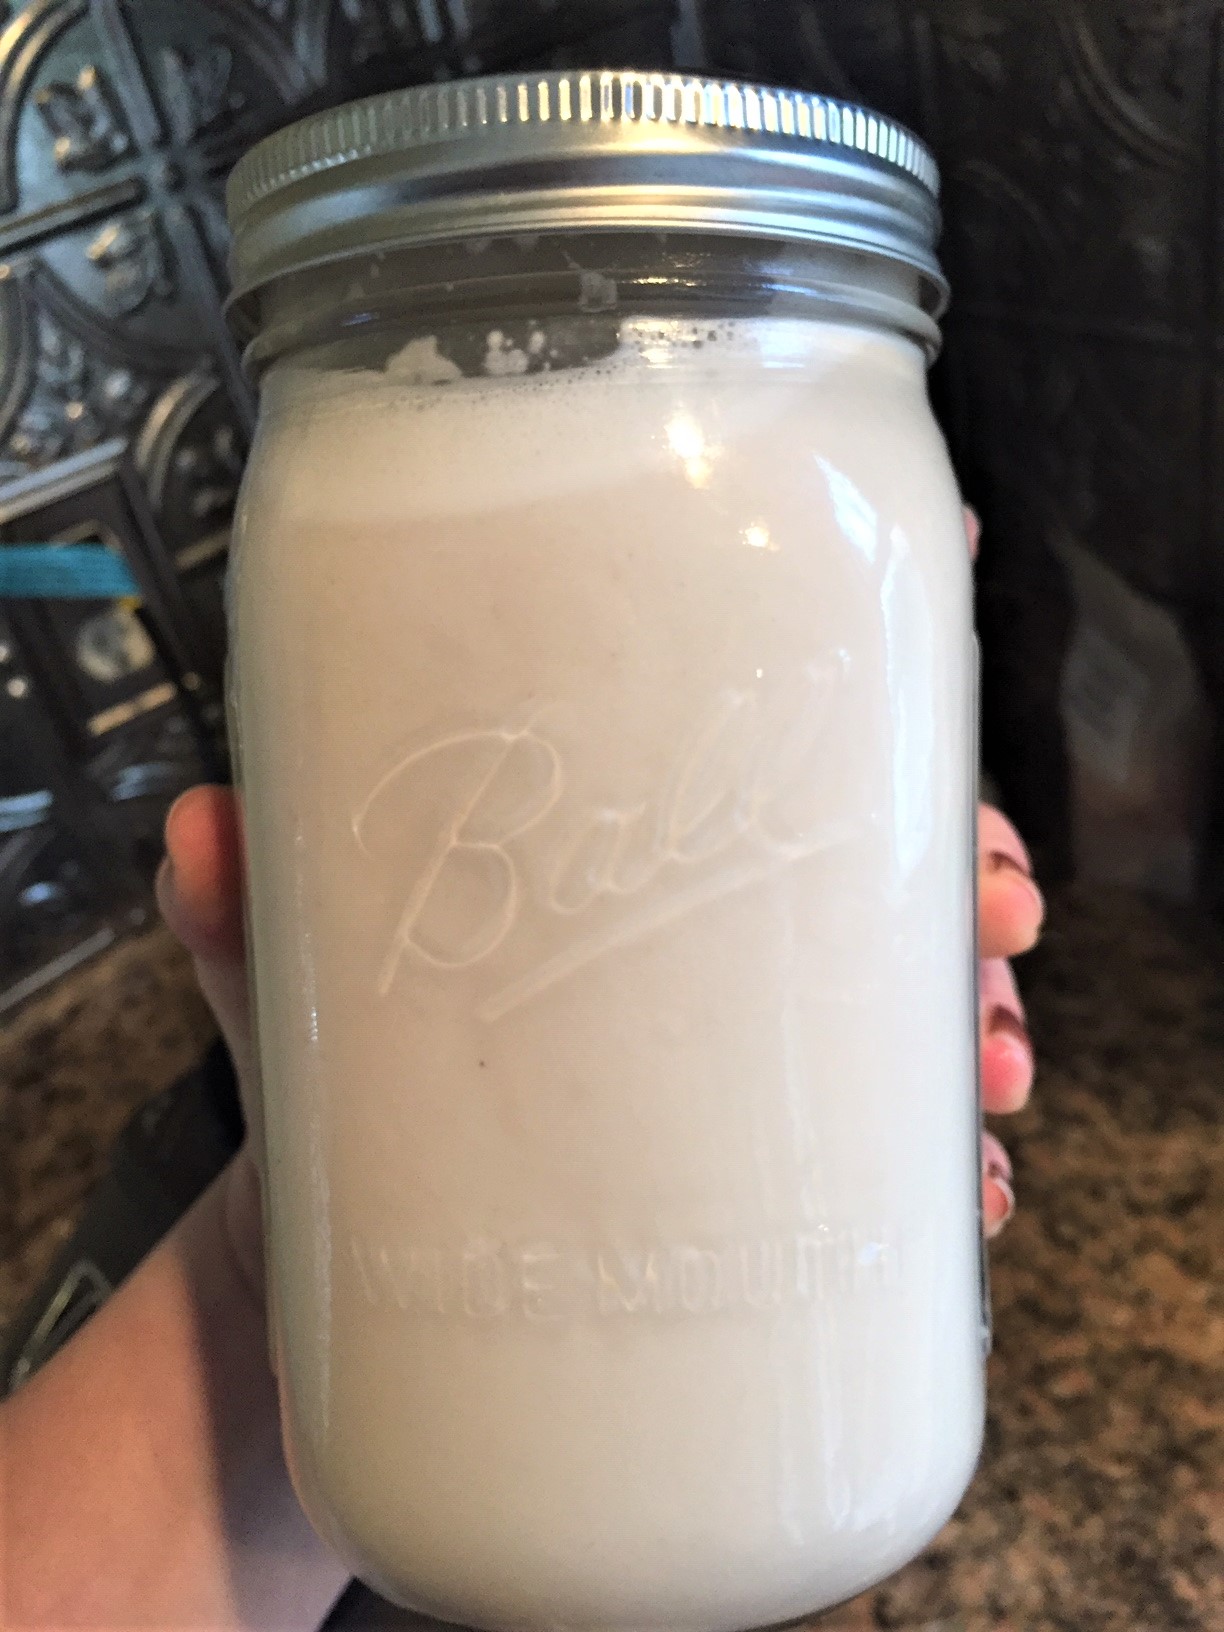 Here’s the yield.
Conclusion (1 of 3)
OK, I tried it in my coffee. It wasn’t as thick and creamy as I would like to really cut through the acidity, but the flavor was good… until I got to the bottom of my cup. There I found a veritable sand dune of sediment. That was a very disgusting mouthful that was immediately spit out. The milk was, however, delicious to add to oatmeal, where the sediment was less noticeable.
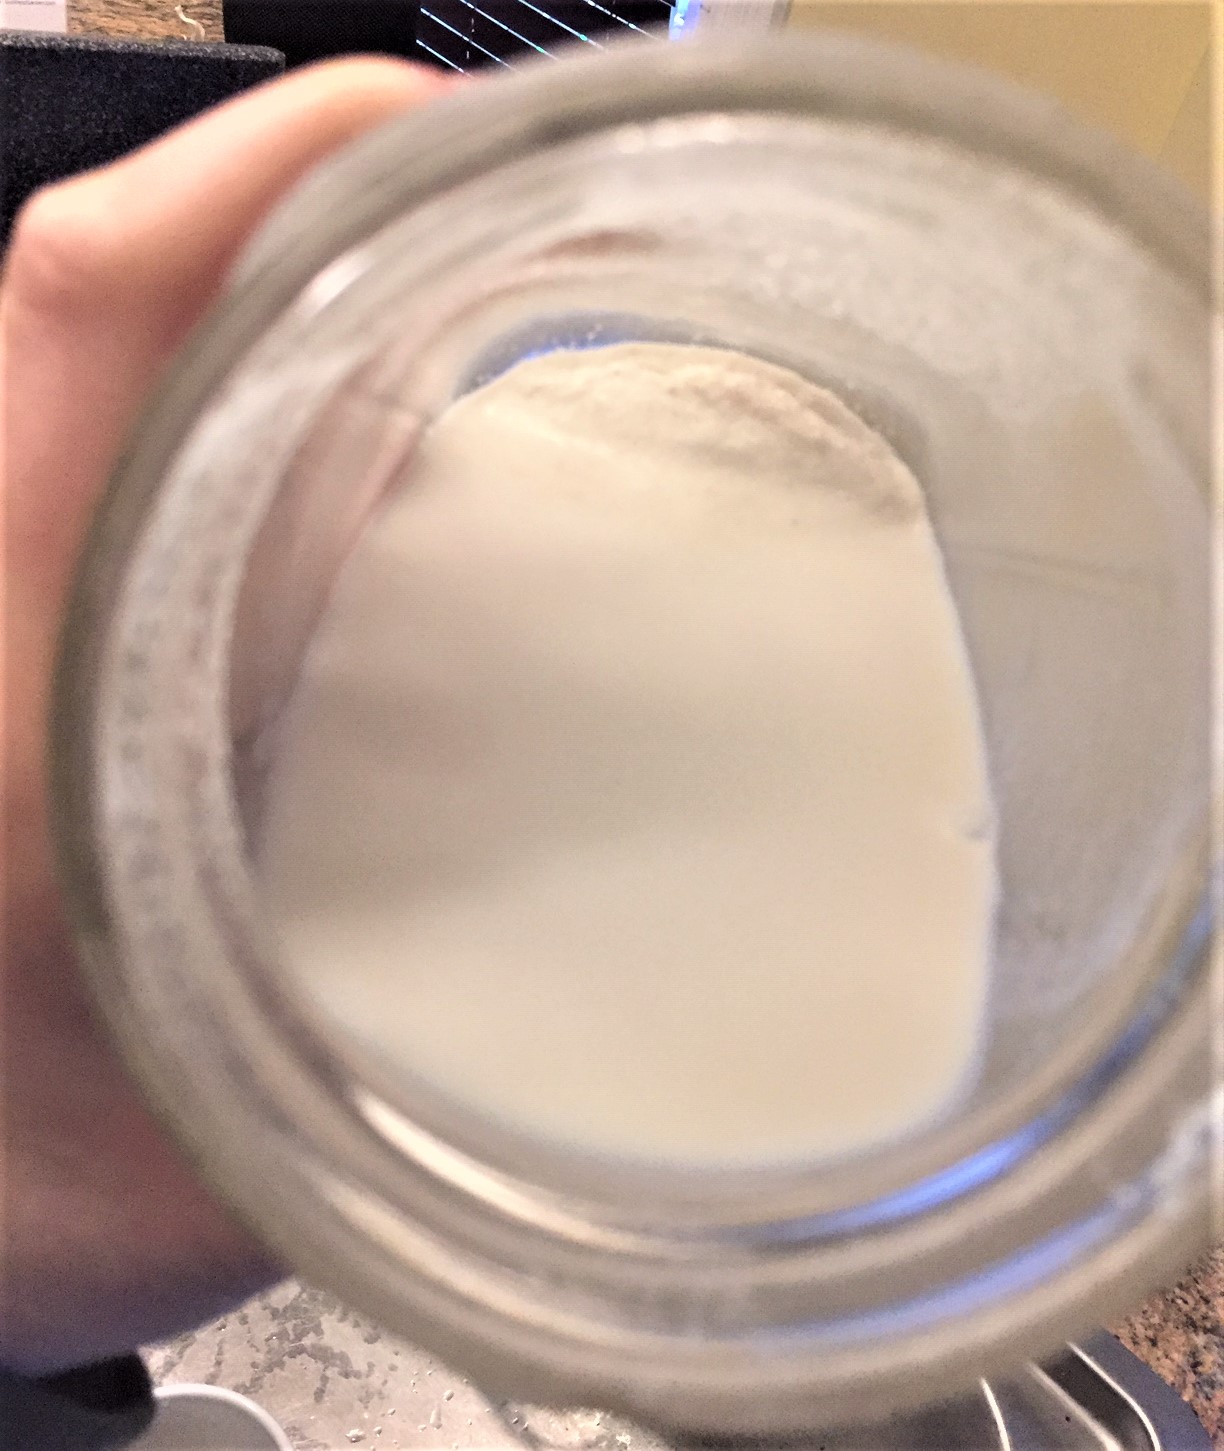 A look at the sand bar of pulp collecting at the bottom of my jar.
Back to the Drawing Board
Nowhere in the recipe I used was it mentioned you should strain this nut milk. It talked about straining other kinds, but not this one. So, I thought perhaps this would solve the problem. I had about a cup left of my original batch, so I decided to make another, this time leaving the cashews (and dates!) in hot water for 15 minutes. I included the dates since I noticed they didn’t blend as smoothly as I would have liked on the first go-round.
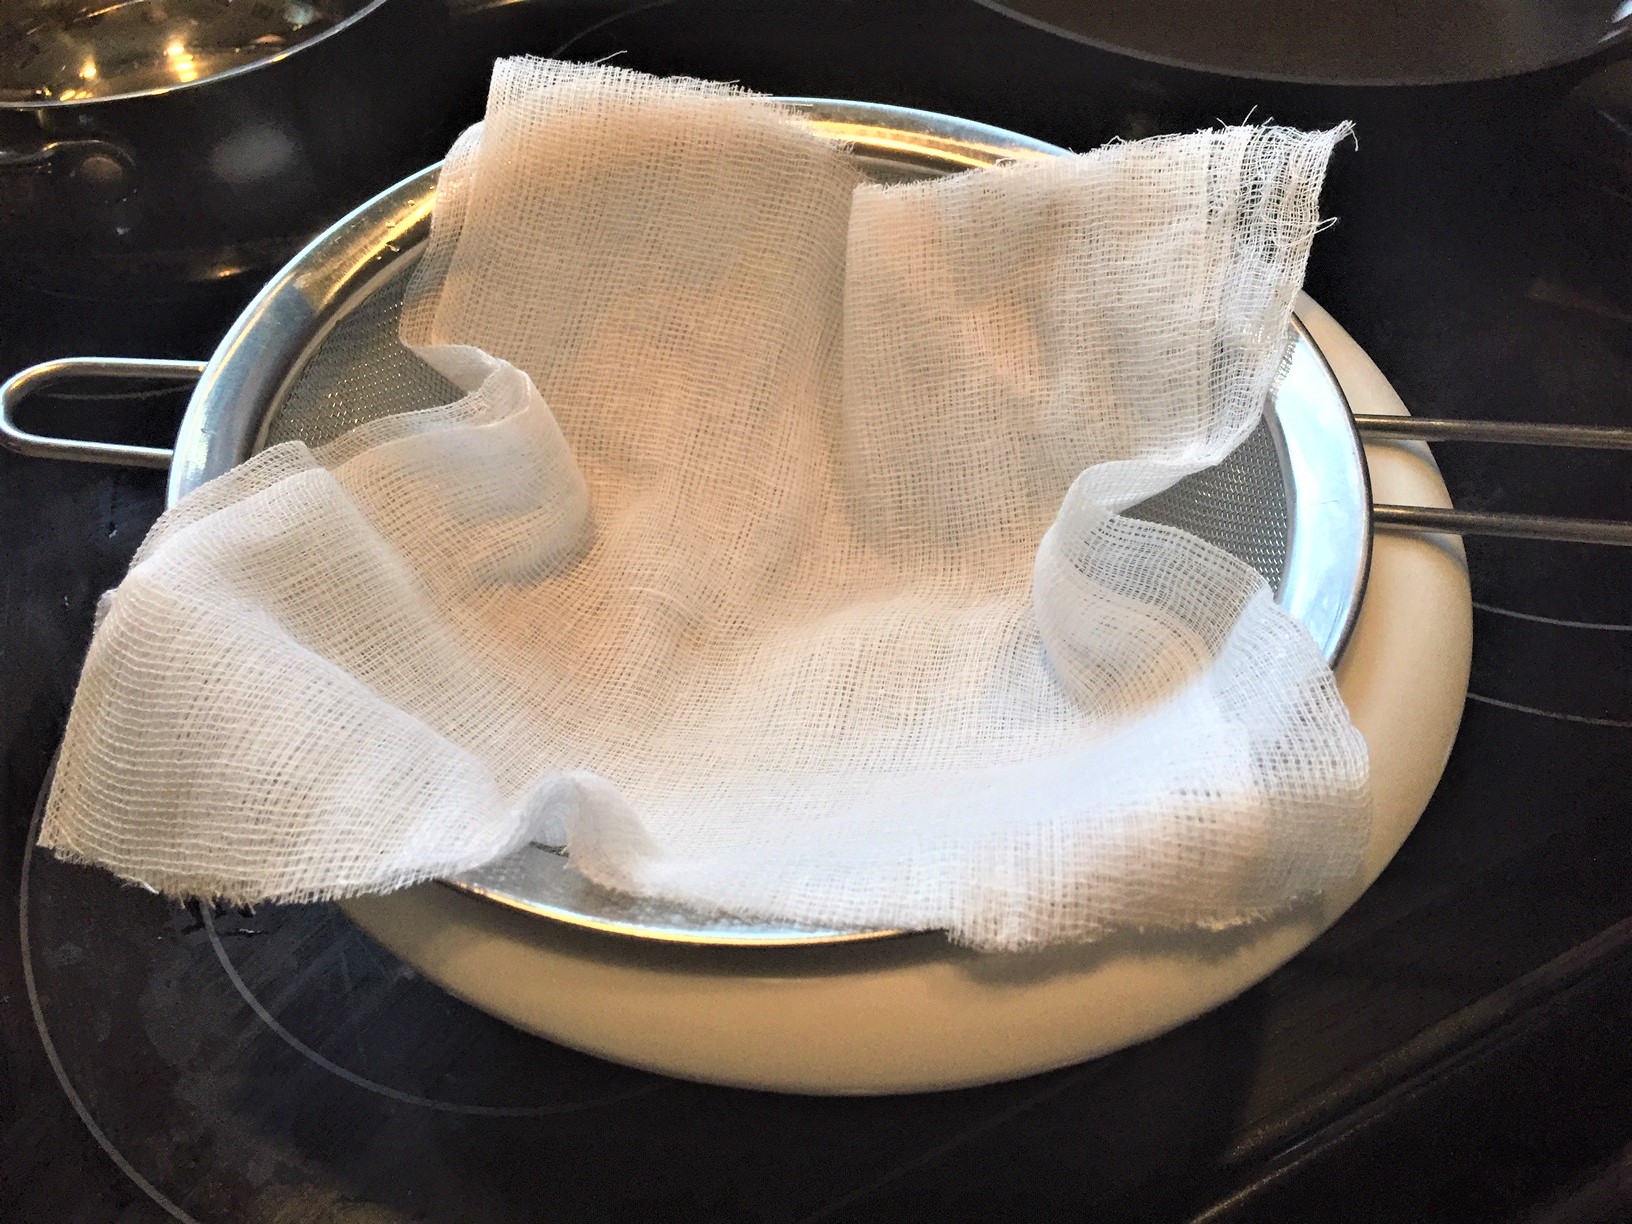 Step 6: Repeat steps 1-5 and make ready a bowl and colander lined with cheese cloth.
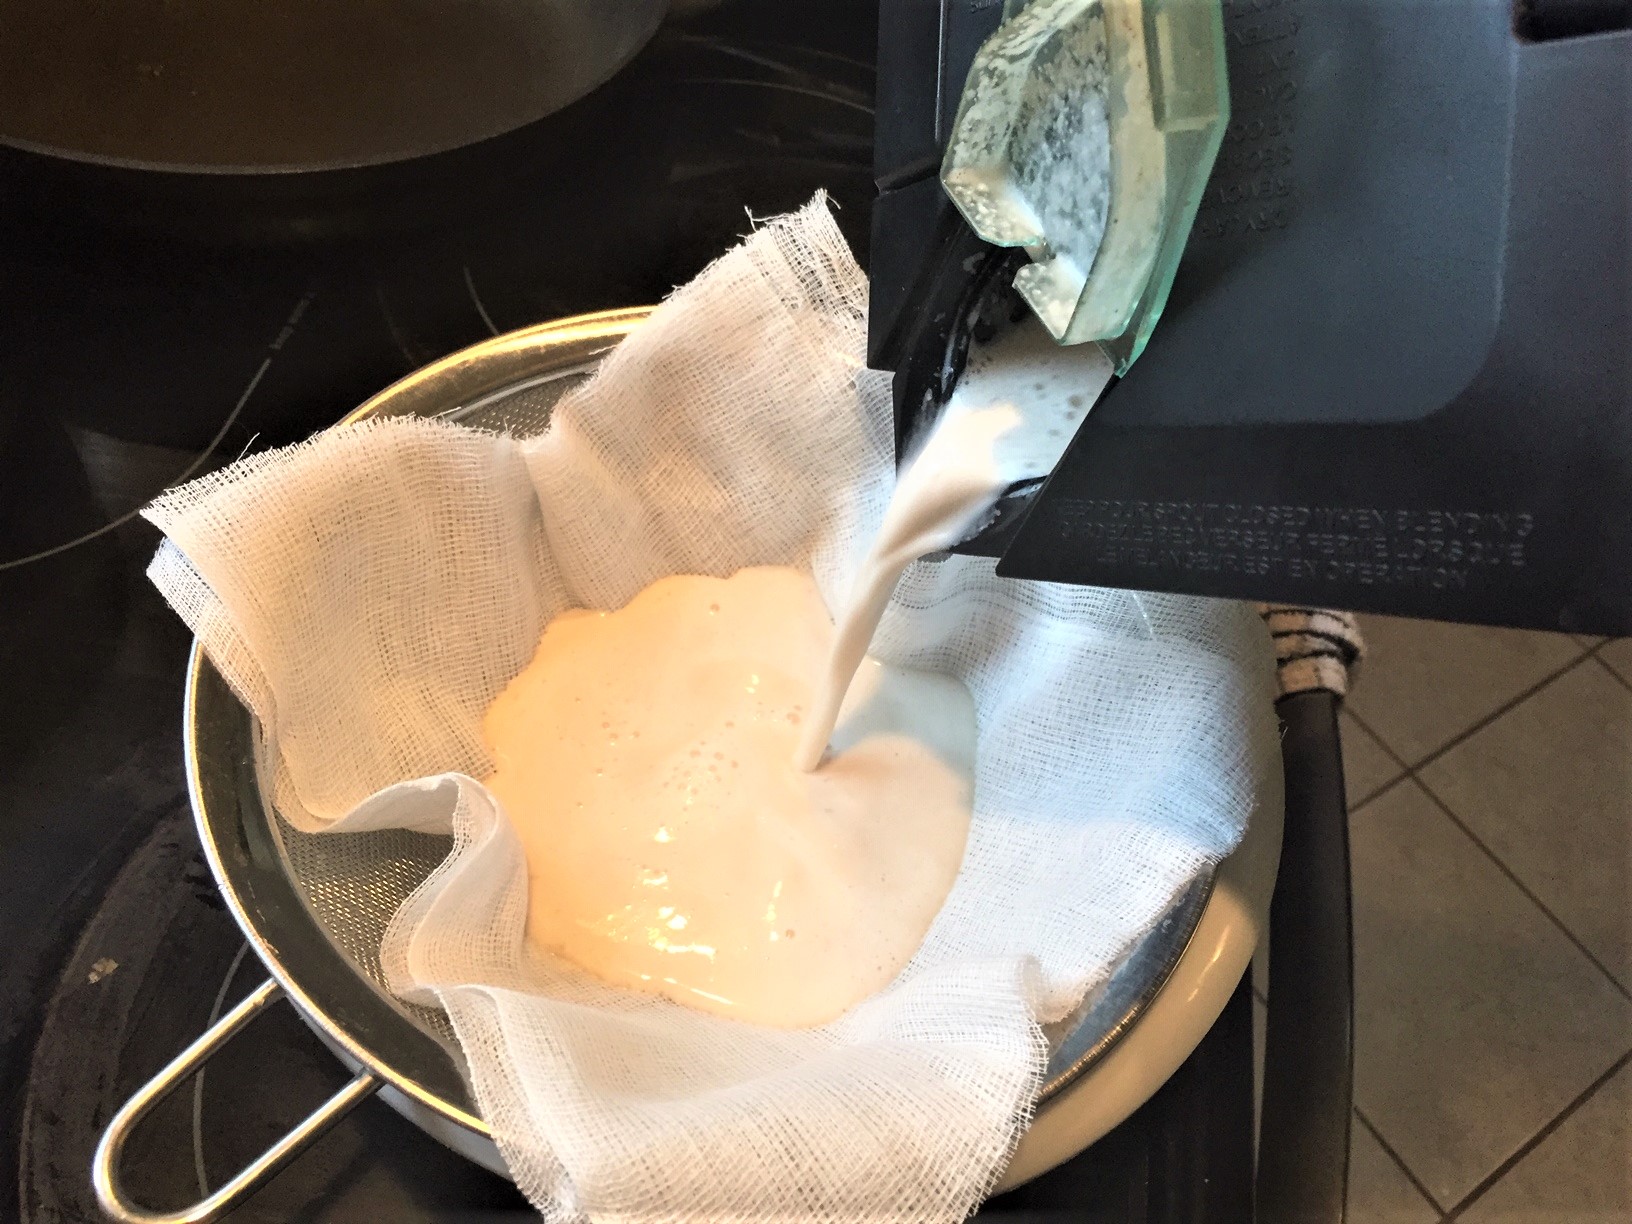 Step 7: Pour blended mixture over the cheesecloth. You may have to go slow and do it in batches because…
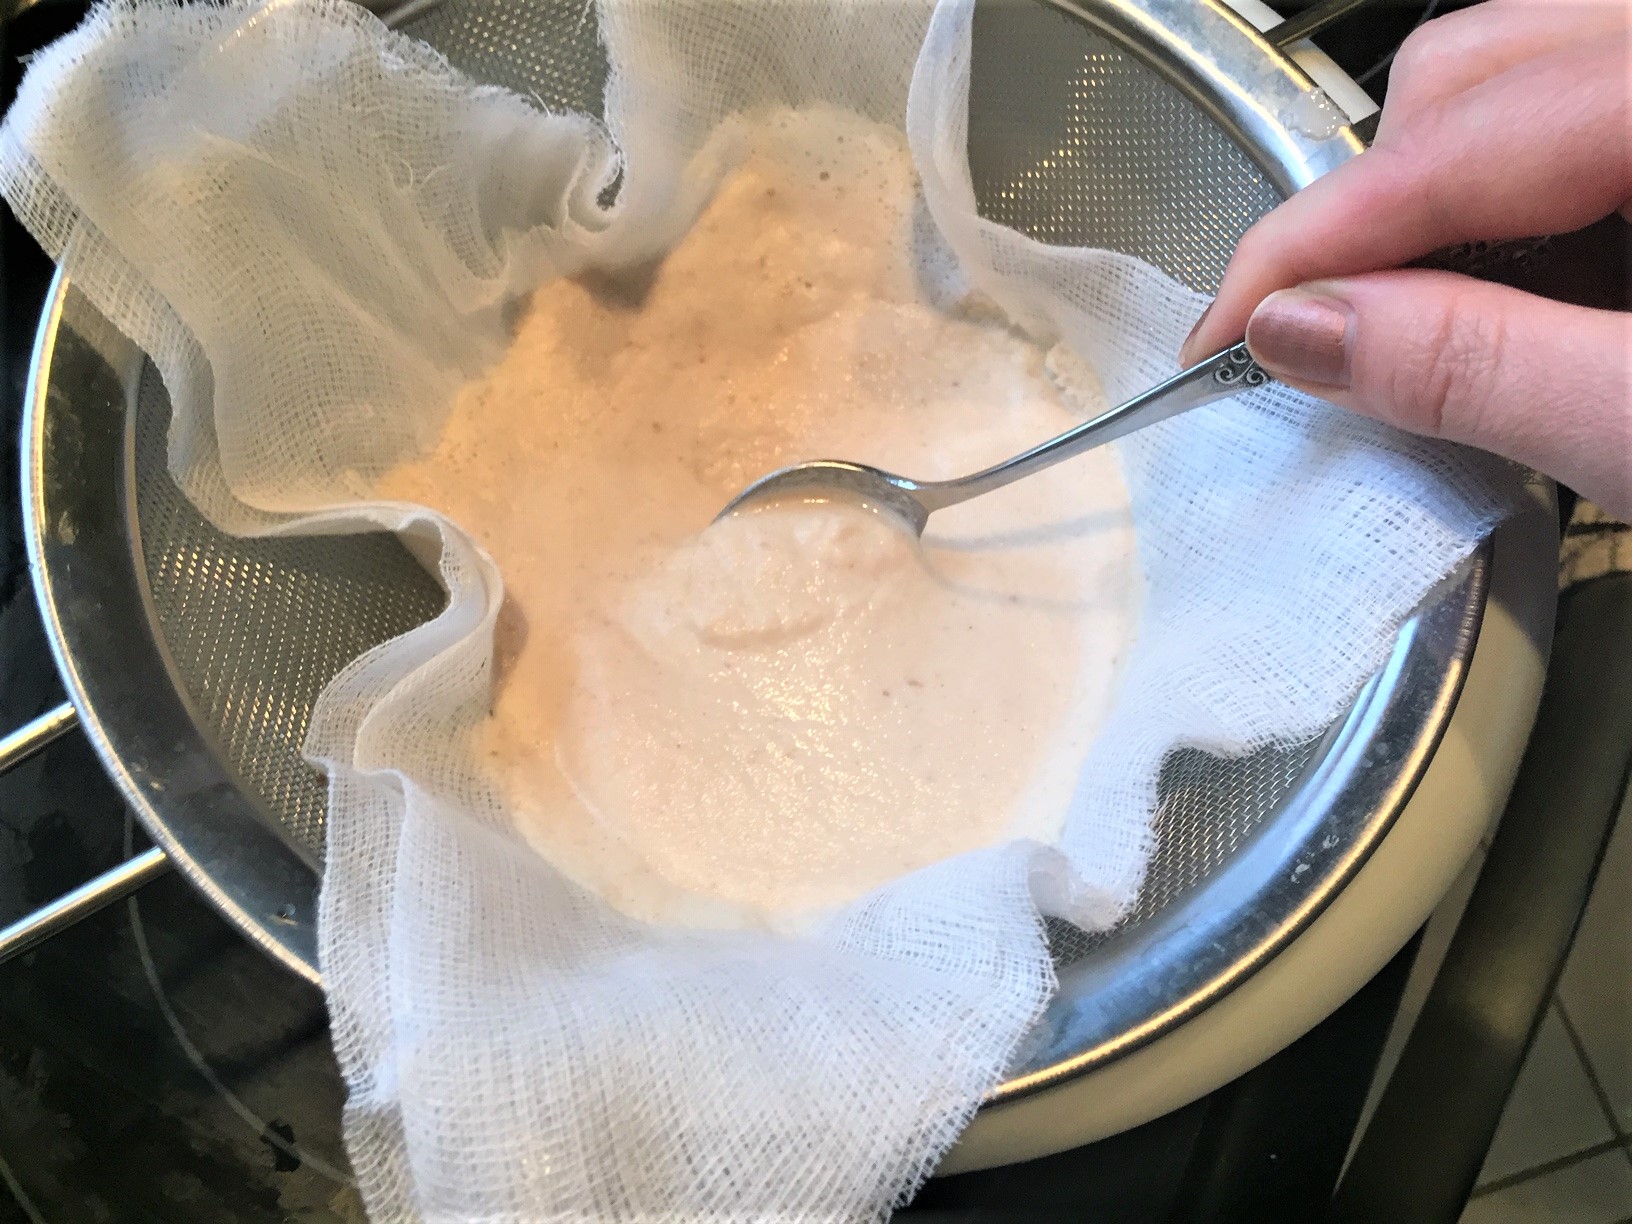 Step 8: The pulp will create some blockage so you’ll have to coax it through with a utensil.
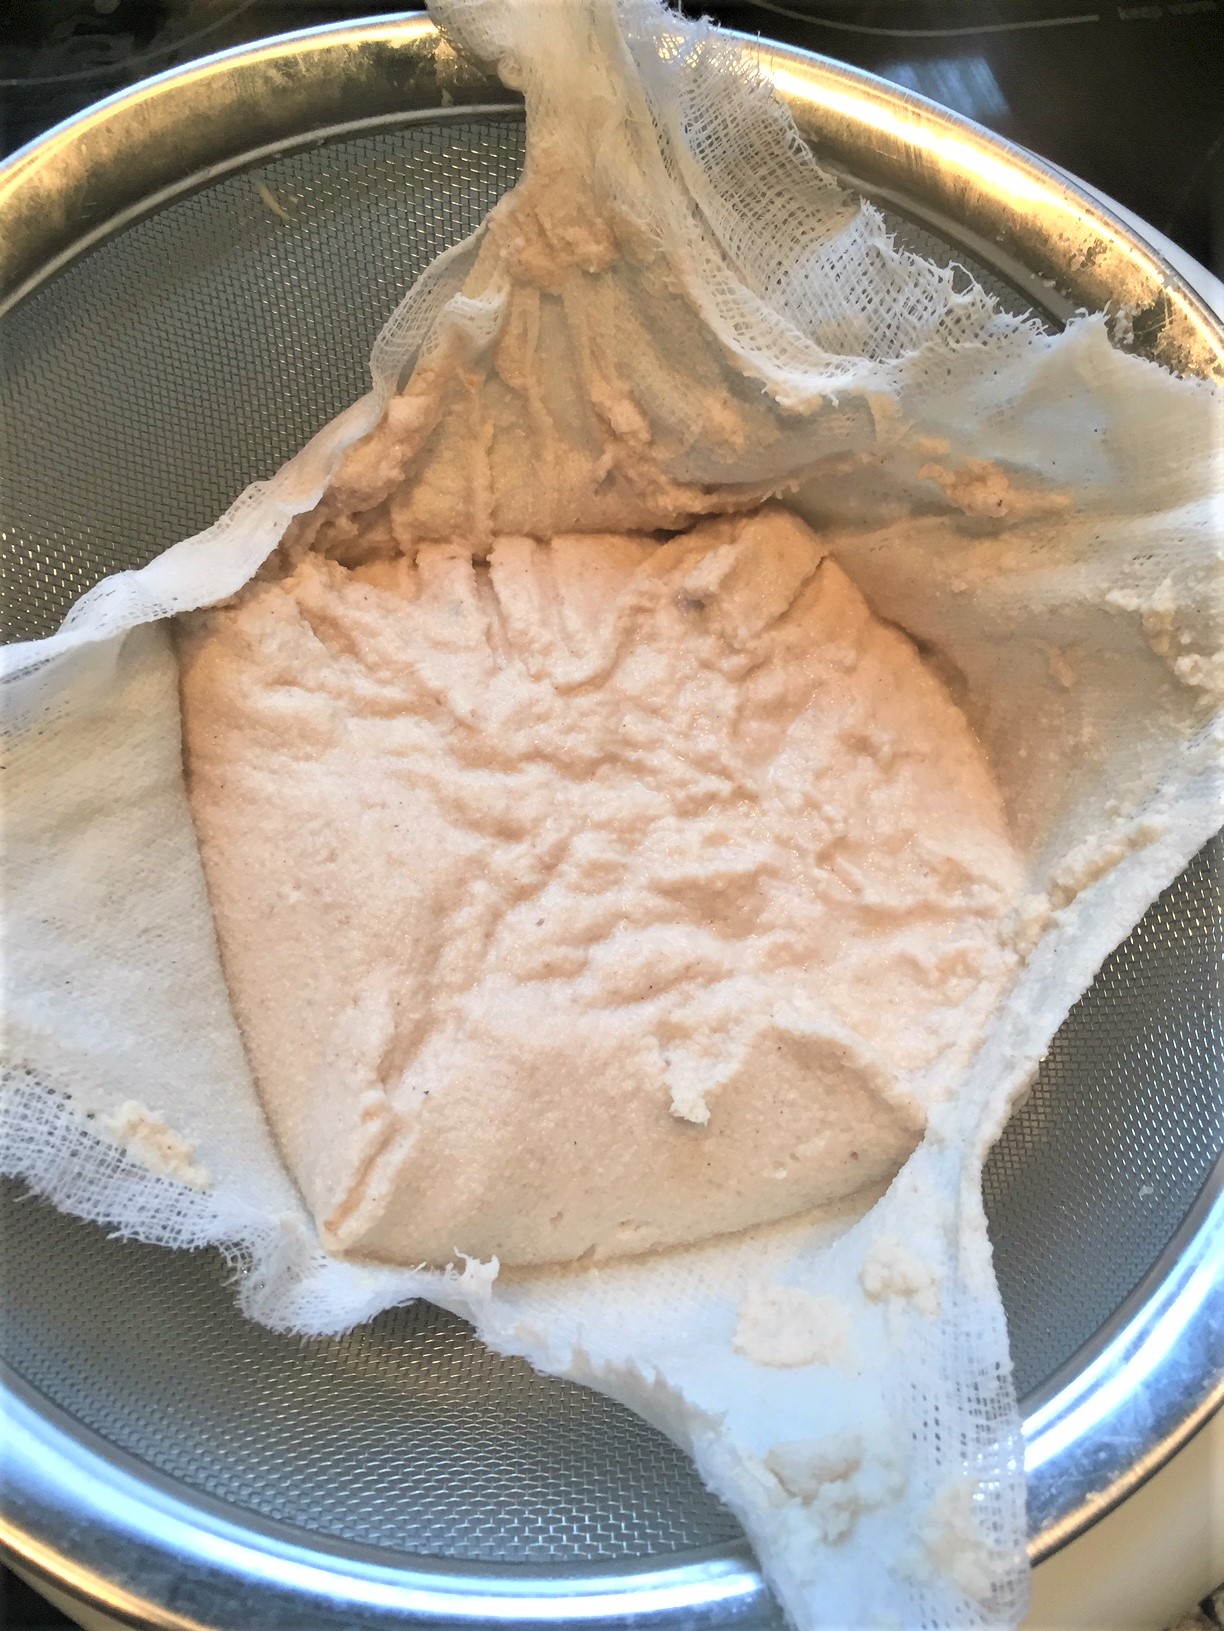 Step 9: Continue to do this with the rest of the mixture until as much moisture as possible is out of the pulp .
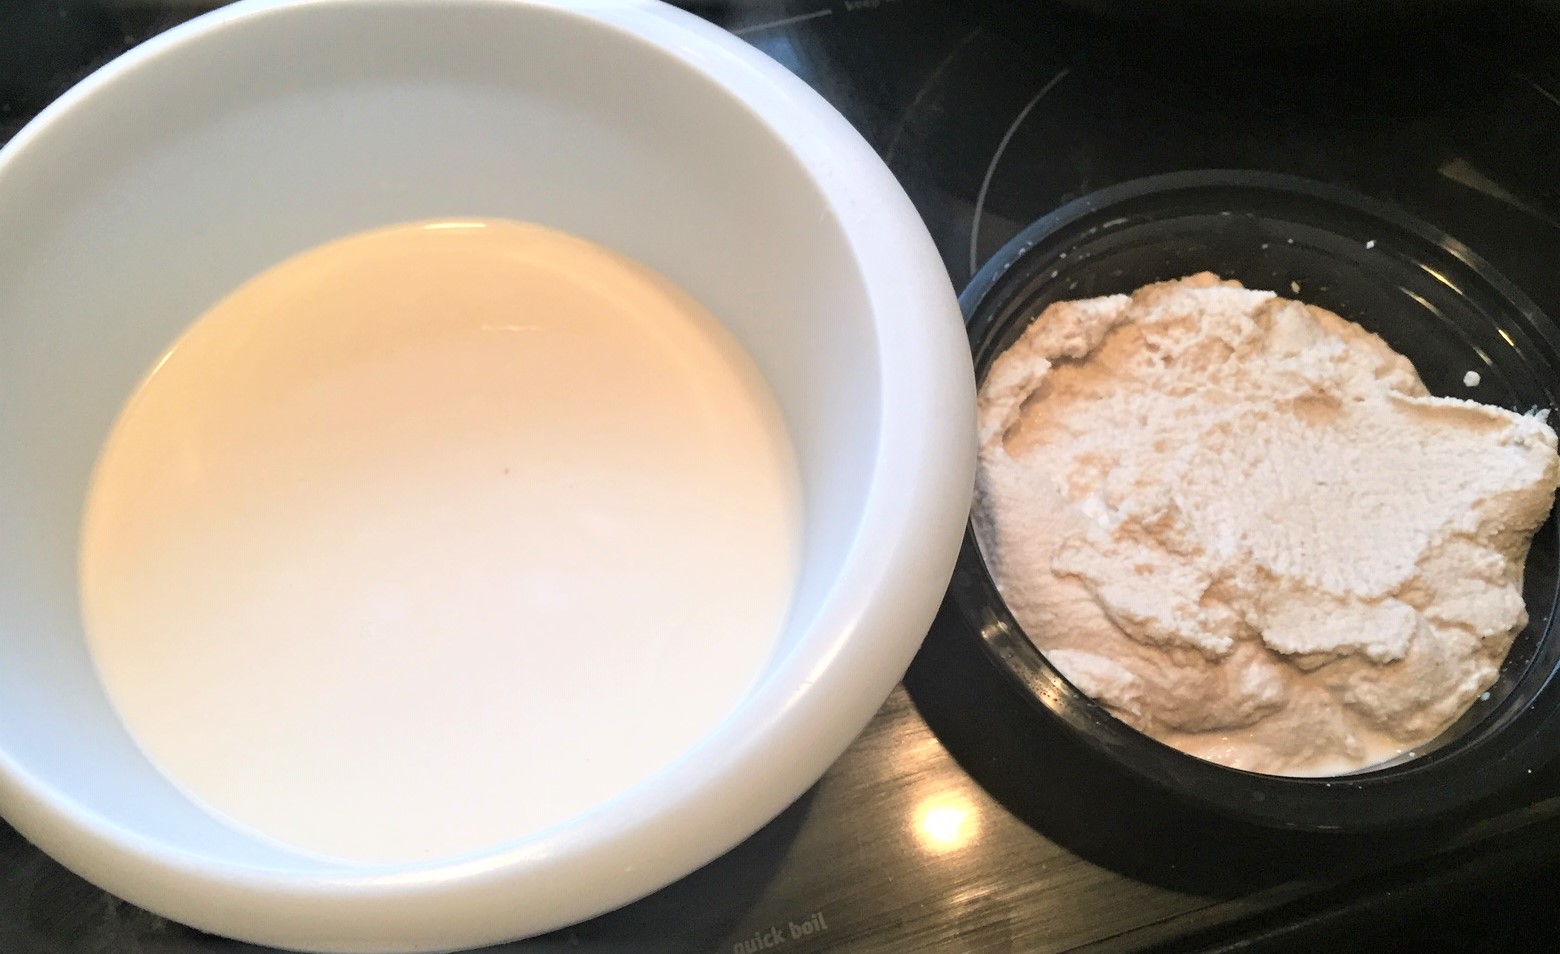 A comparison of your milk versus solid yield.
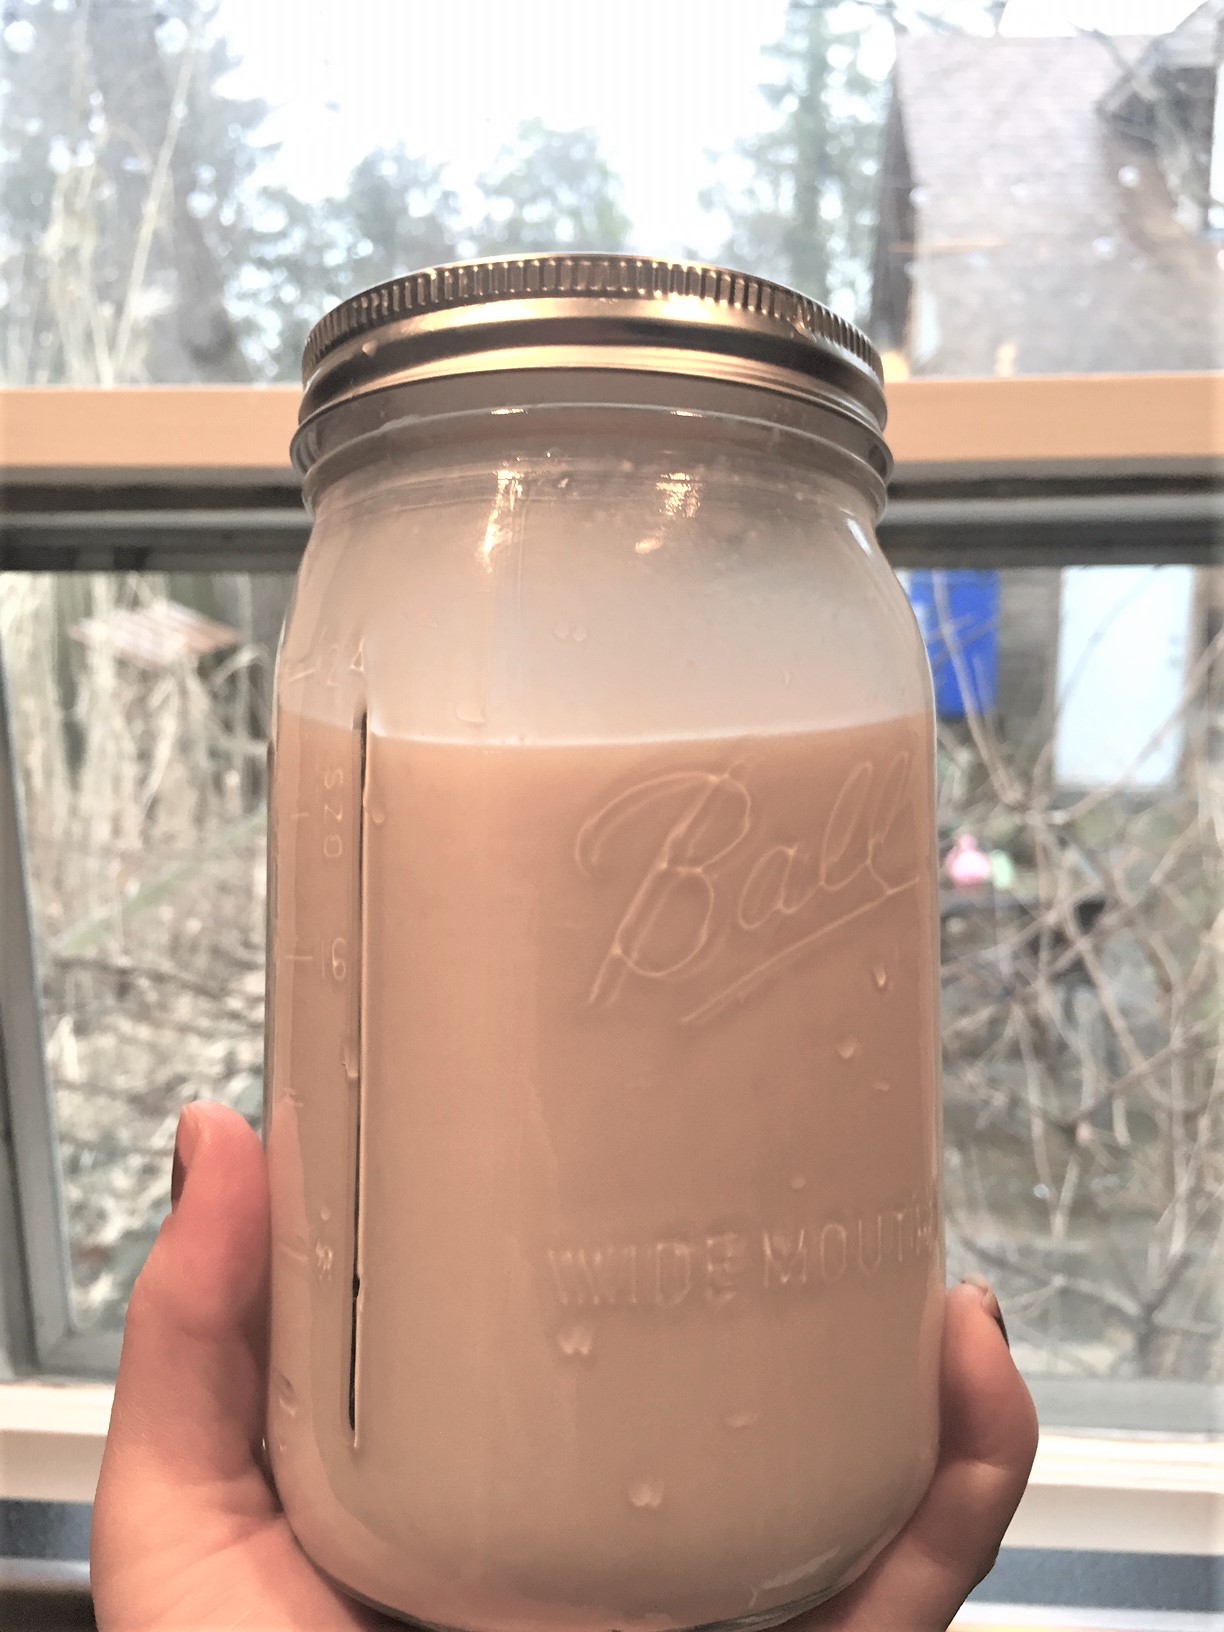 How it looks back in that jar. Mind, I did put a cup from the original batch through the strainer as well, so we yielded slightly less liquid from batch 2, even with an extra cup of mixture added. Still, it doesn’t have the bits in it and clings to the side of the jar just like a good glass of 2%!
Conclusion (2 of 3)
This is delicious! This is what I was hoping for! But… now I have all this cashew mixture. I’d hate to throw it away. Let’s consult Google about what to do with it… Hmm…. this recipe recommends making a granola out of it. I’m also a granola novice, but Kathryn’s Homemade Granola is one of the best things I’ve had. Let’s give this a try!
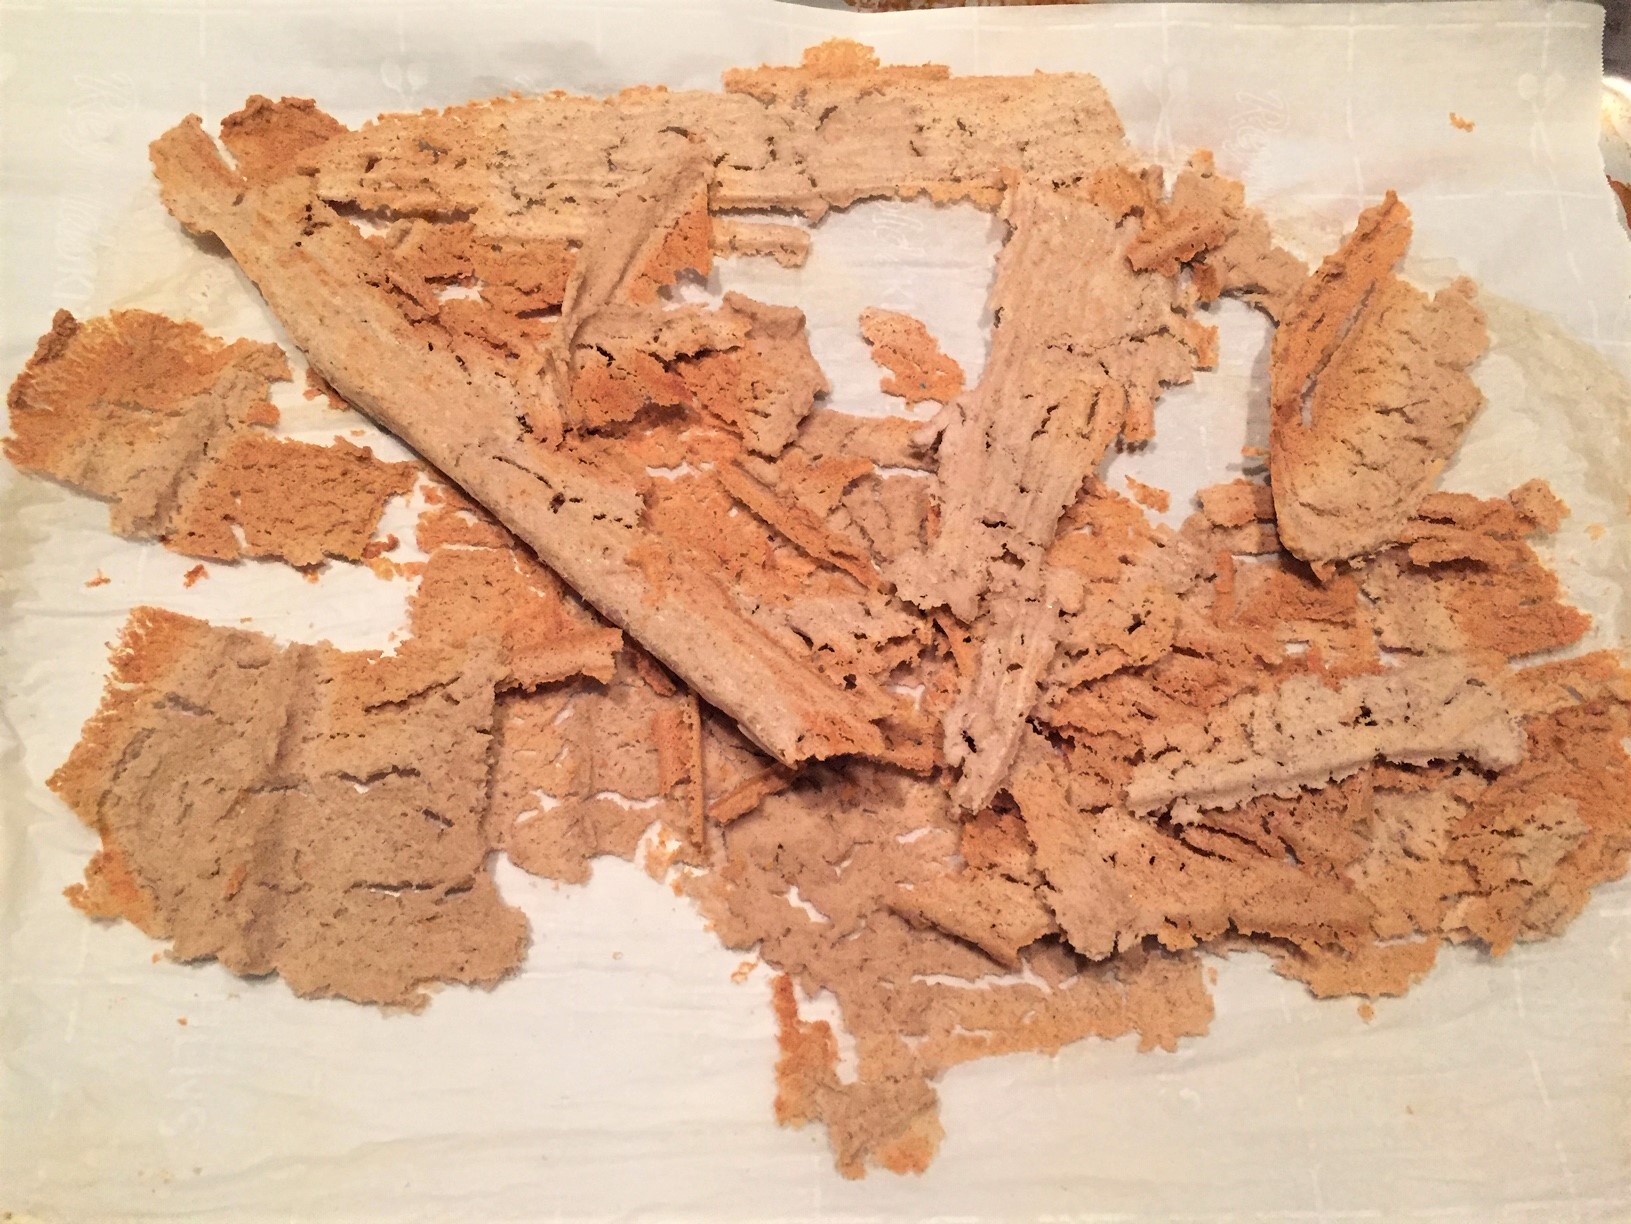 Step 10: Follow instructions in the recipe link above to bake off your cashew bits. Mine took a while longer than the recipe called for to dry out, but it eventually got there.
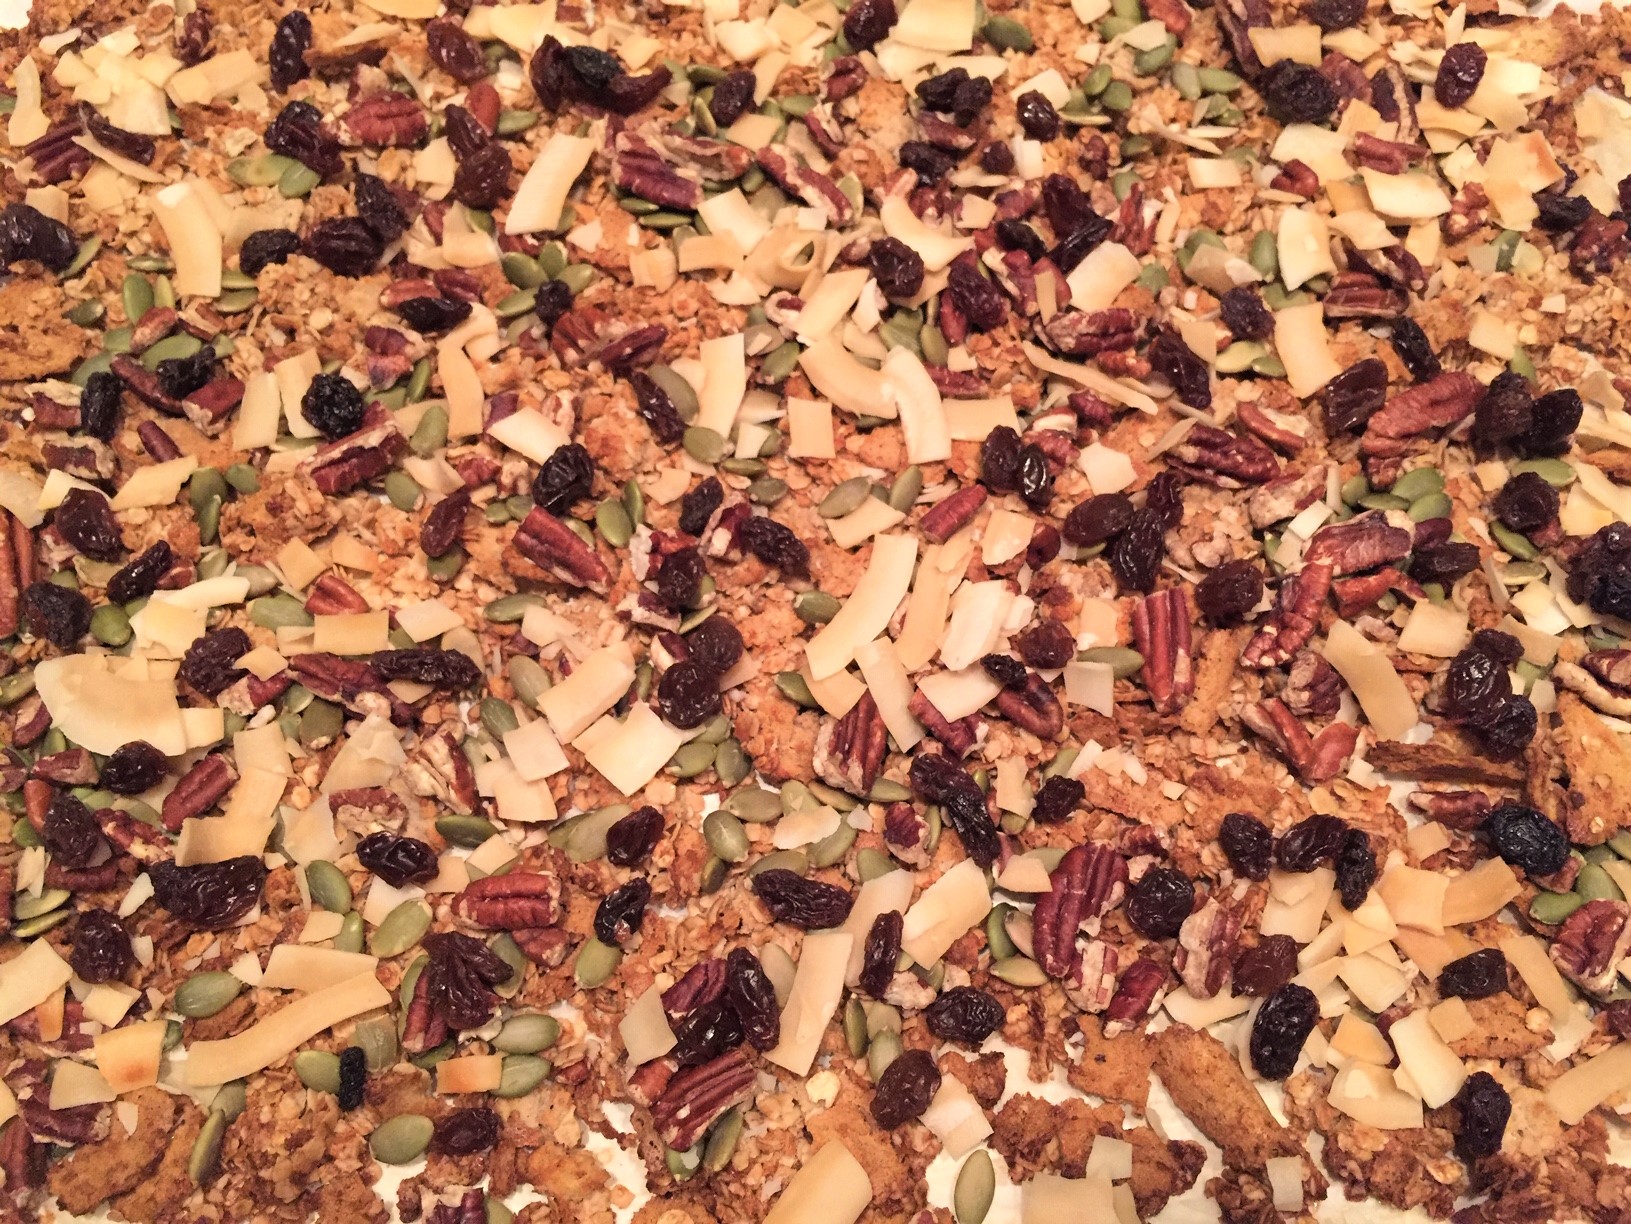 Step 11: Combine cashew flakes with oats, honey, salt, vanilla, coconut oil (not enough to make your mouth itchy) and bake. Throw in pepitas and pecans during the last couple minutes of baking. Take out and throw on raisins and toasted coconut flakes as it cools.
Conclusion (3 of 3)
This. Granola. Is. So. Tasty! And I made it with a bunch of stuff I just had sitting in my pantry. The cashew mixture worked perfectly with the oats. I added extra salt and used slightly less honey than the recipe called for, resulting in a balanced, sweet and salty granola.
While this whole process ended up needing more steps than I had originally planned, I’m really happy with the results. Both the strained cashew milk and granola turned out so much better than I expected. Is it something I’ll do weekly? Honestly, probably not, due to the time needed BUT I will do it as often as I can spare a Sunday afternoon. The granola alone is worth the extra steps, and all told, it doesn’t take all that much active cooking time.
So, nut milk novices, don’t despair! You can make it at home. It’s not hard, and this particular subject is ripe for experimentation to find what you like best. Give it a shot, and find out what option works best for you. If you don’t like how it turns out, try again, or simply grab a carton off the shelf at Good Foods. We’re here for you!