I don’t know if this is a phenomenon specific to people in Kentucky, people in America, or people in any certain group, but about mid-August it seems like everyone I know starts losing their minds about fall. They want to perpetually drink aggressively hot beverages while wearing one or more scarves and eating exclusively pumpkin-flavored things on the way to stepping on every crunchy leaf and somehow simultaneously watching every football game. (Full disclosure: this concept is so foreign to me that I actually just Googled “things people get excited about in the fall” so I would have a frame of reference, so thanks, Buzzfeed, for that little nugget of insight.)
For most of my life, I just saw autumn as the season that reminded me that it was almost winter a.k.a. the half of the year where, as Lewis Black says, “the weather is gray, rain, gray, sleet, gray, rain, gray, sleet, snow, gray. Every day it just gets grayer and grayer… [until] I don’t know if it’s dawn or dusk. I don’t even know why the sun bothers to come out.” A few years ago, I started to realize that there are some good things about fall and probably my favorite of those is apples. Picking them is potentially a fun, day-long event, but having someone else pick them requires minimal time and effort on my part, which I am a big fan of. Some may call it laziness. I like to think of it as efficiency. That’s where our Co-op comes in.
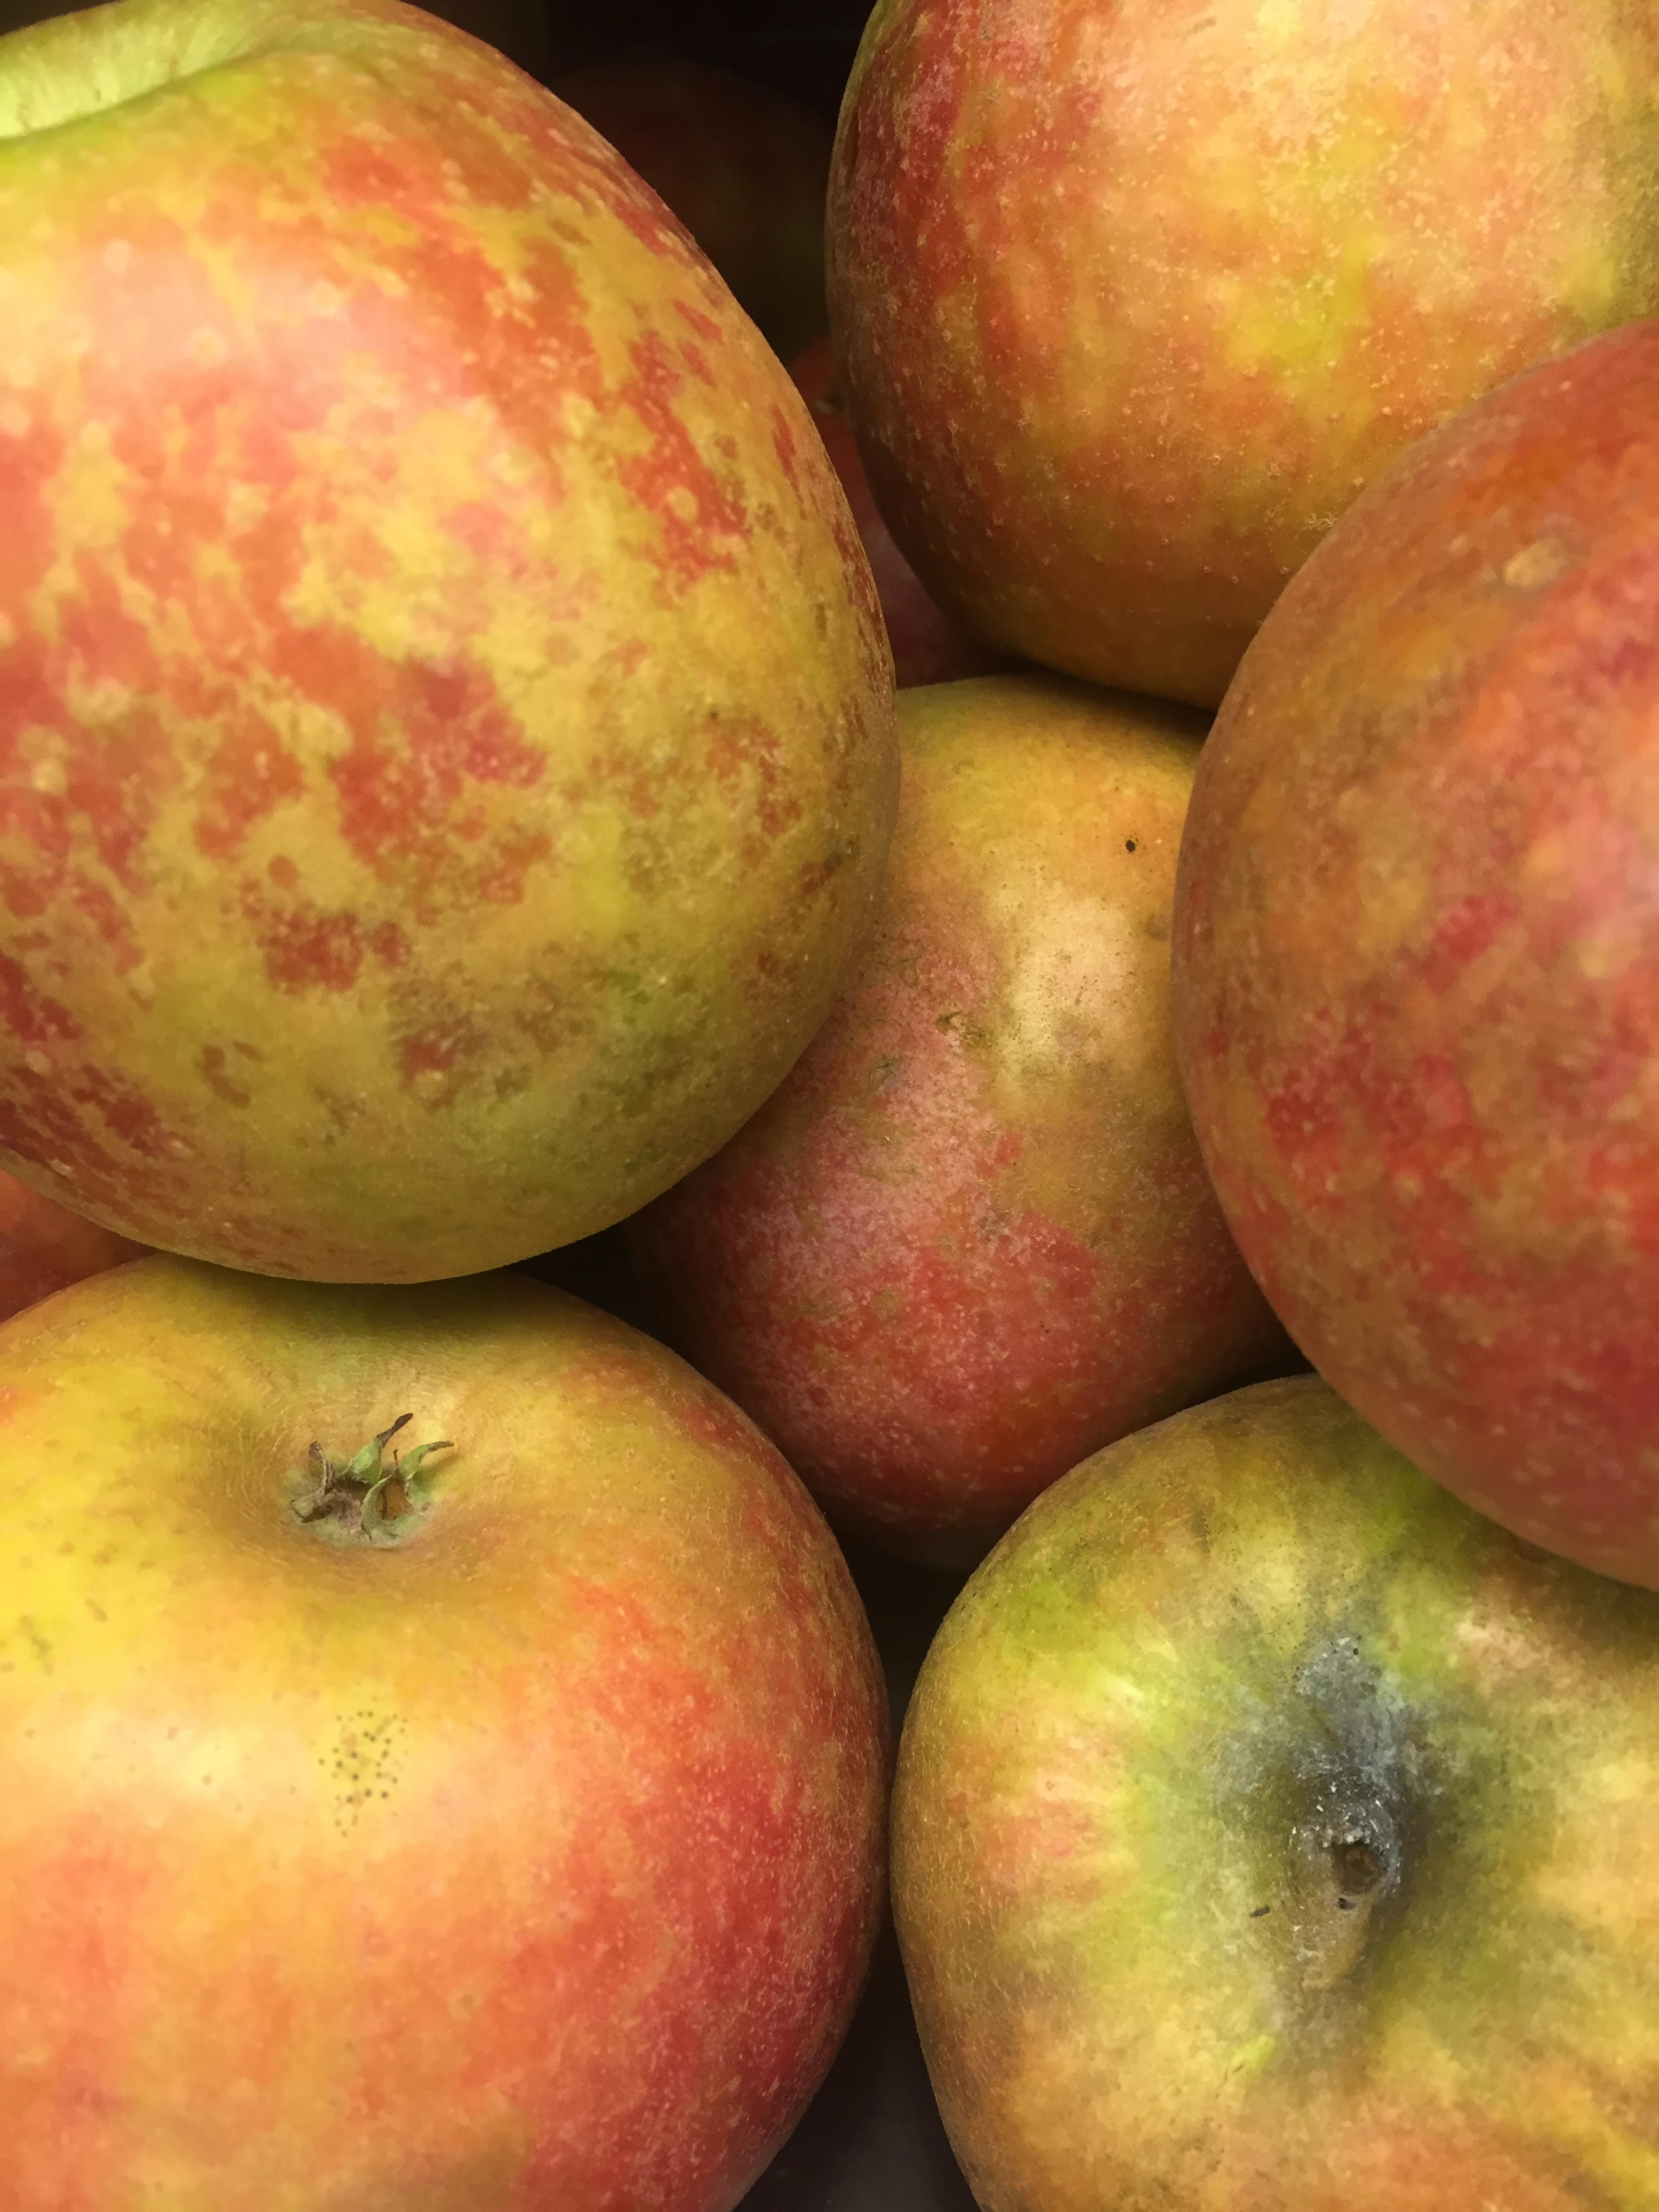
I’ve only ever seen my favorite type of apple, Winesap, at an orchard in Southern Indiana until I found them at Good Foods. (Shoutout to Reed Valley Orchard for saving me a 2-hour trip!) All I had to do was put them in a bag and pay for them and, since they just came from Paris, I got some of the freshest apples in town, which is not only good because fresh ones taste better to me, but because I can preserve them when they’re perfectly ripe instead of who-knows-how-long afterward, which is the case with fruit that comes from out-of-state. The problem with fresh, local produce, though, is that it doesn’t last as long as I want it to. For example, Winesap picking season only lasts a few weeks at best, which is why I decided to try out some of the most common preservation methods if for no other reason than to enjoy a little bit of fall in the grayness of February.
When my friends want to get together and make crafts it confuses me. My most elaborate meals have three ingredients or fewer. Considering I can buy most things I need or want at a store, I’m not a DIY-er or homesteader by any stretch of the imagination, so my desire to save some apples for later did not occur naturally… so to speak. I just knew I wanted to eat apples when they’re not in season, so I spent multiple hours trying to figure out the best way to do that. This should have taken roughly 15 minutes, but I’m a compulsive researcher, so I got a little carried away, but I did find that freezing and drying seem to be the most common and the most effective ways to do it, so that’s what I decided to do.
FROZEN APPLES
I found some exceptionally easy freezing instructions at the Southern Plate blog. Before I got to work, I gathered all of my materials. I think the apples and the magical device known as a wedger are tied for the most important. There are plenty of resources out there to let you know which apples are best for what, but I just picked Winesaps because I like them. Fortunately, they are good for eating fresh, making cider and juice, cooking and drying which is pretty much anything I can think to do with an apple. I have had many apple corers through the years and I’m convinced they have saved me hours of time and, if we’re being honest, probably a little skin and blood too because they’re so easy to use. Just press down and your apple is cored AND sliced; no chopping, hacking or swearing necessary.
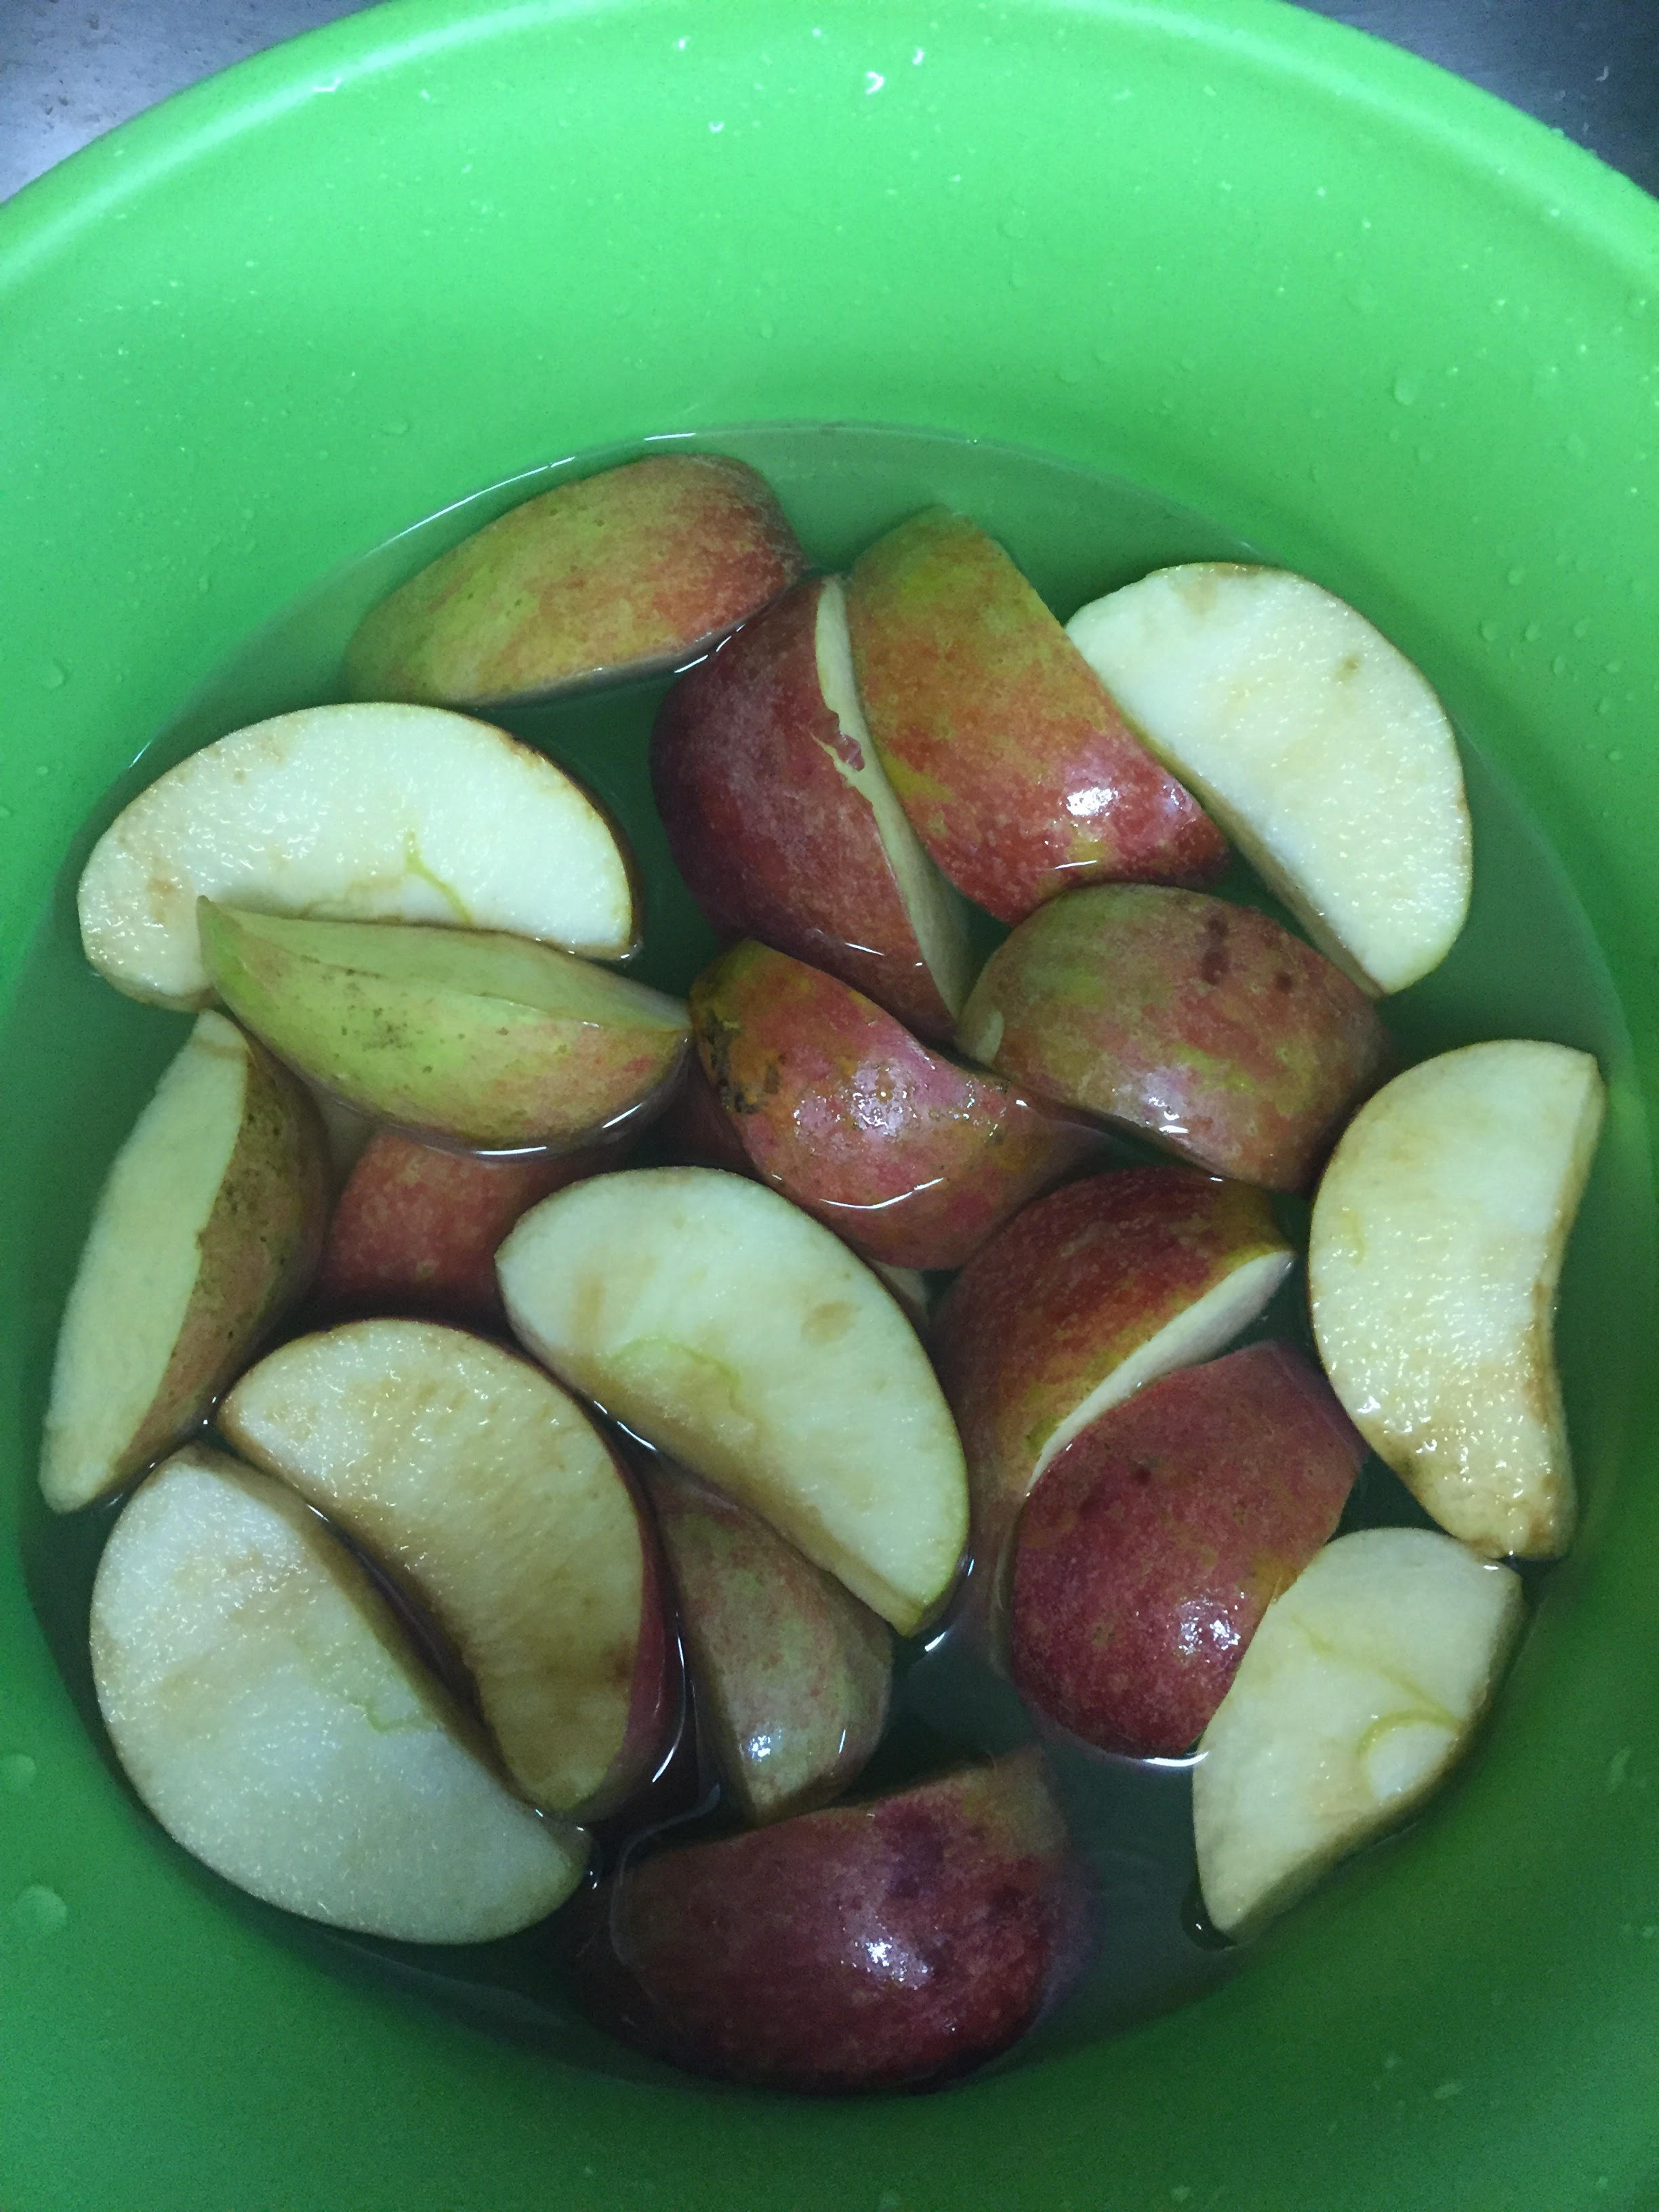
I also gathered some salt, a big bowl, some hot water and some cold water and got to work. First, you’ll want to put ¼ cup of salt into a cup of warm water and stir it until it dissolves, then add cold water until the bowl is fairly full. I used my wedger to cut up my apples. If you want yours peelless, you can either peel the whole ones first or peel each wedge with a knife. If you’re not into wedges, you can cut your apples into whatever shapes your heart desires, but make sure you take the core out. I set my cores aside to start some apple cider vinegar, which apparently you can make with two ingredients, one of which is inedible apple bits. Thanks, compulsive research!
I originally reversed steps one and two and my apples started browning almost immediately, so having your salt solution ready and putting your apples in as you cut them is apparently important for preventing this. Stir the apples around in the solution to make sure they’ve all been submerged, drain the excess liquid, then put the pieces into freezer bags. Squeeze as much air as possible out and label bags before putting them into the freezer. I had way more apples than I had room in my bowl, so I used the same saltwater for all of them. I also made sure I just had a single layer of apples in each of my bags to (hopefully) prevent sticking together and make future thawing easier. The last thing to do is start looking forward to fresh-tasting apples in the middle of March!
Straightforward instructions:
- Gather apples, 1/4c salt, large bowl, 1 gallon of water, colander, freezer bags
- Place one cup of warm water into a very large bowl and dissolve ¼ c salt in it. Add cold water until bowl is mostly filled.
- Slice apples, peeling if desired, and immediately place slices into saltwater.
- When finished, stir to make sure all pieces have been submerged.
- Drain and place slices into freezer bags.
- Label and freeze.
DRIED APPLES
The most difficult thing about drying apples was finding a recipe that did not make the process seem like an agonizingly time-consuming chore. Nearly all of the instructions I found required a minimum of six hours cooking time and/or a propped-open oven door and, since I am interested in neither spending an entire day staring at food and not being able to eat it nor burning down my apartment, I decided to follow this recipe from the She Loves Biscotti blog. If you want to store your dried apples for more than a week, this is not the recipe for you, but, if we’re being honest, I would have probably eaten the majority of mine after the first three steps regardless of how many steps were required to finish, so it was the perfect recipe for me. Not that I did that or anything.
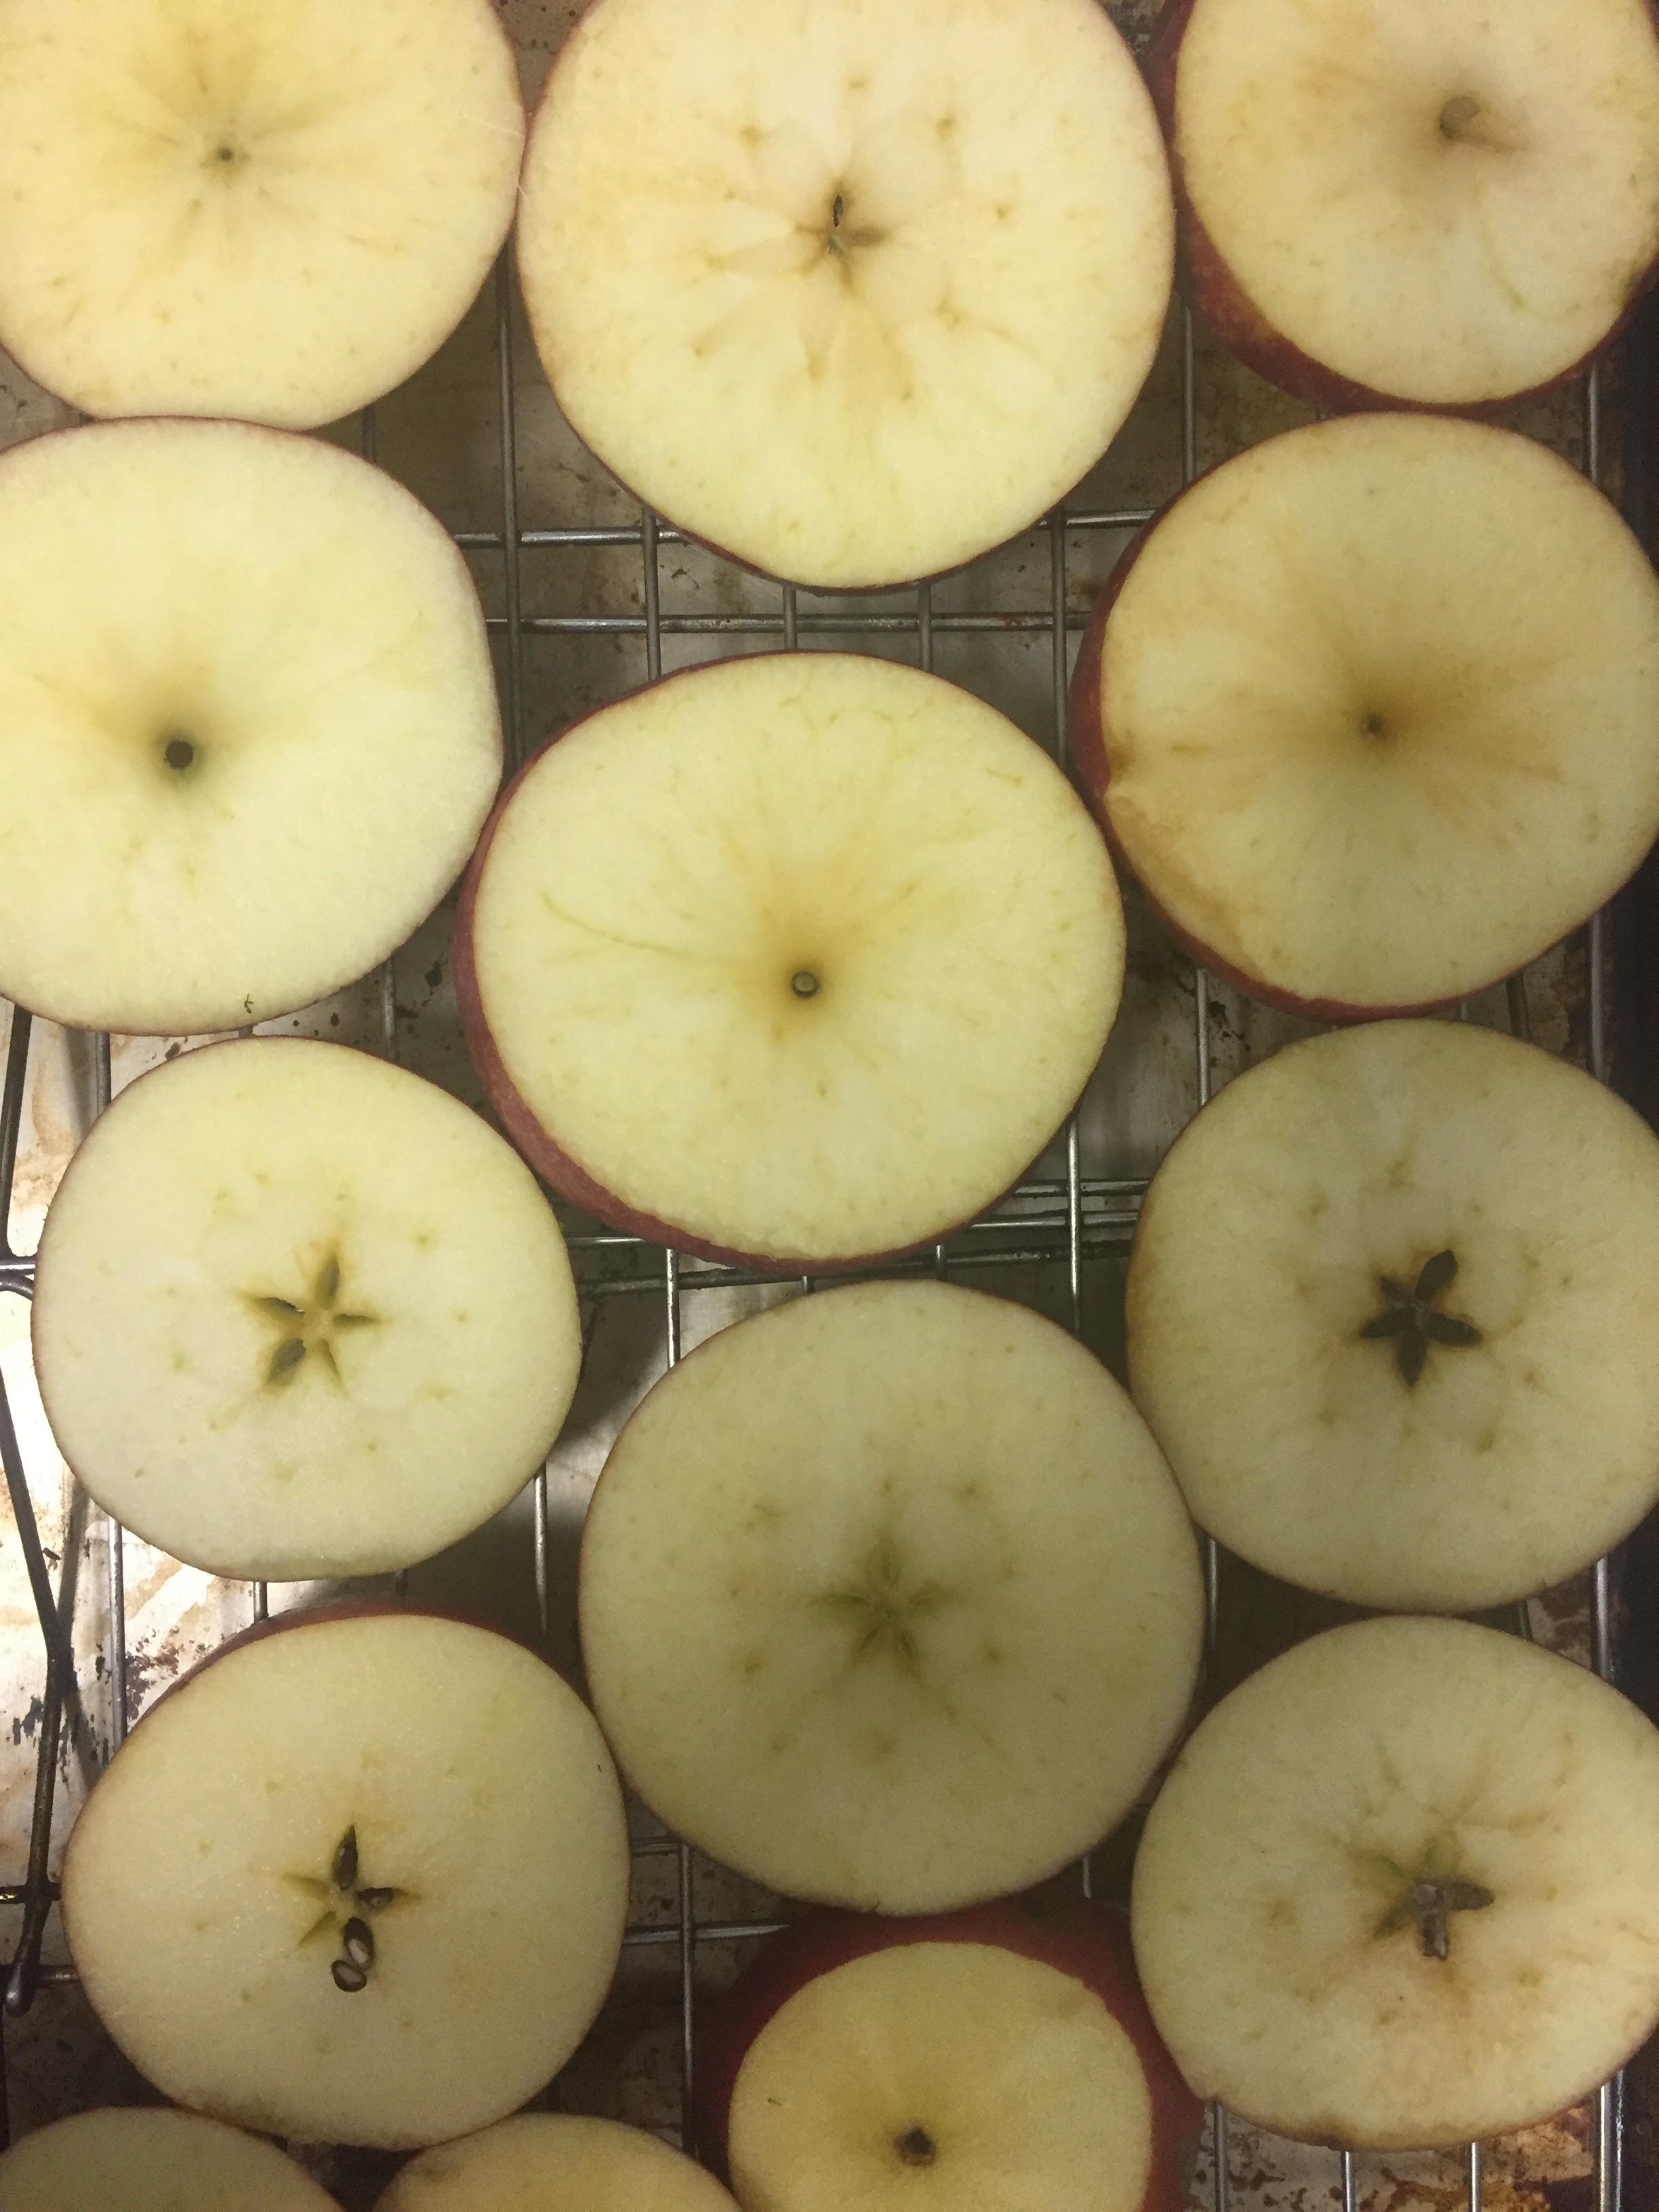
Since the apples were presumably going to get brown on purpose this time and the cooking, as opposed to air exposure, would determine their texture, I decided to forgo the pre-procedure bath, so the first thing I did was put the racks at the top and bottom of my oven and preheated it to 225 degrees. Probably. My oven is elderly, so that’s a rough estimate. If you’re staunchly anti-core, this would be the time to remove them, but I decided to leave mine in since everything would be cooked and would end up having the same texture plus leaving them intact makes the slices look prettier which obviously makes them taste better.
While the oven was heating up, I sliced my apples as thinly as I could. The goal was 1/8”, but my inner Anthony Bourdain was absent during slicing time and, more often than not, my slices ended up being much bigger. Additionally, I’m using the term “slices” loosely because it sounds better than round-ish chunks. (SPOILER ALERT: due to the inconsistency, some of my bigger pieces didn’t get cooked all the way through. If you’re into super crispy slices, I recommend having rudimentary knife skills and/or cooking them longer. Though I found that the bigger ones were some of my favorites since they were a little softer than the others. Kind of like fruit jerky.)
Lots of the instructions I saw said to use parchment paper to line the baking sheet, but the jokes on them because I used a small cooling rack instead which meant I didn’t have to flip them halfway through OR throw anything away when I was done. After I arranged the slices on the rack, I sprinkled some cinnamon on them and put them in the oven, took them out two hours later and immediately began eating, however they can apparently be stored in an airtight container for a few days.
Straightforward instructions:
- Place racks in upper and lower thirds of oven and preheat to 225 degrees.
- Line baking sheet(s) with parchment paper or place cooling rack in center of sheet(s).
- (Core and) slice apples as thinly as possible (about 1/8 inch) and arrange slices on baking sheets.
- Sprinkle cinnamon onto apples
- Bake for two hours (flipping slices halfway through if no cooling rack is being used.)Increase time to produce desired crispiness. Fruit will gain crispiness as it cools.
APPLE CIDER VINEGAR
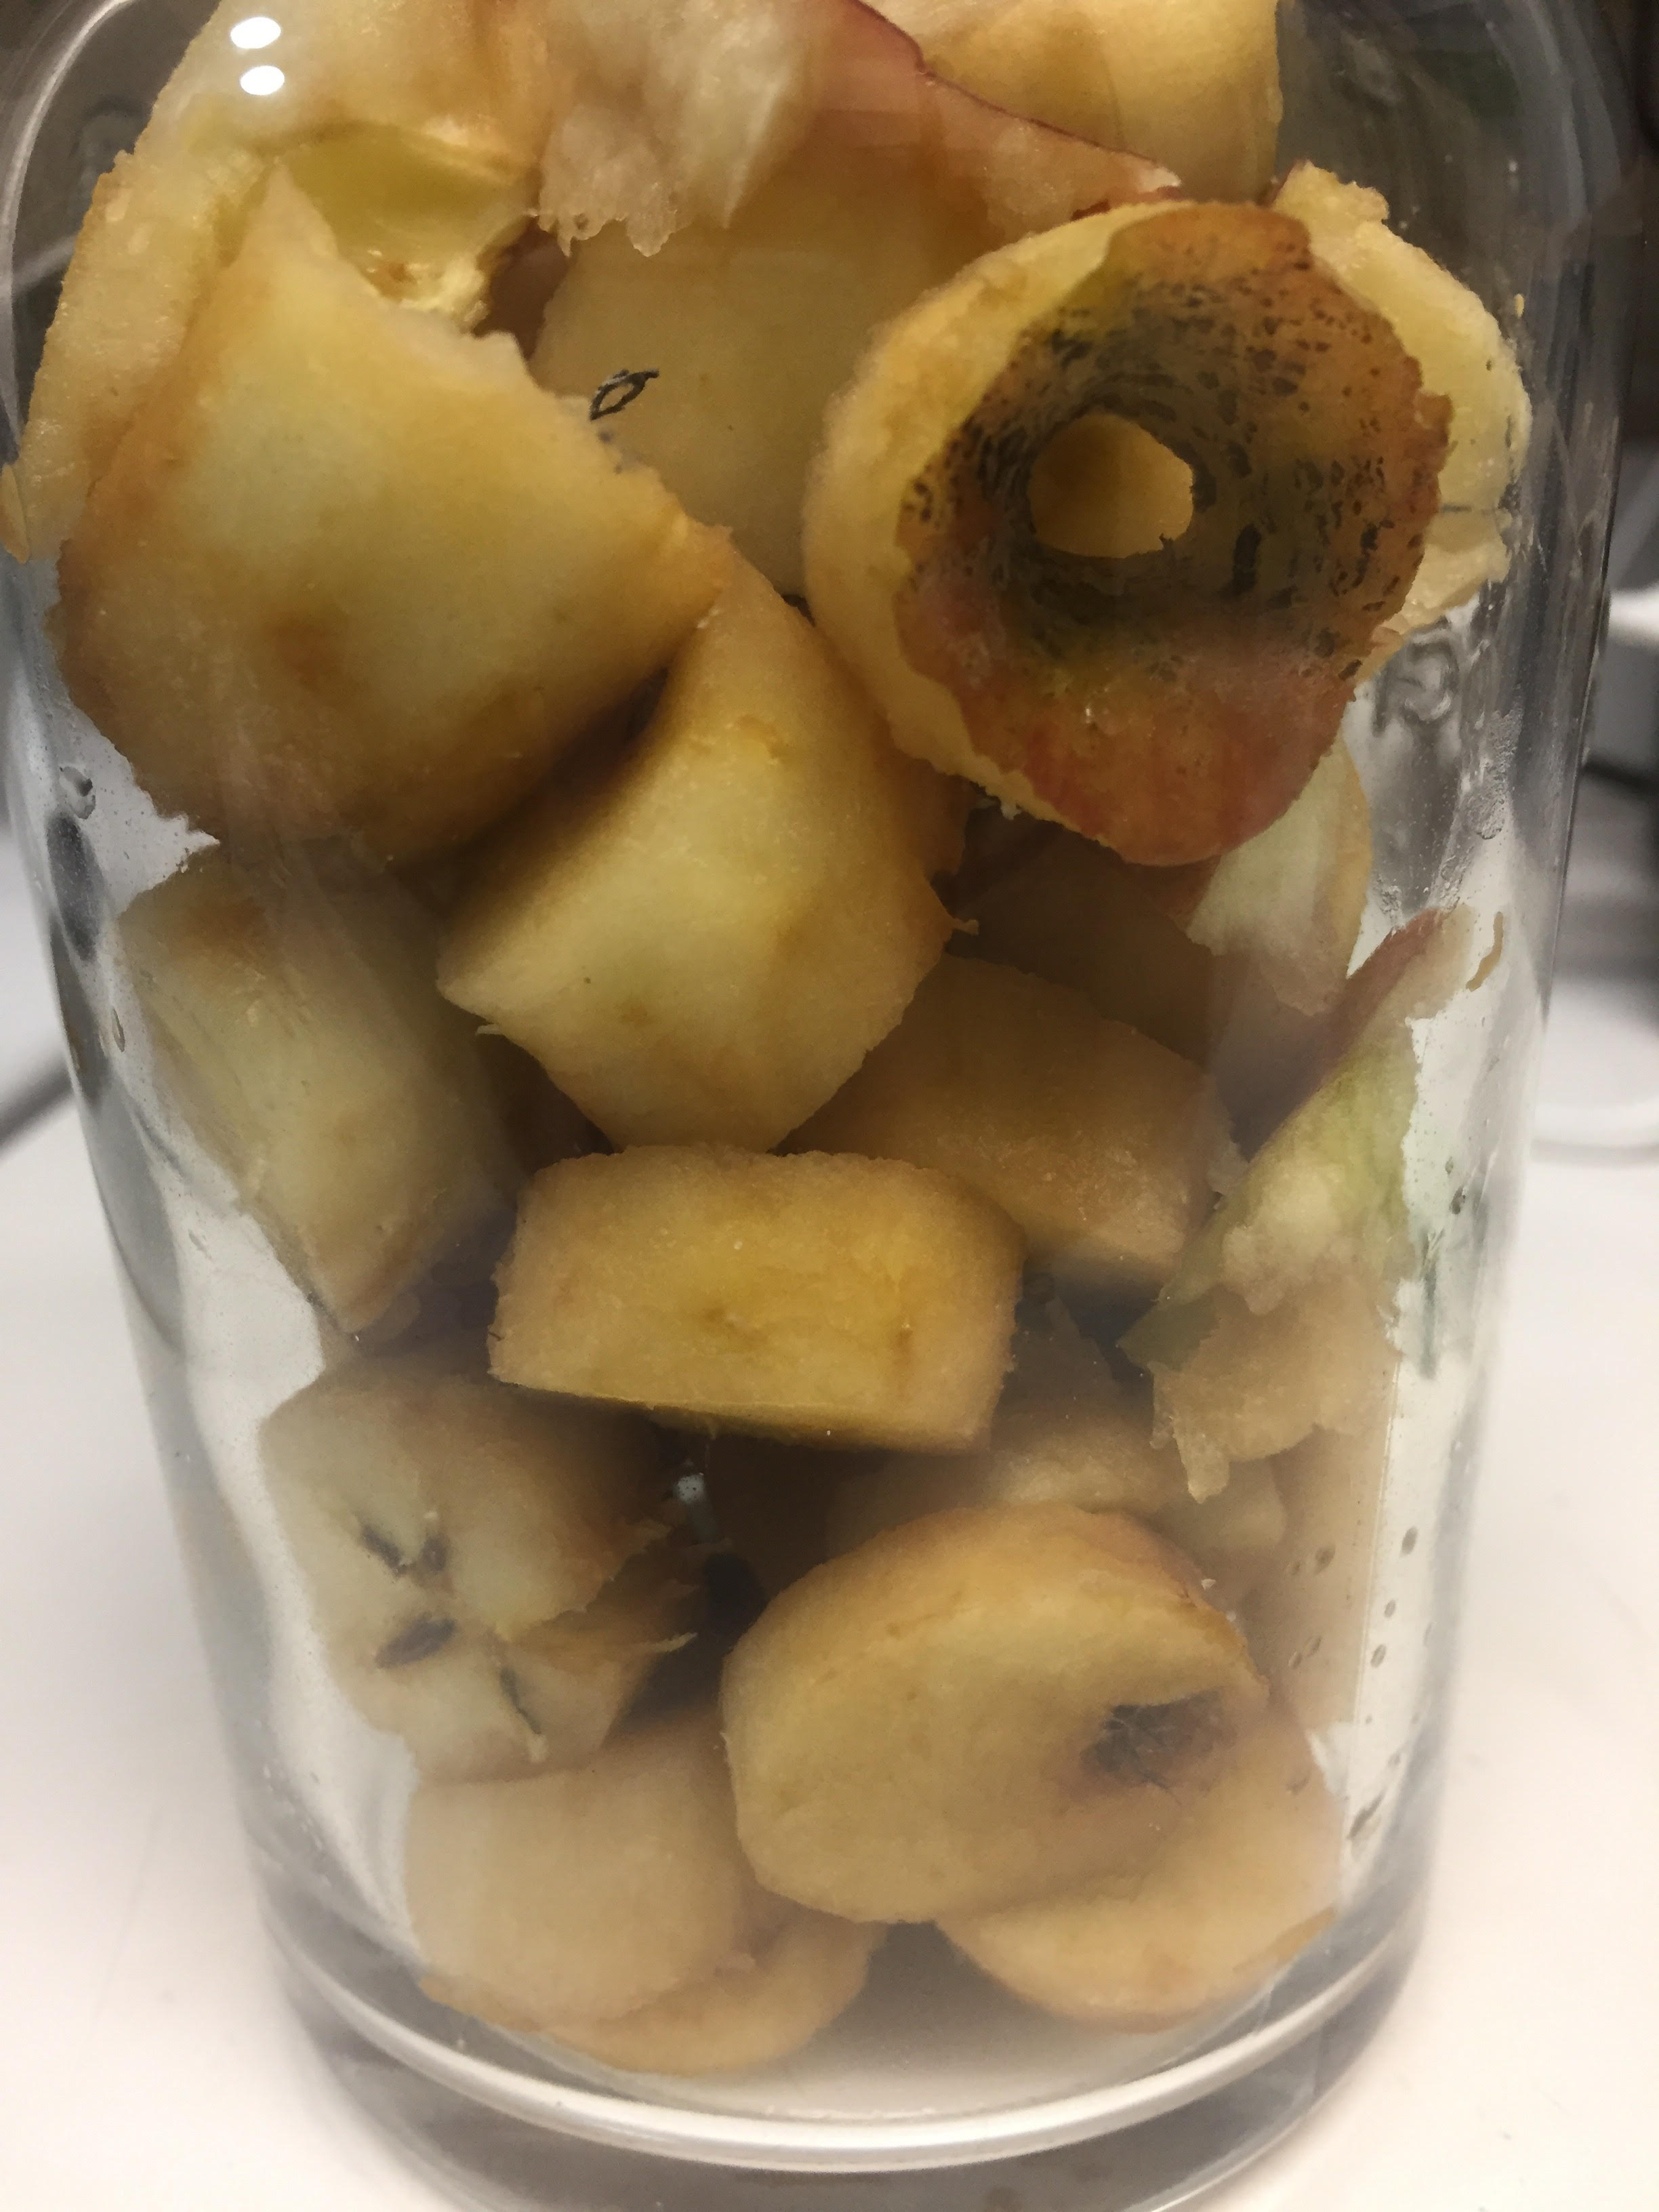
I didn’t originally plan to make vinegar, but this recipe from the Tales of a Kitchen blog described the process as “a dead easy affair to tackle and hilariously inexpensive to boot,” so I figured it was at least worth a shot. I used the cores from my frozen apples instead of getting new pieces, so all I had to do to start it was put the scraps into a clean glass jar, cover them with at least a cup of water, add three tablespoons of raw sugar, and cover the mouth of the jar with cheesecloth. Since the whole process takes at least four weeks and I started mine just over weeks ago, I can’t say for sure that it’s working, but I think the fact that the jar sounds and smells vaguely like a distillery is a good sign because that means fermentation is happening. Contrary to anything that makes sense to me, a white blob floating around your vinegar is good. That’s the “mother” and part of it can be used to start a new batch of vinegar. That being said anything furry or mold-colored is probably mold and is therefore bad. Some instructions I found said that this is bad and you should throw everything away immediately, but most of them said this is fine and to just scrape it off. I did the latter. We’ll see how that goes.
Straightforward instructions:
- Gather scraps or chop new apples into small pieces
- Add apple bits to clean jar
- Cover jar with cheesecloth and place in a warm, dark area
- Stir daily, watching for discoloration
- After three weeks, separate liquid from fruit and put liquid back into jar in warm, dark area
- After four additional weeks, use as you would a store-bought vinegar
CONCLUSION:
Considering the fact that I 100% agree with John Mulaney’s observation that “It’s so much easier to not do things than to do them,” and I also 100% want to eat apples in the dead of winter, I think I have found the perfect compromises. After sampling some of my frozen ones that had been thawed, I found out the hard way that I do not want to sit around snacking on them. The flavor was great, but I would recommend cooking with them since the texture was really similar to some that had already been cooked. The dried ones were great for eating without further preparation.