By: Mac Stone, Farmer & Owner, Elmwood Stock Farm
Most people will complete this sentence the same way: The thing I most look forward to every summer is…homegrown tomatoes. The only substitute is a tomato grown by a local farmer who nurtures lots of them and caringly shares them with their customers. Sure, sweet corn falls into the only homegrown category; broccoli, maybe; strangely, potatoes for me; but nothing is revered like the homegrown tomato. Kind of like tea means sweet tea in the South, tomato means homegrown tomato over most of the planet.
Hearing the word tomato strikes an image in our heads, albeit each of ours is slightly different. I see a lumpy softball-sized black or purple beauty, with a few blemishes for character. Core it out, score in pie shapes and spoon in some organic cottage cheese—or better yet chicken or tuna salad—for the finest of dining. Top chefs on TV can’t pull this off without homegrown tomatoes.
My mind next goes to the shooter-marble-sized Sungold gems that pop with flavor in any version of salad. Other images coming are a big, red slice of heaven with basil and balsamic vinaigrette, or a bright pink or yellow prize winner nestled between bacon and lettuce and mayo on thin-sliced grainy bread, some spicy microgreens… Sorry, I got carried away.
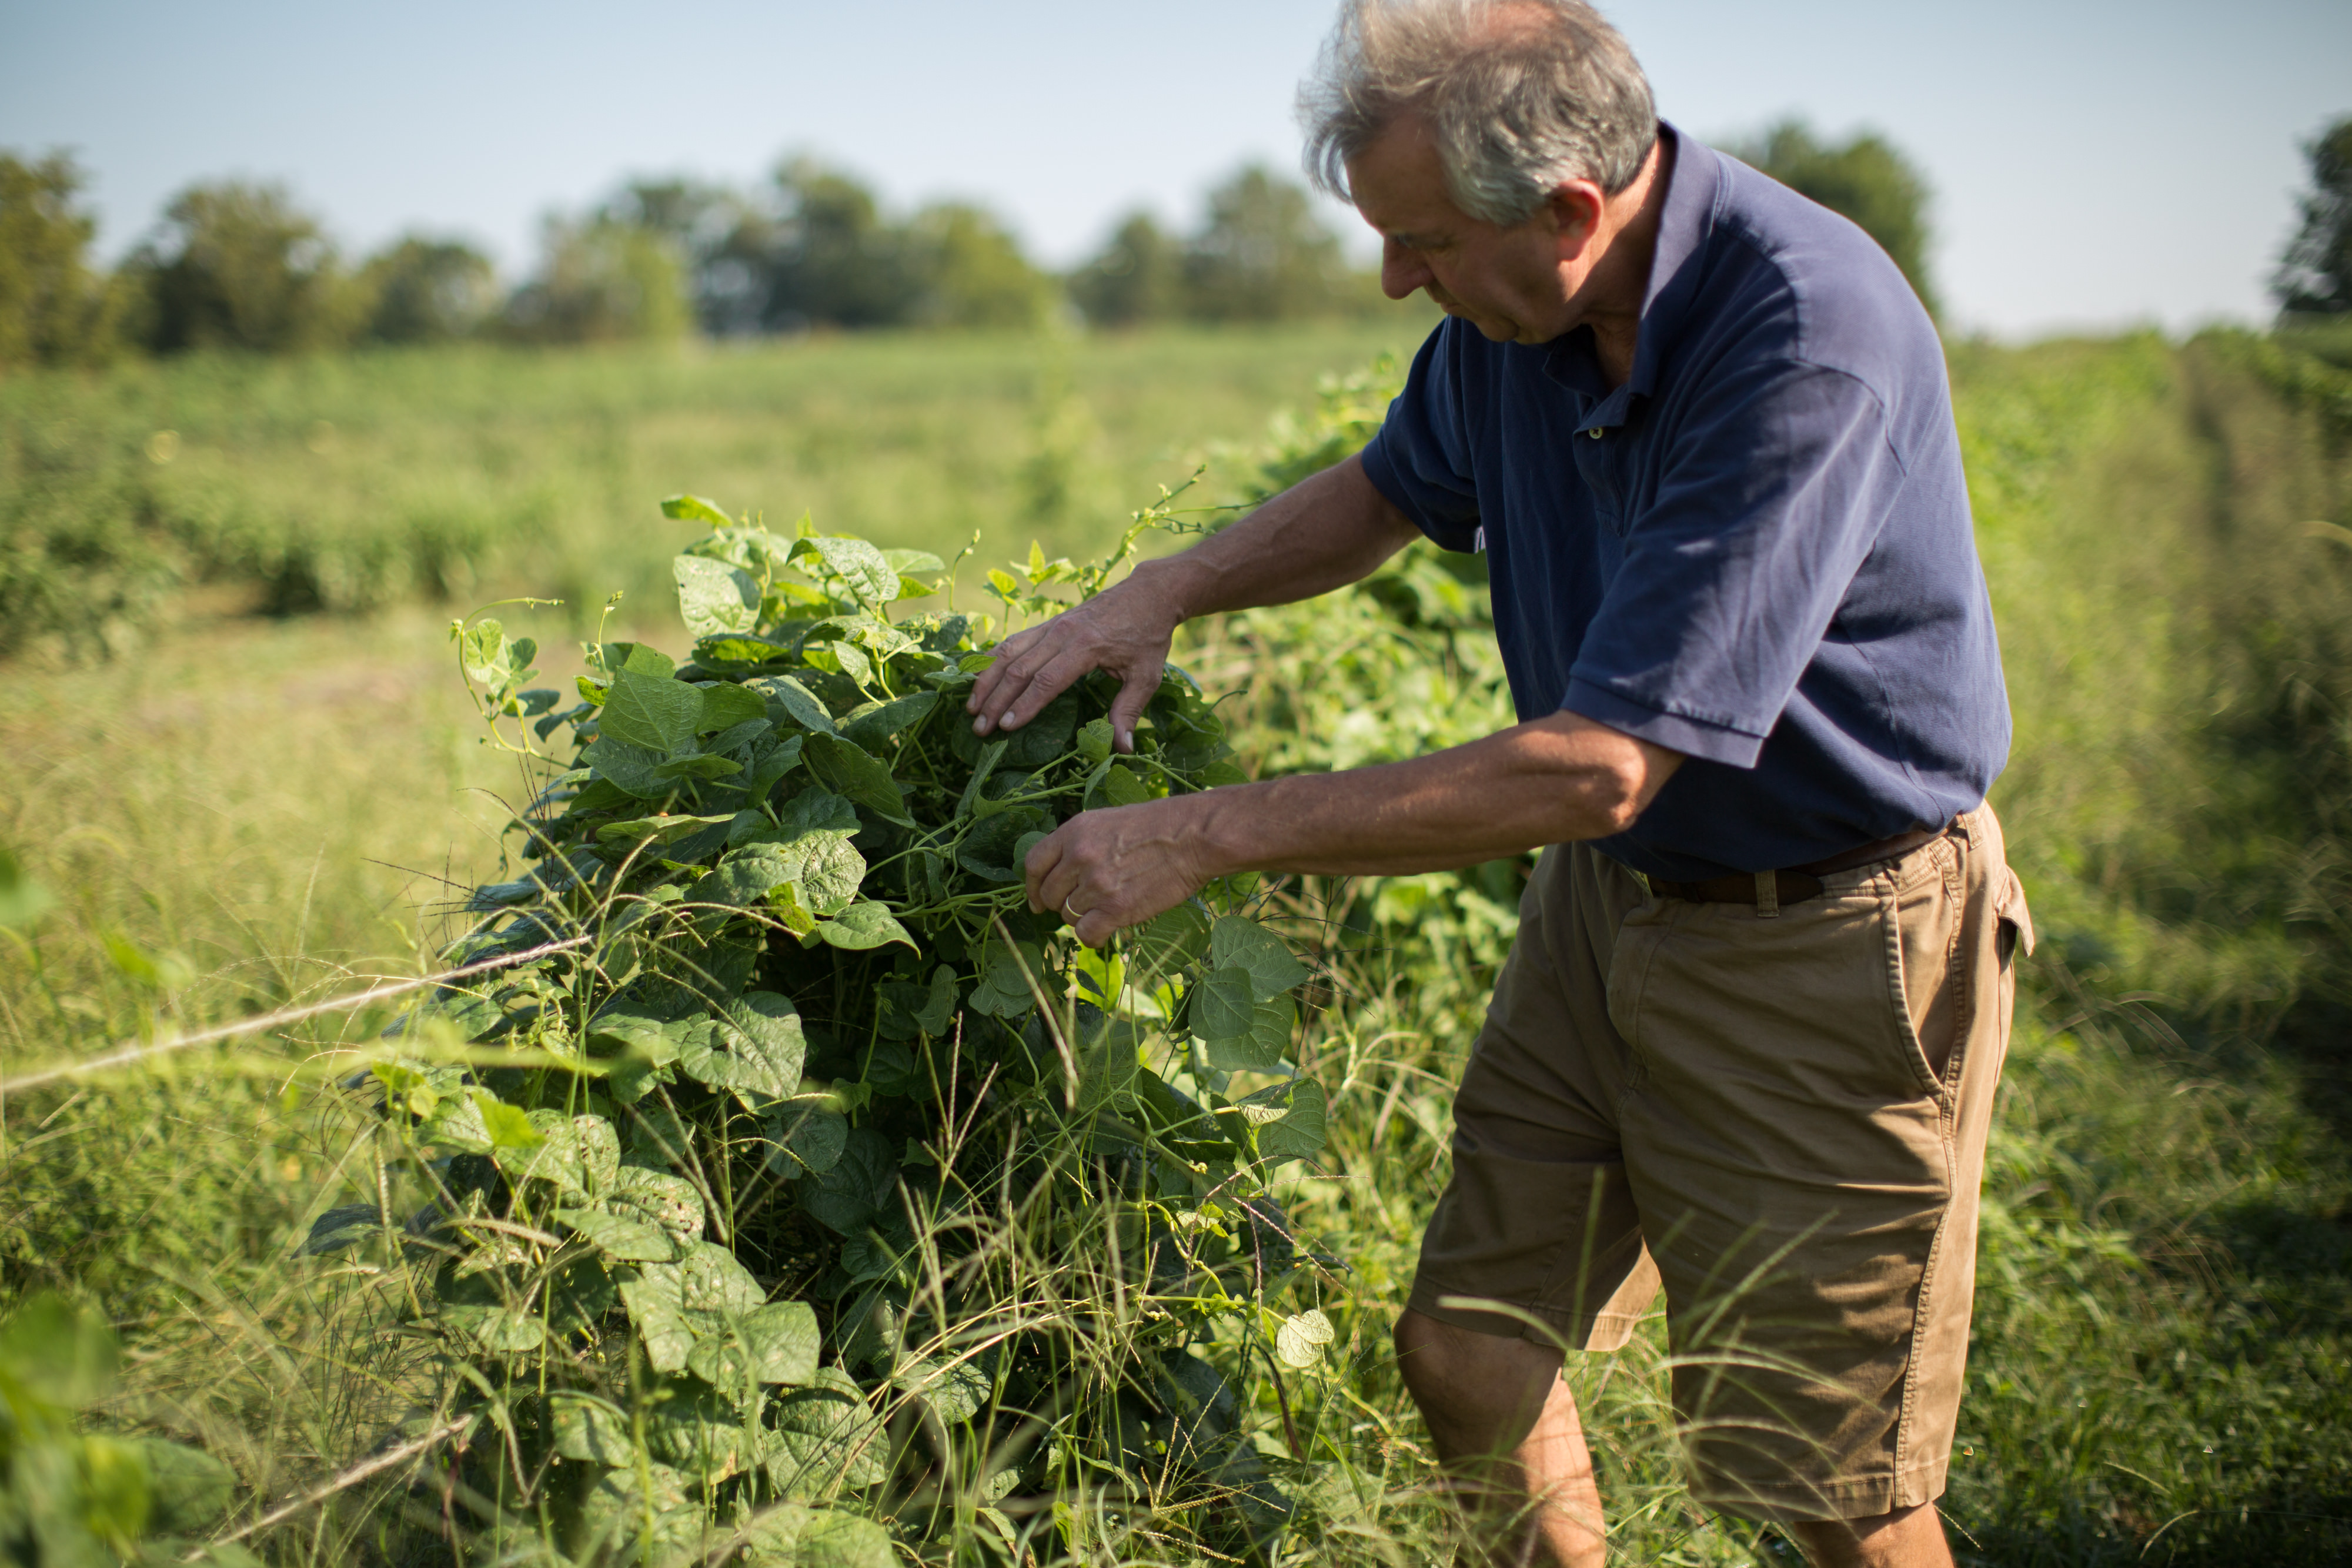
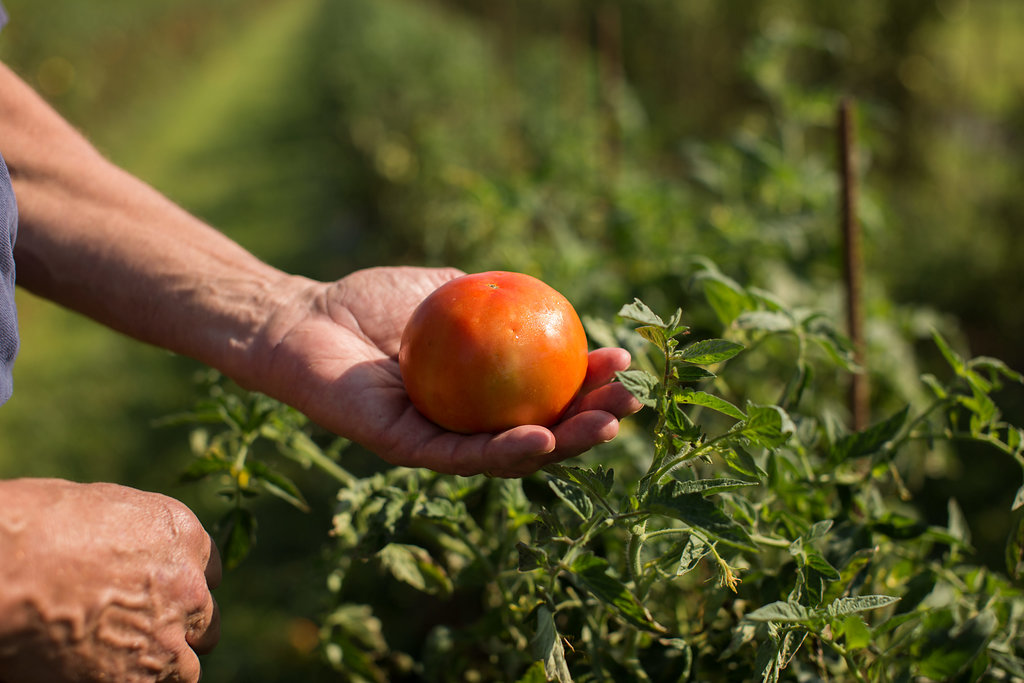
My father-in-law, the patriarch of Elmwood Stock Farm, Cecil Bell, a cattleman his entire life, will only eat cheeseburgers when the heirloom Black Krim or Cherokee Purple varieties are primo. He trolls through the trays as they come in from the fields, looking for the sweet spot between firmness and ripeness. He knows not to touch them to determine this, he has trained his eye, as should you when shopping the Co-op or farmers market. Cecil knows they will fully ripen in a few days, but we have to pick them while still firm to get them into people’s kitchens at the right time. When I see Cecil sizing up the tomatoes, I start hoping for an invite to dinner for his infamous charcoal-grilled half-pound Elmwood Stock Farm burger.
We all have our go-to homegrown tomato dishes because there is nothing like a homegrown tomato. Whatever image you have in your head right now, get ready. The season is upon us.
How to Grow Tomatoes at Home
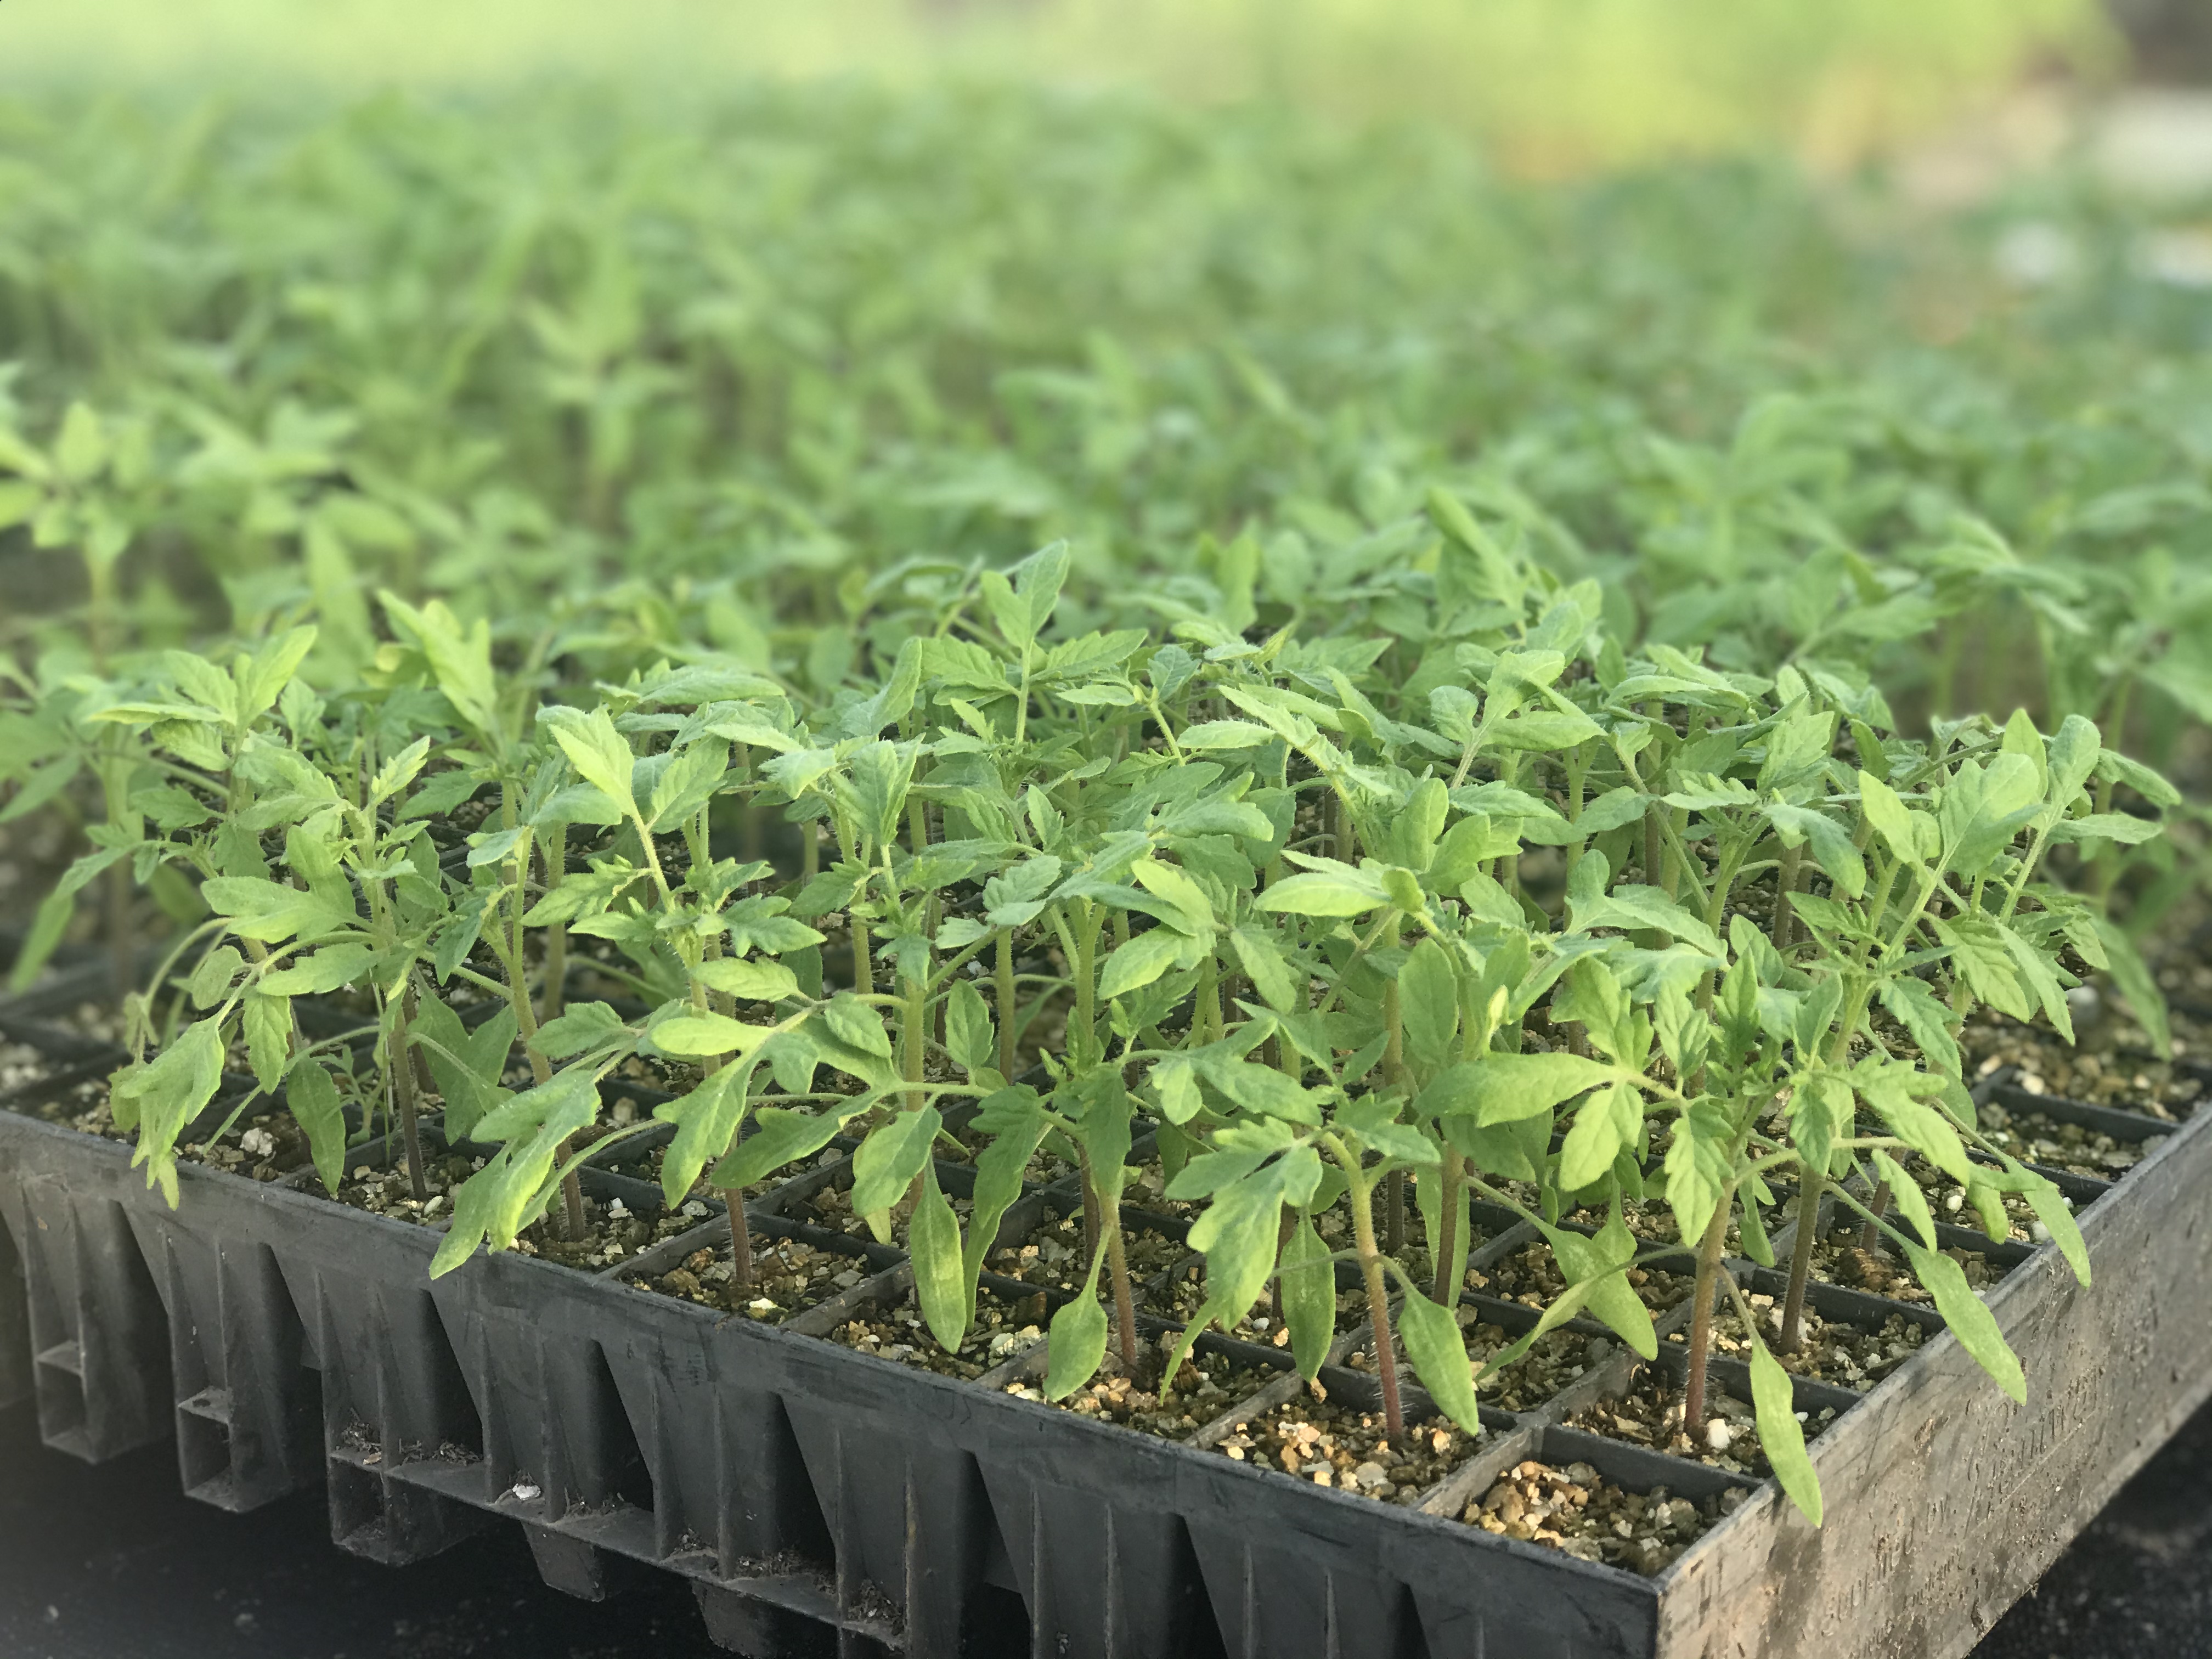
Home gardeners most likely plan where their tomato plants are going each spring, and plant the other stuff around them somewhere, which is the right way of going about it, as far as I’m concerned. Seriously, though, there are a few cardinal rules to growing tomatoes, based in biology, no matter which of the thousands of varieties you decide to grow.
First, by far, is never plant tomatoes in the same place every year. In fact, best practices call for several years between plantings in the same spot. This is to break homegrown-tomato-loving insects and diseases from gaining a foothold in your patch. The further away you rotate them the better, as garden pests are not great migrators, but they do spread out.
Second, plan to mulch the soil. Mulch can be grass clippings, remnants of last year’s leaf pile (if you don’t have one, start one and get as many of the neighbors’ leaves this fall as humanly possible), newspaper, plastic agricultural film or even an old shirt. The mulch needs to hide the soil from the sun and allow water to reach the plants’ roots.
Third, water the tomato plants consistently. Consistent watering with mulch in place is the key to harvesting beautiful homegrown tomatoes. The most common disease gardeners see is blossom end rot, which is technically a degradation of the fruit from a calcium deficiency. Calcium is readily available in most Kentucky soils, and the plant needs a constant supply of water to deliver the calcium to the fruit.
People refer to “juicy” homegrown tomatoes, which should tell you water is key. There are several trickle or drip tape garden kits available—a worthy investment. Beware of summertime’s big rains. These events can super-saturate the plant with water, splitting the near-ripe fruits, as the skin does not have time to grow in time to allow for the rapidly expanding pulp. Keep your eye on the weather, and harvest heavy before storms.
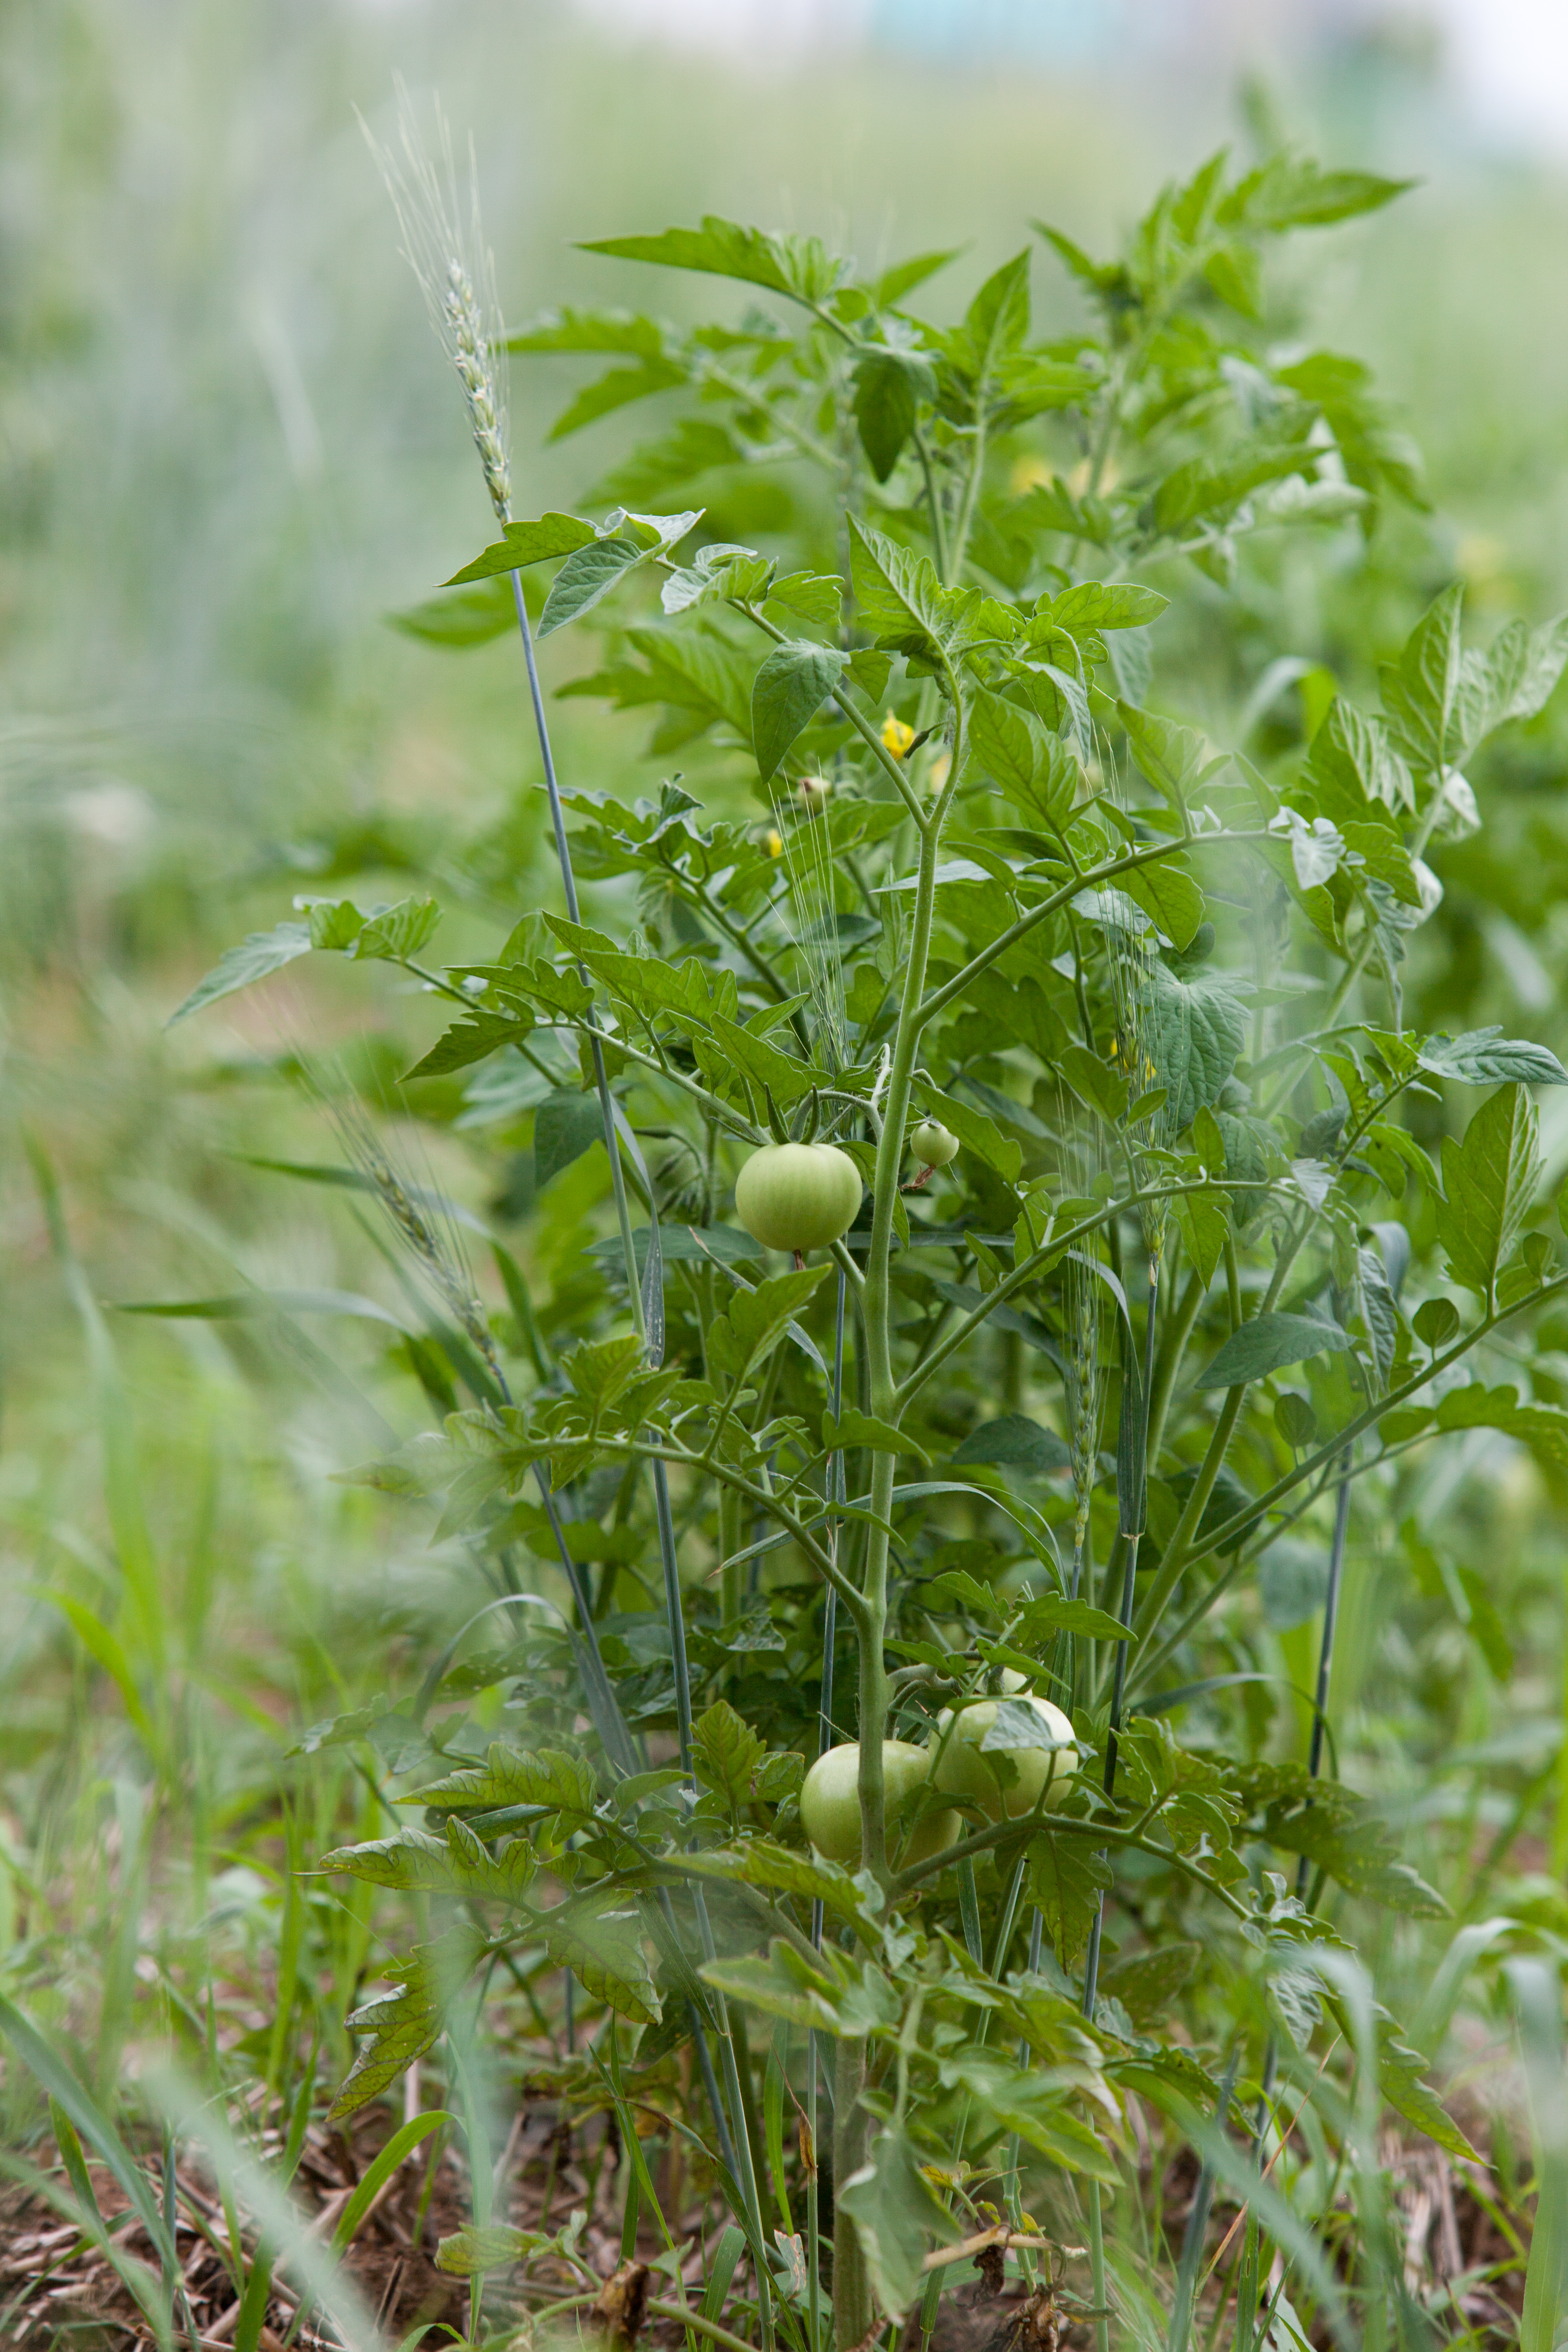
Fourth, trellising to keep tomato plants off the ground is a must. There are all manner of ways to accomplish this. The most common for home gardeners is the wire tomato cage. That has pluses and minuses. We use the Florida weave method on the farm.
Fifth, deal with pests. Until you get into planting hundreds of plants, hand-removing pests is doable and much preferred to spending money on highly toxic synthetic chemicals that can kill you and all manner of life forms in your yard. Go out in the morning with a cup of coffee, and quietly watch your plants. If you see something eating some part of your plant’s leaves or fruits, look closer and remove and destroy them.
When you find pest eggs, remove the entire leaf, grind it into the mulch with the sole of your shoe, and smile. Be sure to identify the eggs before you remove them, as you don’t want to take the beneficial insects out of your garden. Generally, clusters of any kind of insect is a warning sign, as beneficials tend to work alone.
We hear stories of chipmunks and squirrels waiting for the homegrown tomatoes to ripen in home gardens. Good luck! We win on sheer numbers out here on the banks of the Elkhorn.
I encourage you to grow your own homegrown tomatoes; even start a family tradition around the first picking. You will gain an appreciation for the flavor and feel rewarded for your work and worry. You will see that many of the insects in your garden are good guys, beneficial insects, not bothering your tomatoes at all.

If you don’t have the bandwidth to add homegrown tomato growing into your life right now, fear not, as Good Foods Co-op partners with local farmers to make them accessible to you during the season. But when it comes to selecting the perfect tomato to put into your cart, please remember, you can squeeze the Charmin, but not the fresh tomatoes.
—Mac Stone, Elmwood Stock Farm