
My favorite thing about most events is the food, and summer is no exception. In “The Before Times”, picnic, cookout and vacation foods were some of my favorites. Now that we don’t really have those things anymore, I’ve been focusing on my runner-up of fave foods: summer produce.
Fresh corn, peaches and tomatoes are some of the tastiest foods on earth, in my eyes. That’s why I wanted to figure out how to turn them into perfectly preserved produce so I could enjoy them throughout the winter.
FREEZING
I’m pretty lazy, so I figured I would go with the easiest method of preserving corn which is freezing a whole cob, but the finished product was described as mushy, rubbery and “cobby” in some articles I read during my research, which grossed me out enough that I wanted to try another way. According to a blog post I found, freezing unblanched kernels is the second easiest method, so I decided to go with that one.
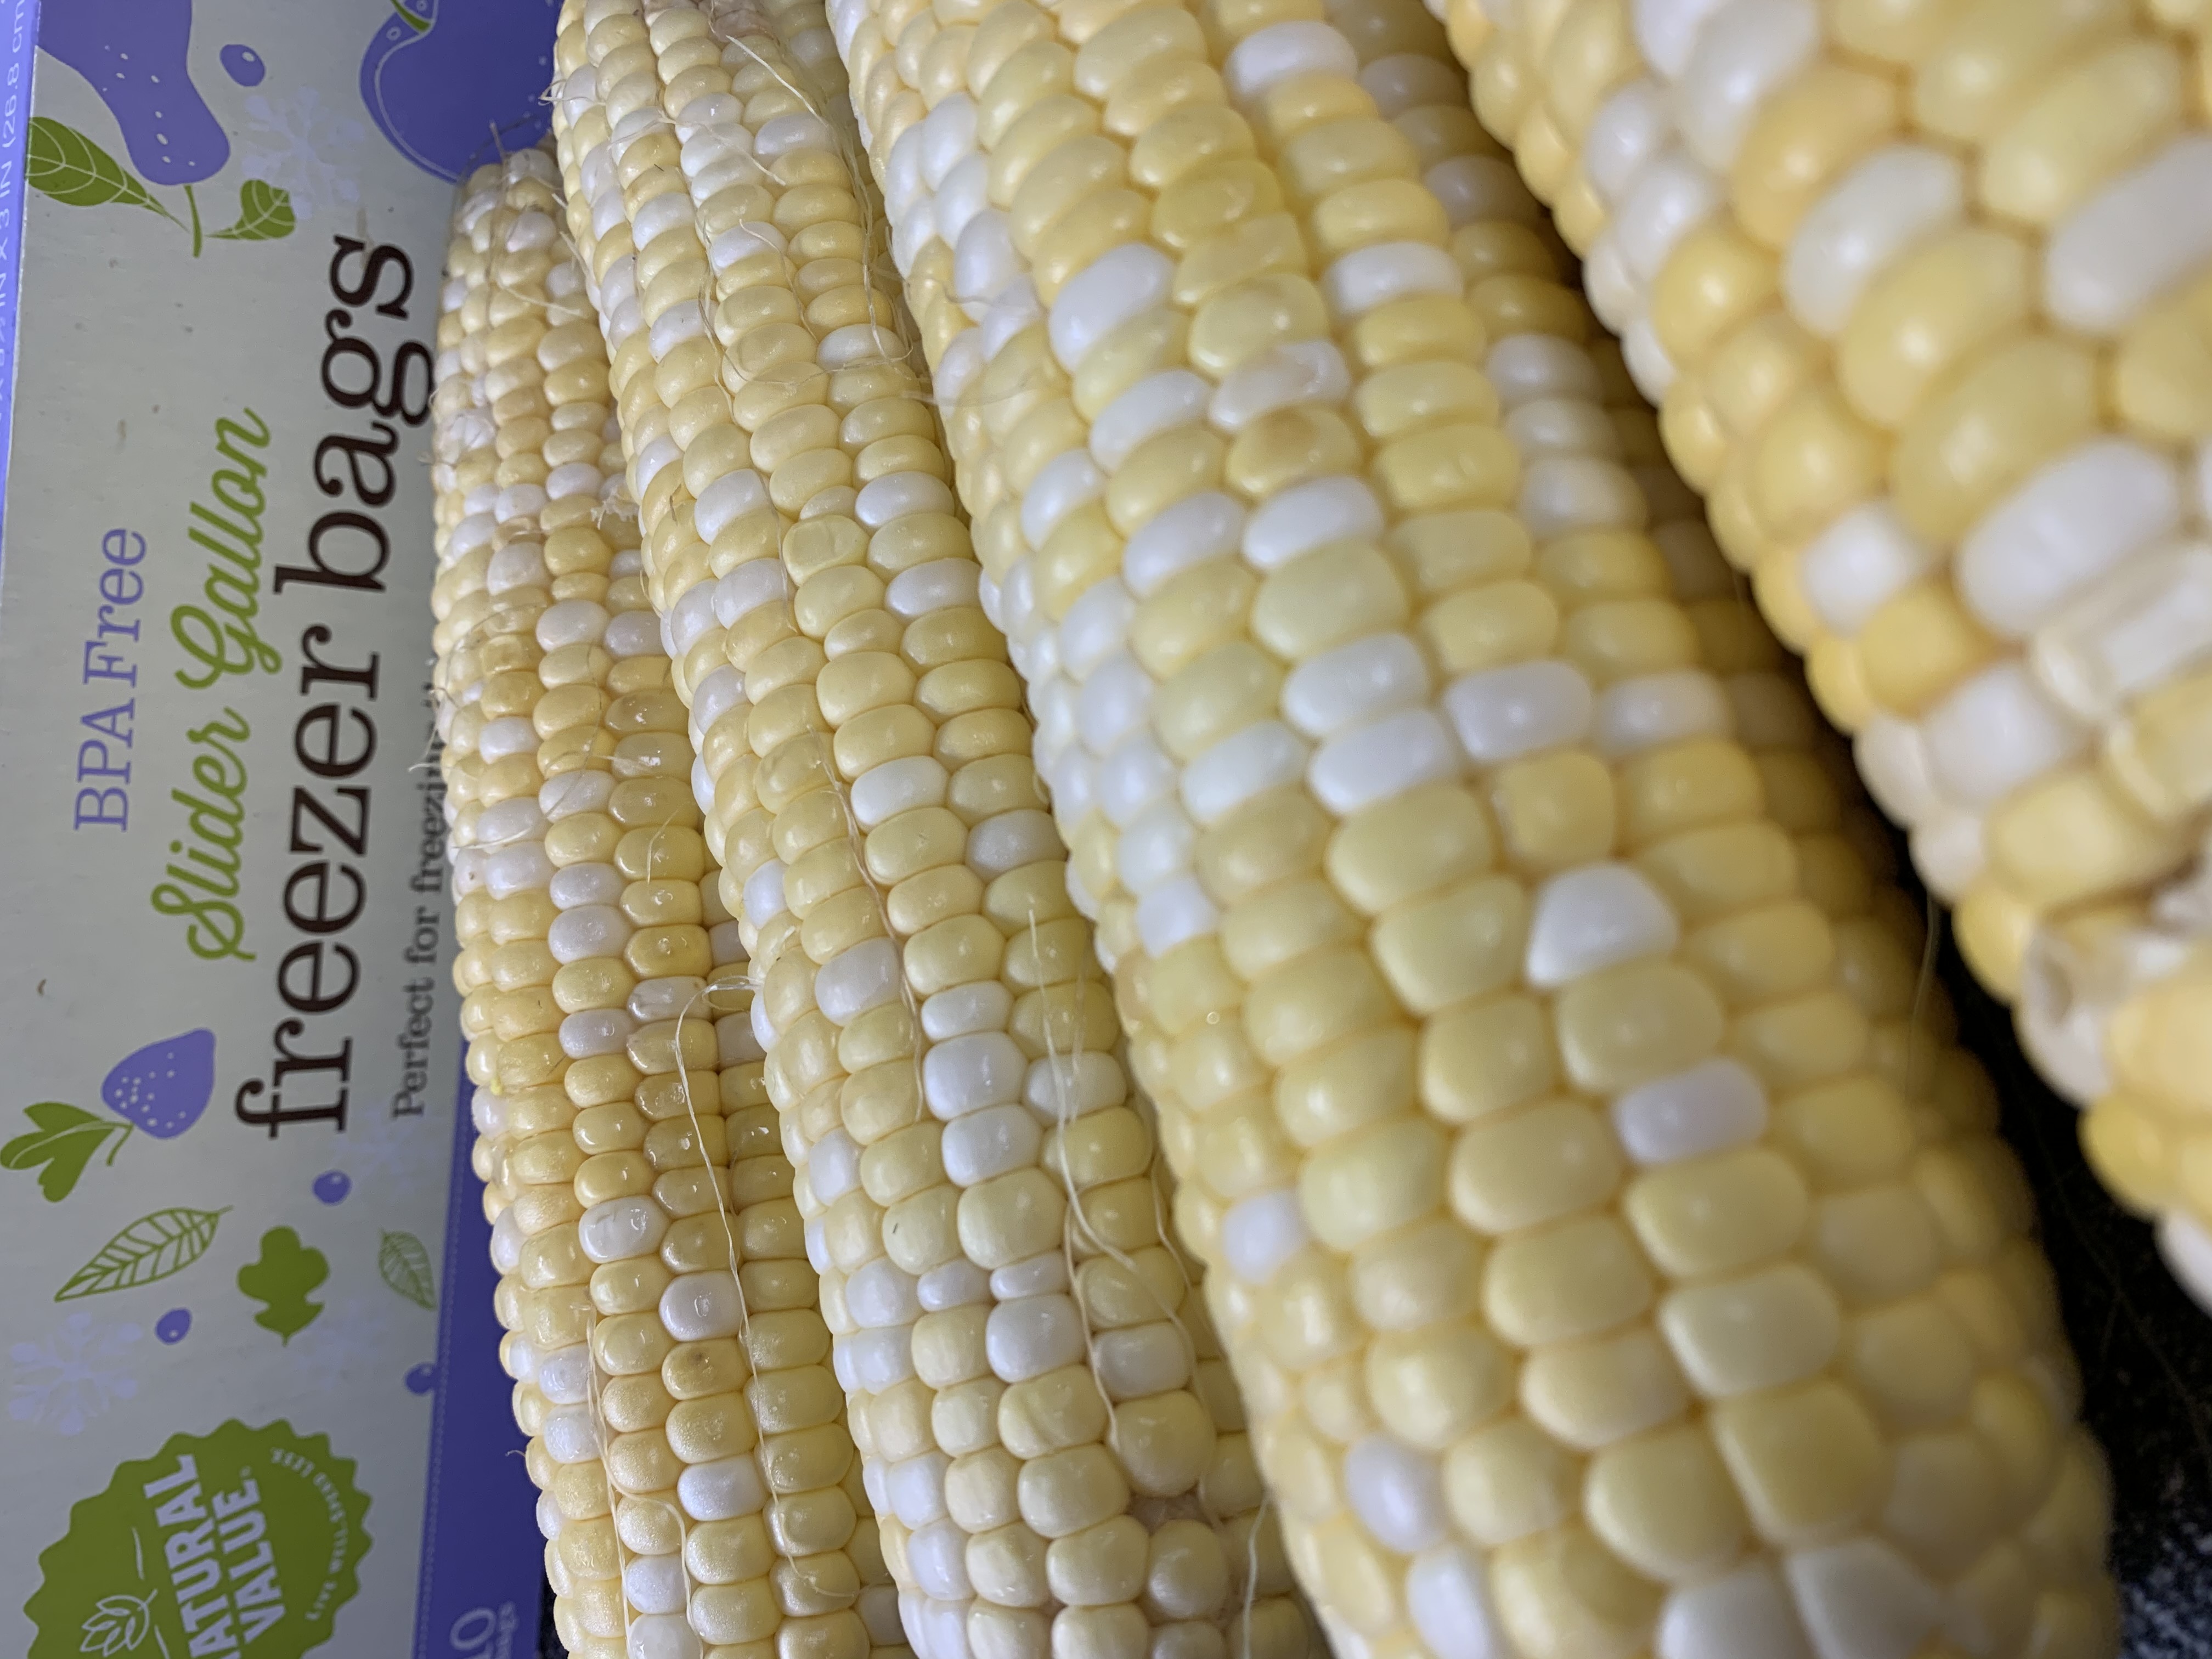
Blanching (cooking the kernels for a few minutes in boiling water) allows them to be used “fresh” upon thawing for things like salads or salsas, but I’m mostly looking for a way to add the taste of corn to a variety of cooked dishes, so I decided unblanched would be fine for me. I gathered my materials, including Casey County Organics sweet corn, a sharp knife, a bowl, a freezer bag and a straw and got to work.
DRYING

Since I’m a big fan of fruit leather and the like, I thought drying my peaches would be the best way to keep them past their prime. The first step in the process was peeling the peaches since the peel apparently keeps the fruit from drying properly, but I did leave it on a couple of pieces just to see if it added any extra flavor. (SPOILER ALERT: It didn’t. And the pieces with peel were nowhere near dry when I was finished.)
There are a few things that can be used to pre-treat produce to keep it from browning and losing nutrients during the drying process, but since I can easily get citric acid from Good Foods’ bulk aisle, I decided to go with that. After soaking in my acid water solution for ten minutes, I put the sliced peaches on a cookie sheet (and learned the hard way that you should not put foil on it first – citric acid can cause discolorations or even holes to form in the foil).
CANNING
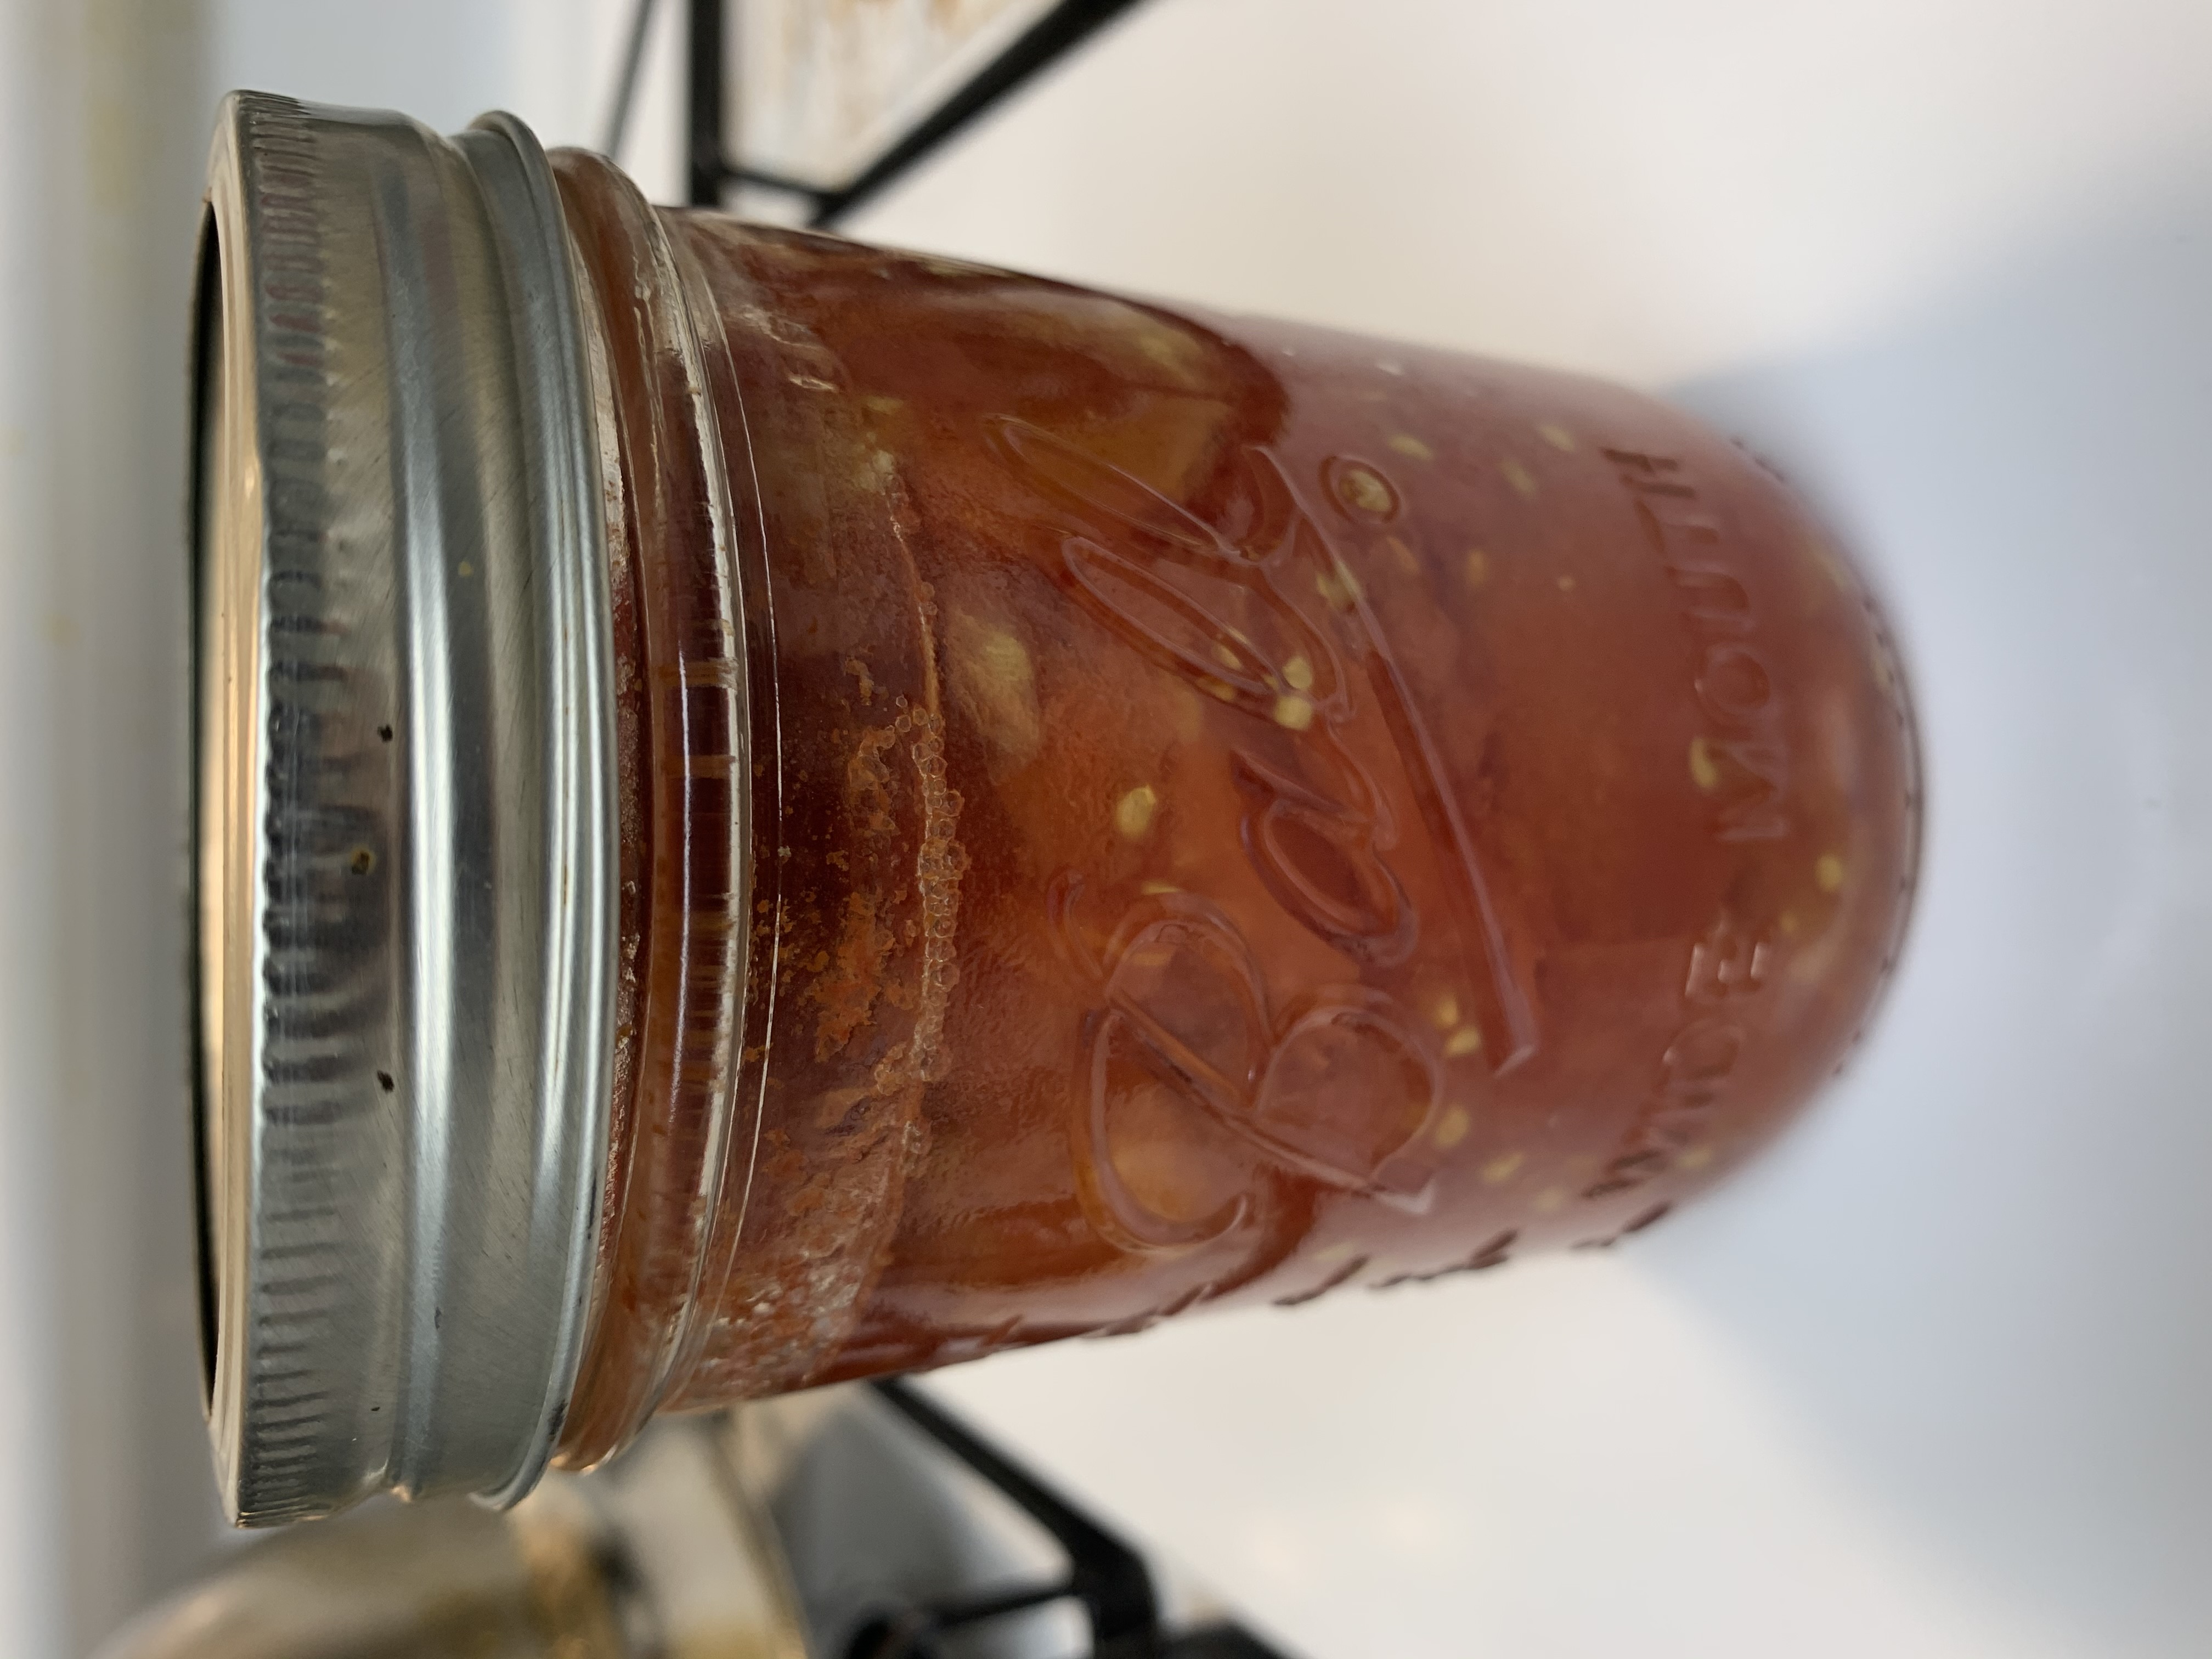
I was a little nervous about canning my tomatoes since I remember my grandparents setting aside a week and multiple rooms of their house every year for preserving their garden goodness that way, but evidently it doesn’t have to be a huge or complicated operation.
I gathered my Casey County Organics heirloom tomatoes and, after scoring them, put them in boiling water for 30 seconds then ice water for a few minutes to loosen the peel. After peeling, I took about a sixth of the pieces I had cut, put them in a saucepan and liquefied them, though I’m not entirely sure why I did this other than the directions told me to. After bringing that to a boil, I put the rest of the tomato pieces into the pan and heated them until they were boiling and left them for five minutes.